Friday, December 08, 2006

Inner Fender Installation:
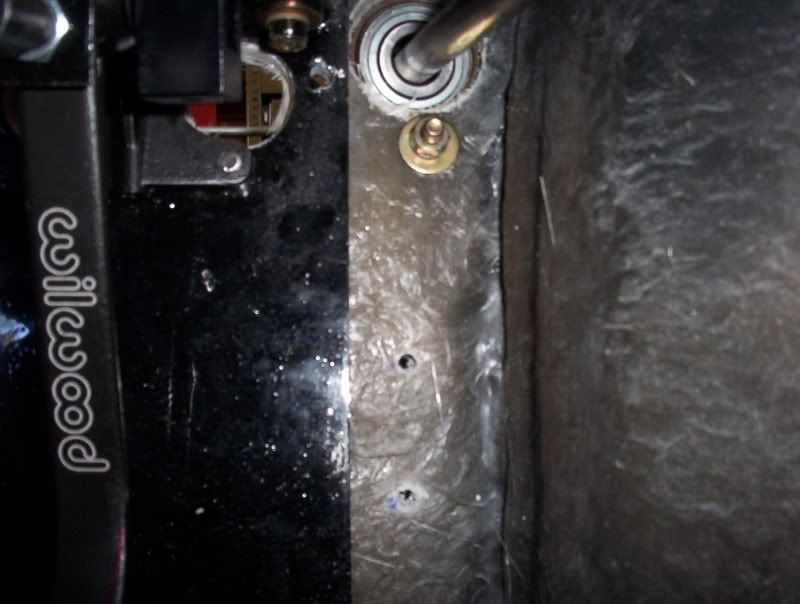
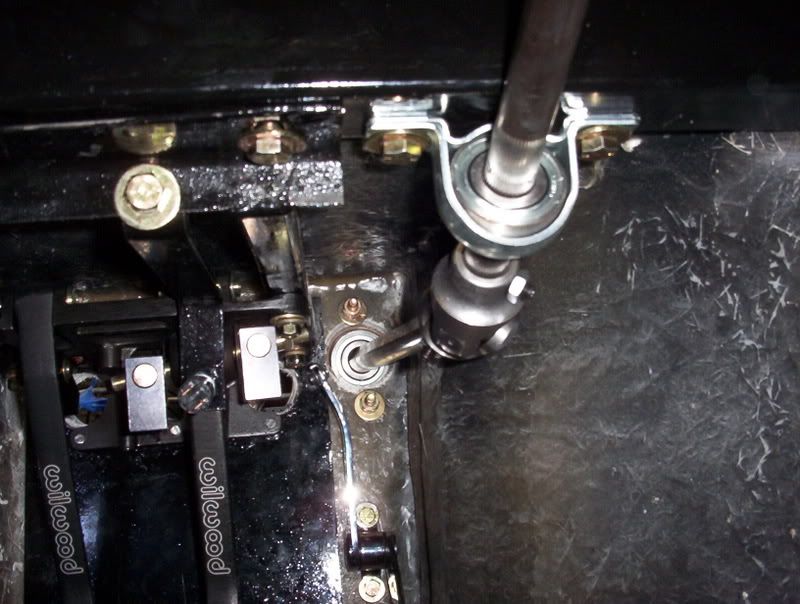
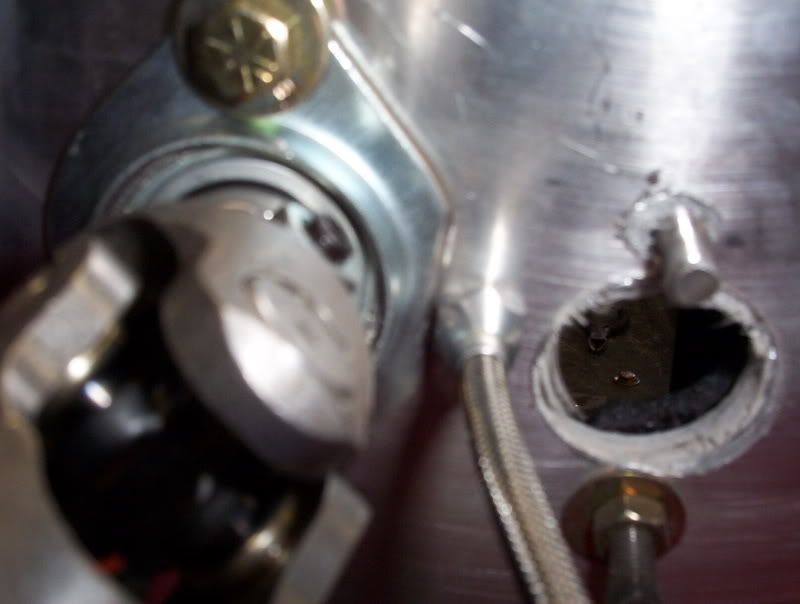
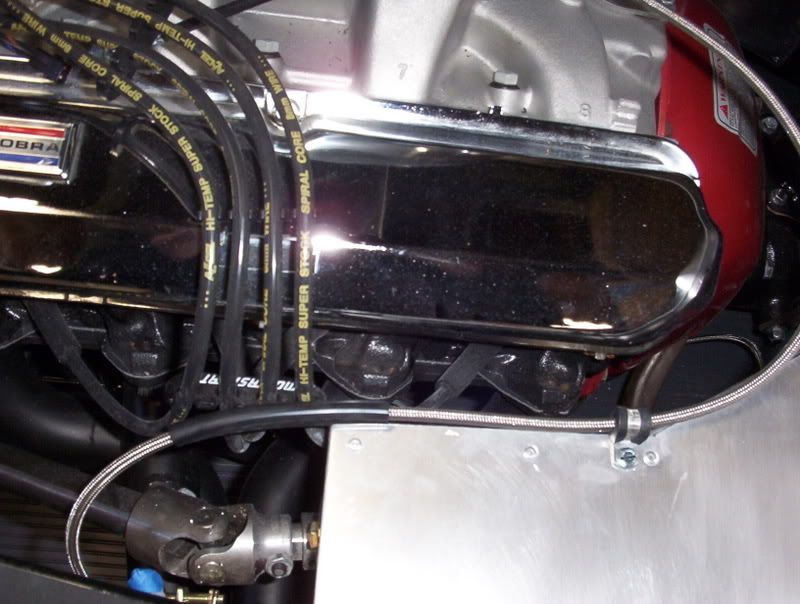
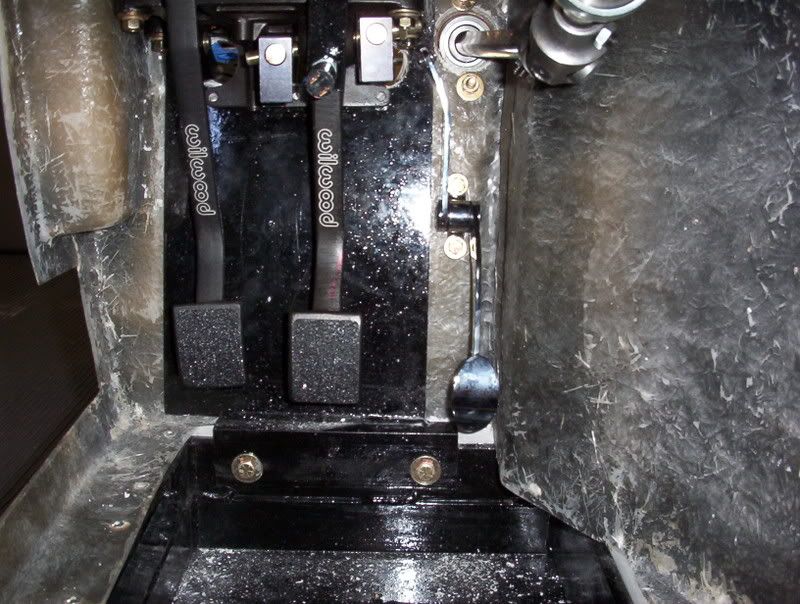
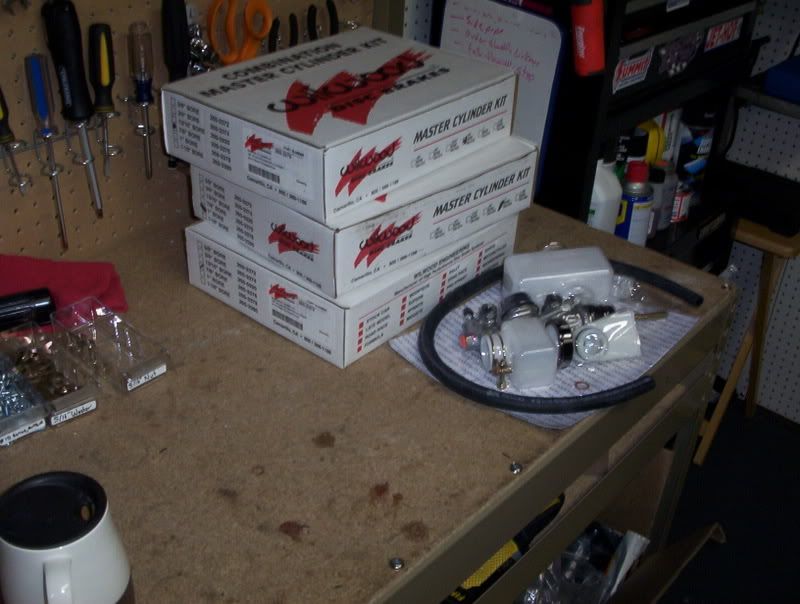
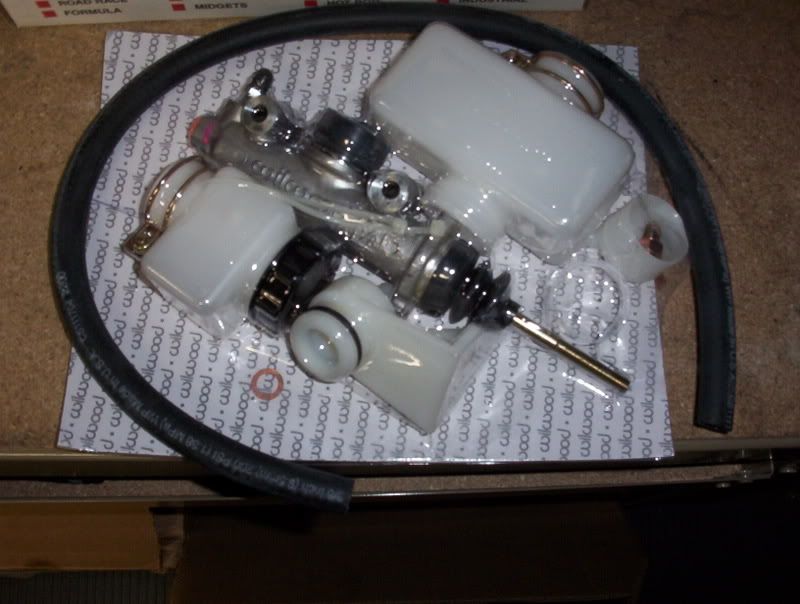
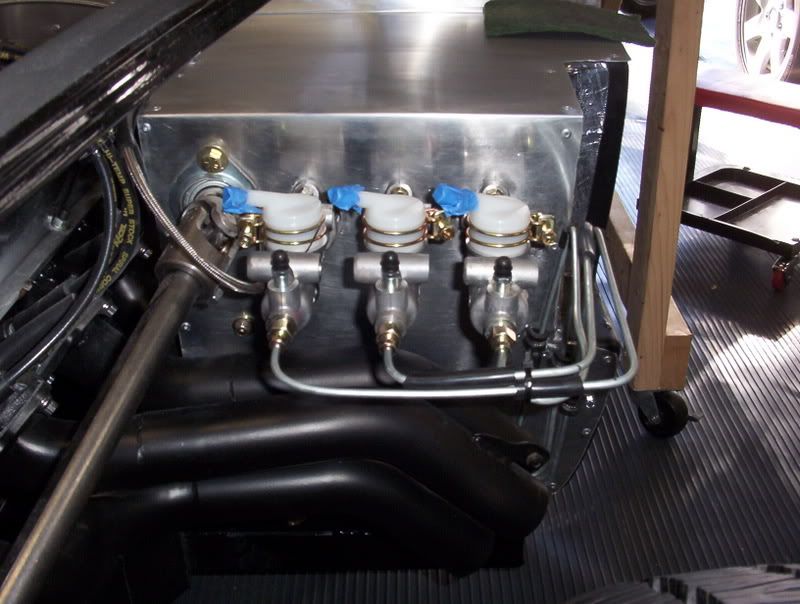
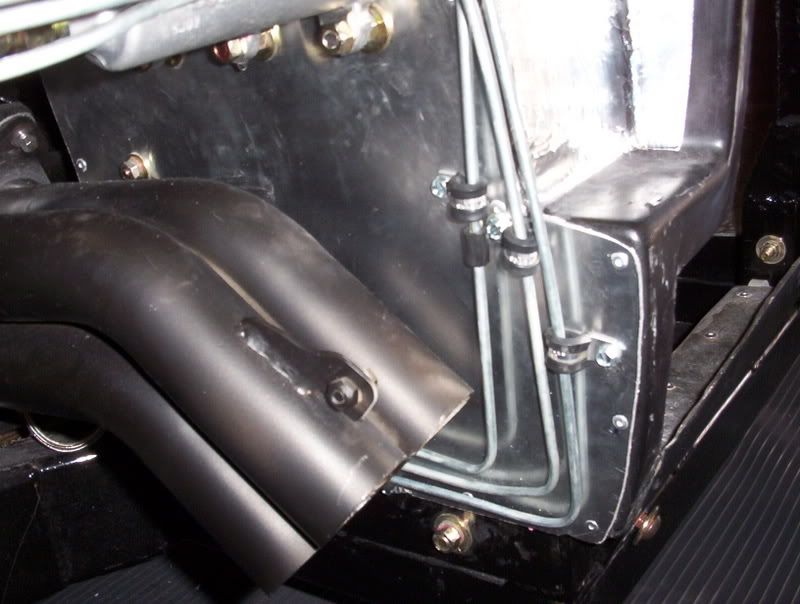
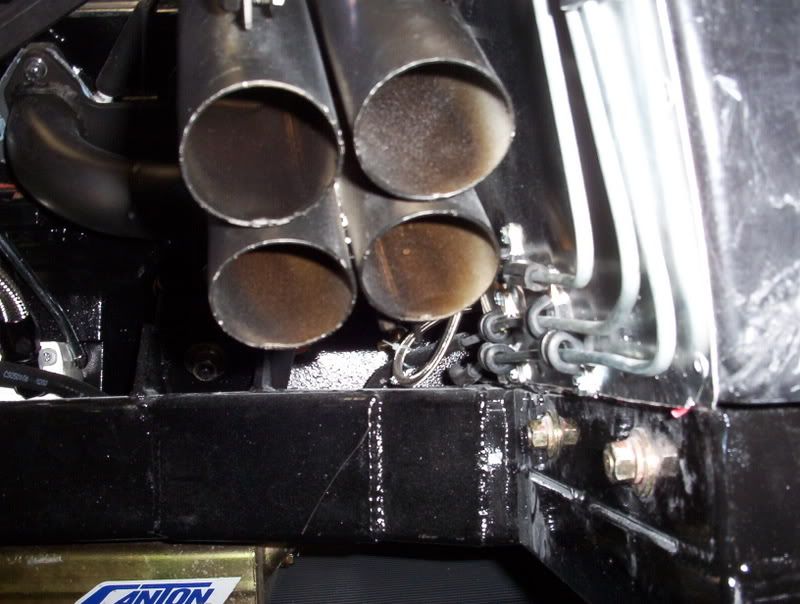
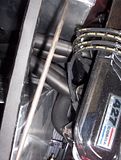
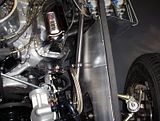
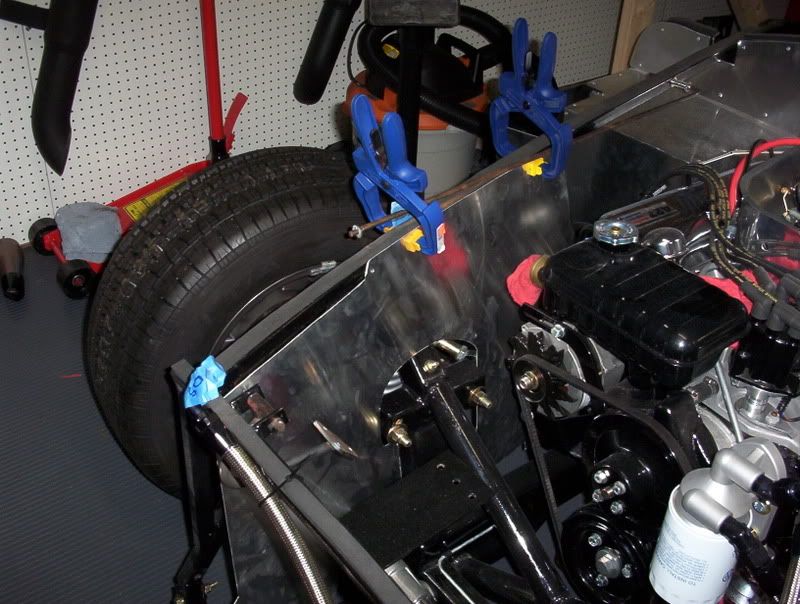
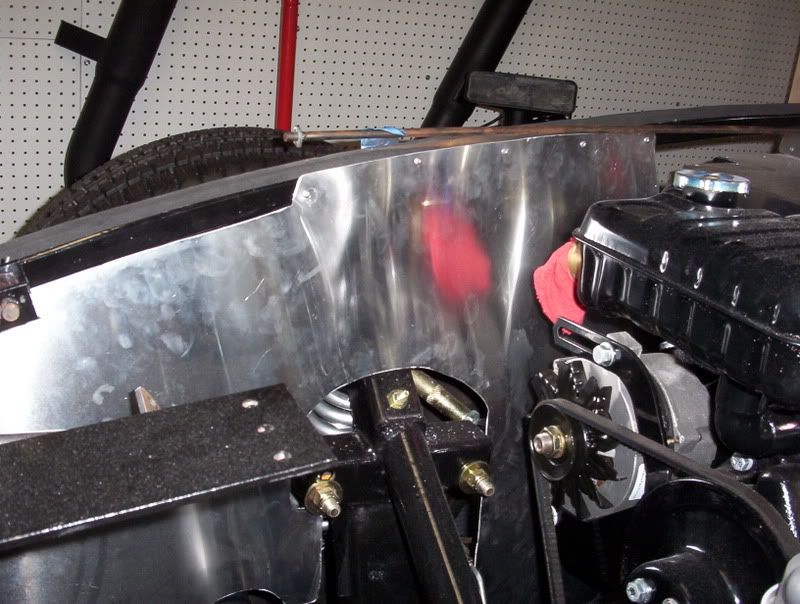
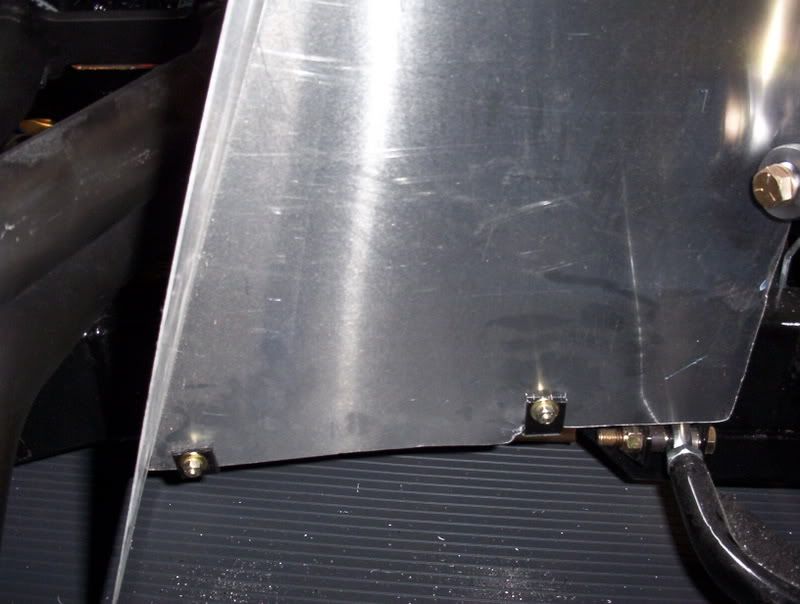
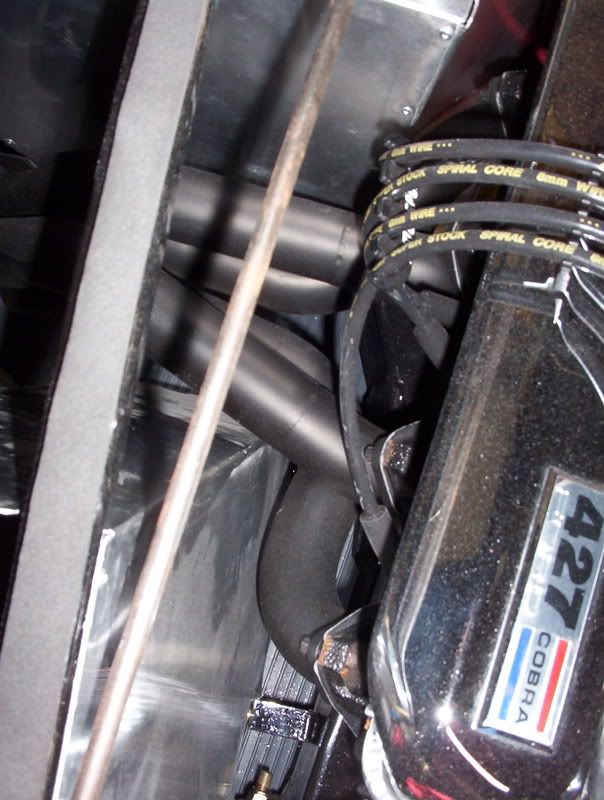
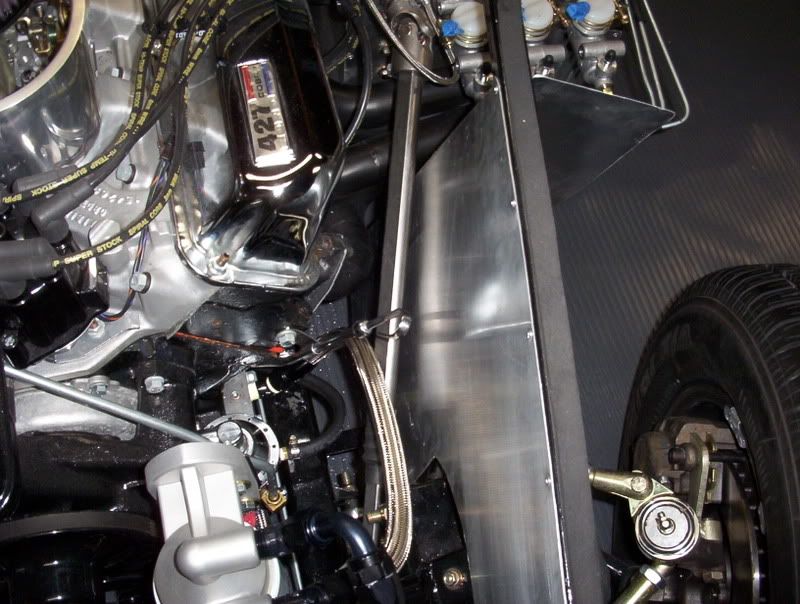
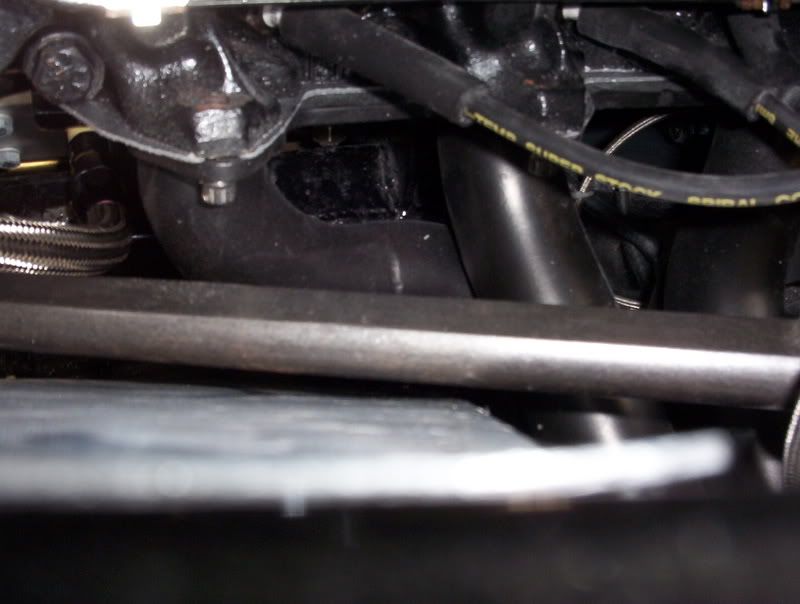
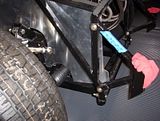
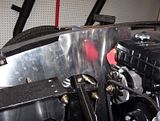
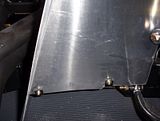
This week, I installed the aluminum inner fenders into the engine bay. This requires riviting and affixing brackets to the frame. I started with the passenger side. This installation was a BREEZE. As you will see in the pictures, there is a tight fit with the headers but just enough room where I am not worried about any rubbing. Great engineering on Hurricane's part. The driver side was a different matter. The spot that you have to manipulate this large piece of aluminum is very crowed with items like the master cylinders, steering shaft, remote oil lines, etc. I had to use some "persuasion" to get the panel finally in place. Some damage to the fender in the form of scratches, dents and bends occured. I mostly fixed these issues with the magic of scotch brite pads, my rubber mallet and a block of wood. The scotch brite was to remove scratches and give me that cool brushed look. The rubber mallet and wood allowed me to reshape and remove dents in the metal. All the visual spots are untouched. The other parts will be hidden by the body later but the work actually came out OK. I had to reroute on of the remote oil filter lines as you will see in the picture. I am going to create a hose crade out of some wire for this hose so it does not rub on the steering shaft. As you will see in the pictures, the tolerances are very tight on the driver's side. Check out how close the steering shaft next to the panel. It has just enough room to rotate. Fun stuff. Click pictures for a larger image. Enjoy!


Wednesday, December 06, 2006

Throttle Cable and Gas Pedal Installation:
Here is another delayed posting for your enjoyment. The installation of the throttle cable and gas pedal was relatively easy. Lokar was the source of all the parts. They have a pretty sweet set up if you ask me. As you can see in the pictures below, the space to work in the pedal box is incredibly tight. As a result, I had to alter the gas pedal by bending the top of the assembly. I did this so I could drill a hole for the throttle cable on the left of the steering shaft. This took a couple of tries as I had to get just the right amount of bend. Once I found the right angle, I marked and drilled holes to mount the gas pedal on the foot box wall. One think I learned is that with the foot box being as tight as it is, it will be necessary for me to wear racing shoes which are very skinny when driving this car. I had my work boots on and I felt like my feet were those of giants as there is no way you are not going to accidentally hit the brake and clutch at same time, etc. Hey...this is basically a race car. It isn't for comfort! Anyway, once I got through the foot box with the cable, I ran the cable over the steering shaft (also used a tie against the master cylinder to make sure it didn't interfere with the shaft) and secured it on top of the foot box making sure I kept sweeping curves in the cable. You will see i put some fuel line around the cable that is near the spark plugs. I didn't want the braided cover to saw through a spark plug cable and causing problems. The cable very easily went through the back of the turkey pan (That is the metal pan that the carburetor sits in on top of the manifold). I then had to install the Lokar throttle linkage onto the side of the carburetor. I have to say that this would be much easier without the turkey pan as it is a tight fit (see pics). It is so tight that I had to alter how I connected the actual cable to the linkage. The cable is supposed to terminate on the "turkey pan" side of the linkage. As you will see in the pic, I terminated on the other sided near the carburetor. I was worried that this might bind the linkage but it didn't. I just didn't see a way for the linkage and the termination assembly working without binding against the turkey pan. I tested the movement with my altered version many times and it seems to work great. As always, pictures are below. Click on the thumbnail to see a larger picture.


Tuesday, December 05, 2006

Master Cylinder Install:
Apologies for the late entry. I actually have a few projects done that I will enter separately. For this entry, I am going to cover the Master Cylinder Installation.

First off, the Wilwood master cylinder kits are awesome. These are such a no brainer. The instructions are very clear and they provide multiple set up options for your application. The hardest part regarding this installation was the widening of the holes I drilled through the foot boxes so that the cylinder push rod can connect with the pedals. At first, I was mad at myself for not drilling bigger holes as I almost did but changed my mind at the last second. I figured you can always go bigger later. Well, I had to go bigger. Not by much, mind you. Anyway, I used my dremel to widen the holes and it took many test fittings. I also found out that my foot box fiberglass is much thicker than I think others. The reason I say this is that the mounting studs for the master cylinders that I put in the pedal assembly (see previous post) didn't allow for all the recommended washers during the install of the cylinders. I instead relied on copious amounts of red heavy duty threadlocker to make up for the lack of recommended hardware. The Hurricane kit utilizes a remote brake fluid reservoir that will mount on the inner fender (which is installed later). As a result, I used the remote reservoir option on the kit which requires you to install these tops on the master cylinders which will connect via a hose to the remote reservoir. The instructions inform you to heat up the tops when installing to avoid cracks. I whipped out my wife's trusty hair dryer to do the job. Worked great! After I installed everything, I set adjusted the pedal height and brake bias (front rear). The pedals work great. The final part of the install was routing the hard lines for front, rear and clutch up the pedal box and up to the master cylinders. As you can see, these are very close to the headers. That means lots of HEAT. I will most likely use a high heat brake fluid but I want some extra protection. I have ordered some heat shield that I will be placing on the bottom of the master cylinders and on the hard lines that run closest to the headers. I also used some split fuel line to wrap parts of the hard lines that might rub against other metal. Don't want any pin holes due to our friend friction! Pictures are below. Click pictures to expand.