Windshield Wiper Assembly:
New Jersey state law requires that all cars have windshield wipers. This car does not have a top...at all. It was never designed to have a top. Basically, you just have a body and a sheet of glass. So if it rains, the wipers will do me little good. The rain will be hitting my face. Regardless, I have to put these useless wipers on the car to "check the bureaucratic box" so to speak.
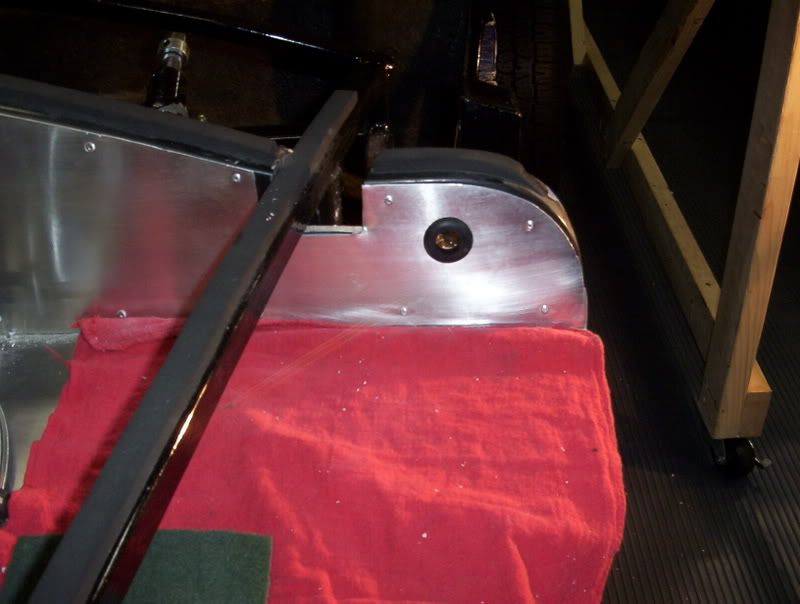
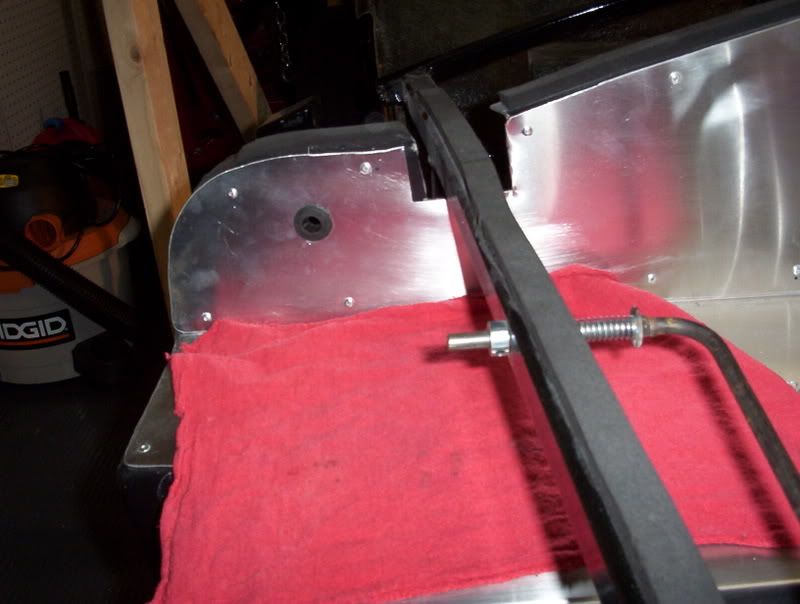
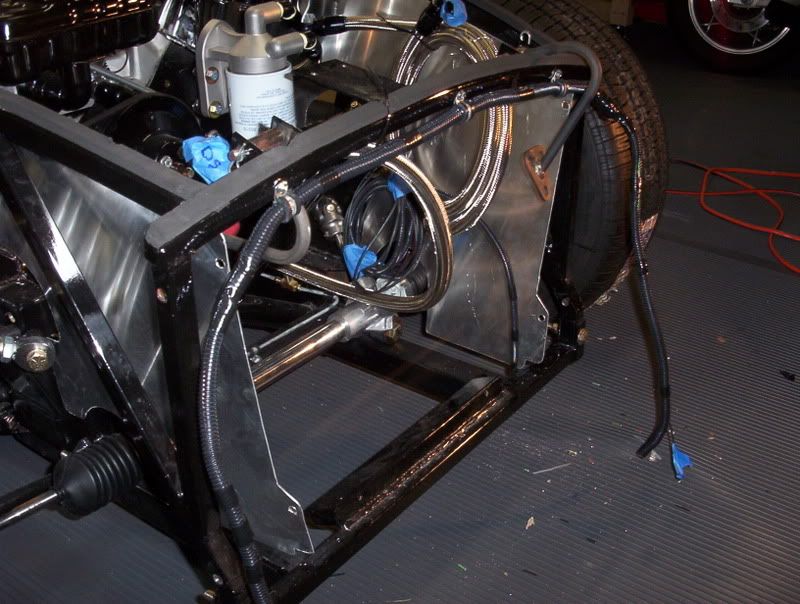
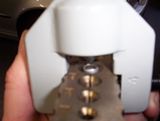
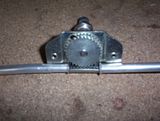
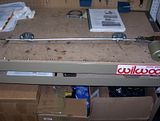
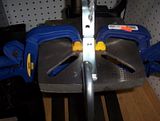
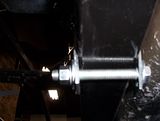
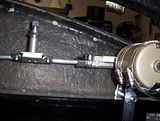
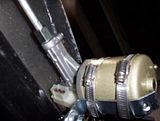
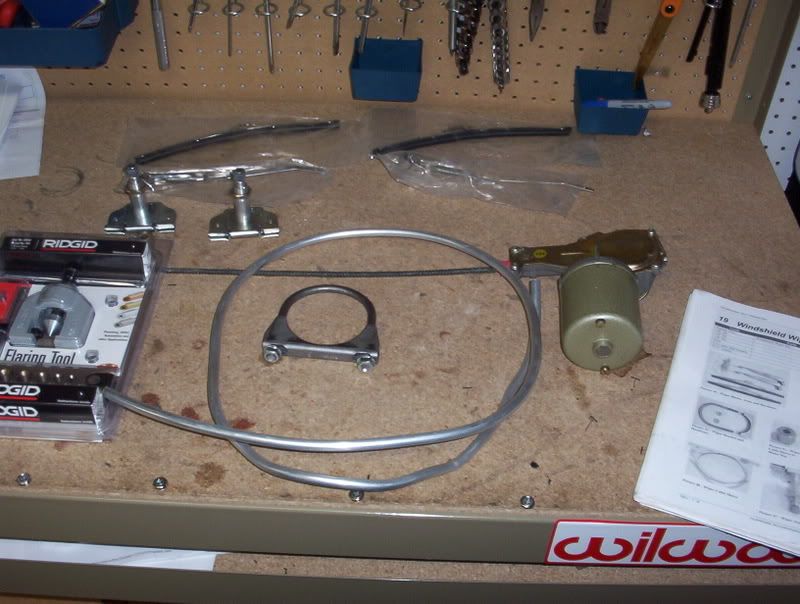
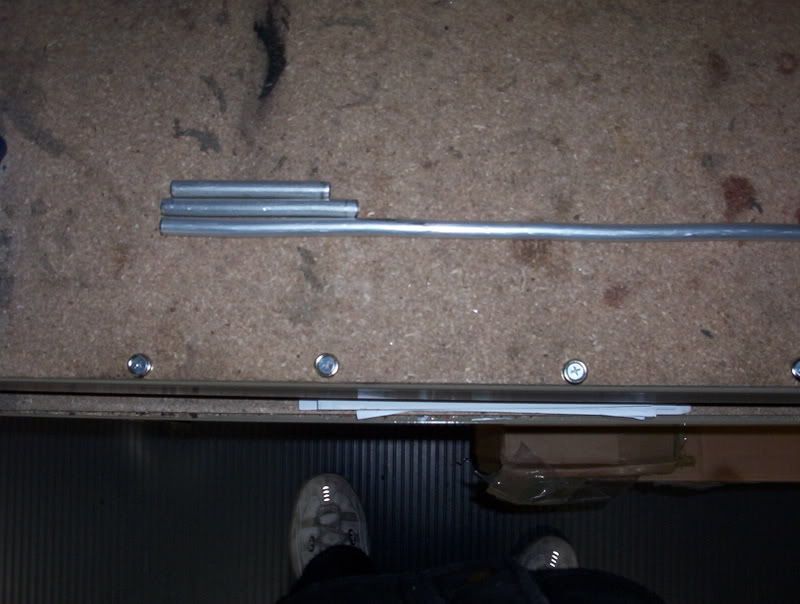
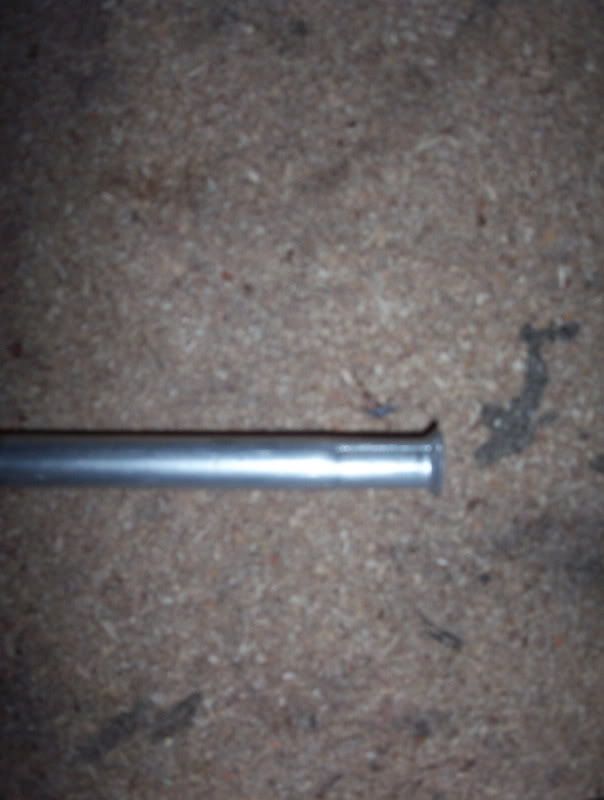
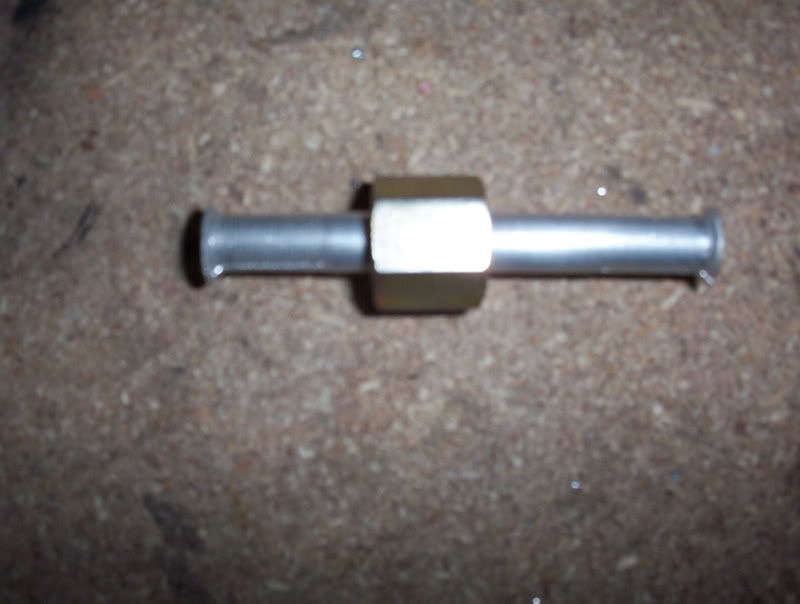
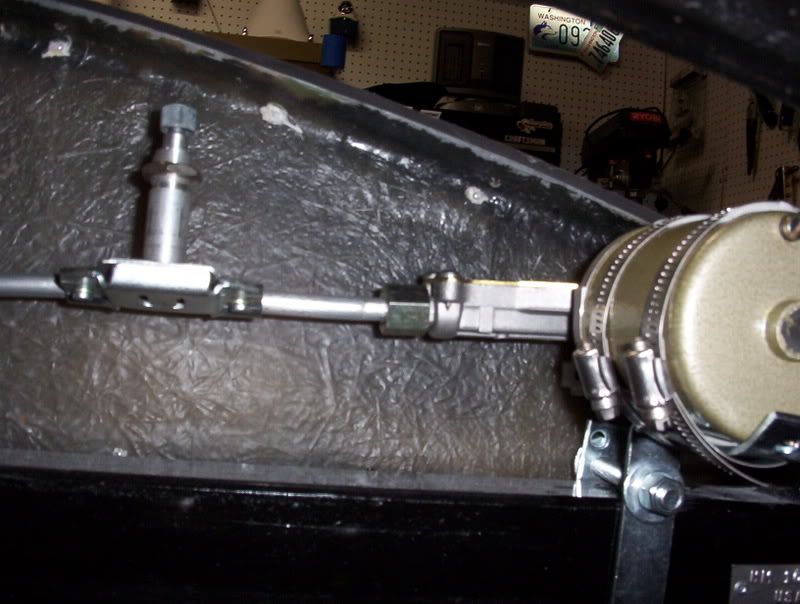
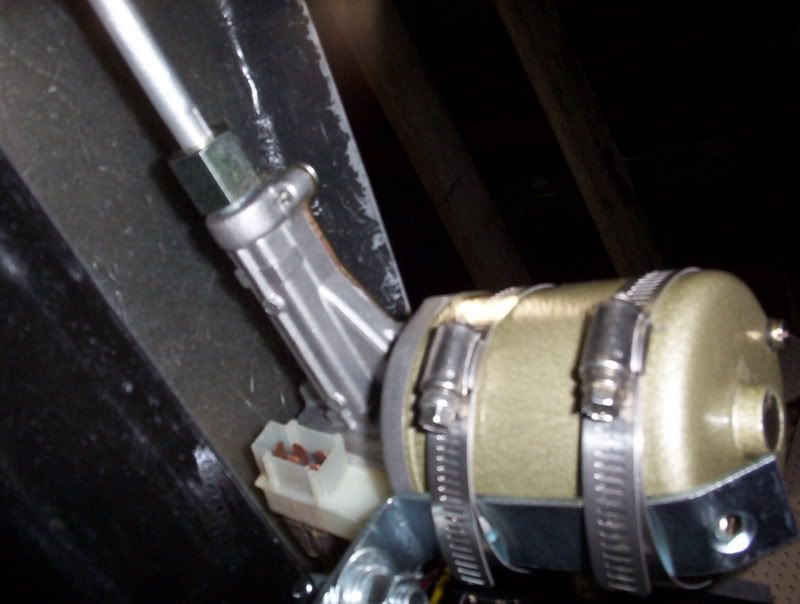
This assembly was pretty easy to do. Consists of the motor, the drive cable, the arm assemblies and some aluminum tubing. Basically I needed to fab up the outer housing for the drive cables and assemble the arm sub-assemblies and out housings to the major assembly. I had to cut some tube to specific lengths and the flare the ends of the tubes. In assembly, these flares allow for the arm assemblies to stay into place.
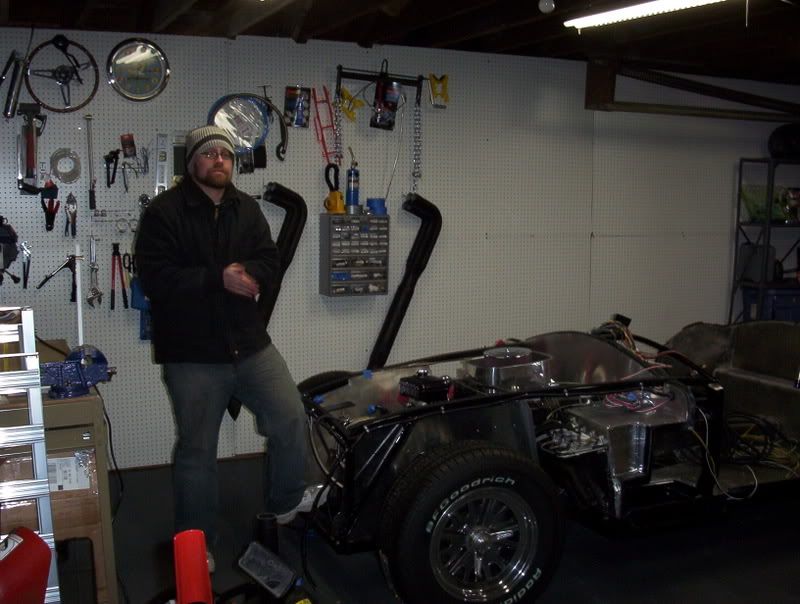
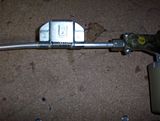
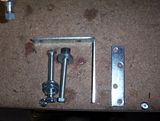
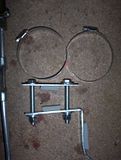
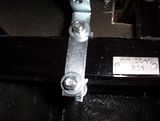
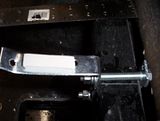
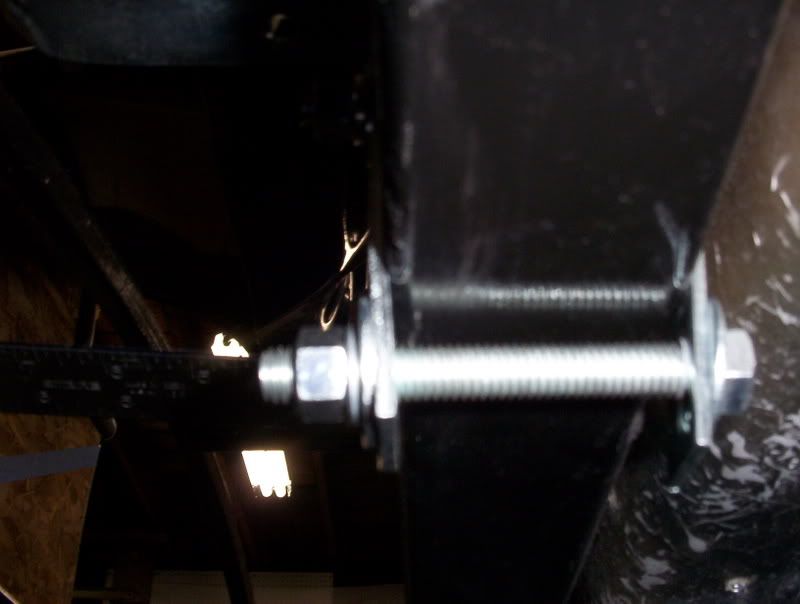
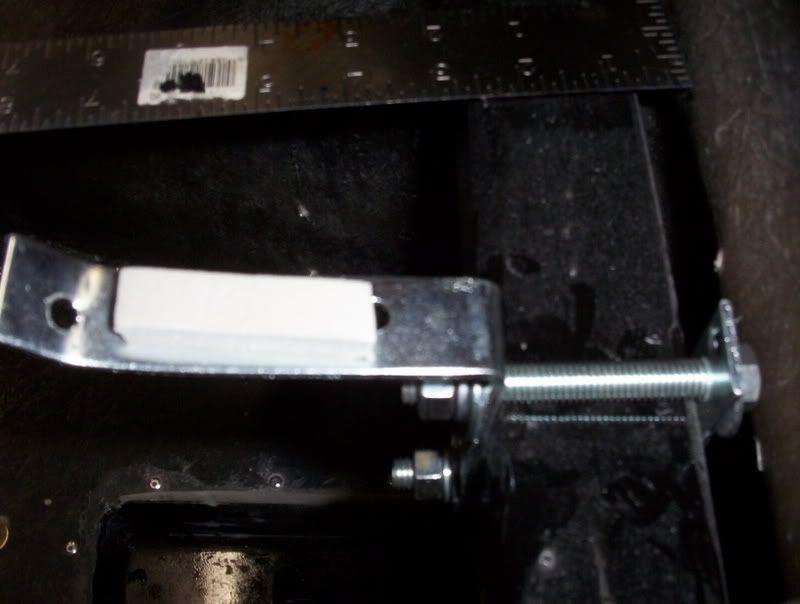
The kit also comes with a muffler bracket to mount the wiper motor under the dash. I have been reading about this installation and everyone hates the muffler clamp. I can see why. I have seen many different approaches to mounting the motor but I needed something different. The reason is that I also need to drill holes in the body for the wiper holes. Since I don't want to do this yet, I needed to think up a mounting system that I can adjust later. Basically I went to the hardware store, bought four bolts, some angle iron and some hose clamps to create my version of the mounting bracket. I added some insulation stripping to the angle iron, drilled holes on both pieces and then used the bolts to "tension mount" the assembly onto the 2X2 dash frame. This allows me to move the entire wiper assembly right and left should I need to move it. I can also change the angle of the motor by bending the "L" bracket. I really won't know how slick this approach is until I mount the body. Wish me luck! Click image below for larger view


New Jersey state law requires that all cars have windshield wipers. This car does not have a top...at all. It was never designed to have a top. Basically, you just have a body and a sheet of glass. So if it rains, the wipers will do me little good. The rain will be hitting my face. Regardless, I have to put these useless wipers on the car to "check the bureaucratic box" so to speak.
This assembly was pretty easy to do. Consists of the motor, the drive cable, the arm assemblies and some aluminum tubing. Basically I needed to fab up the outer housing for the drive cables and assemble the arm sub-assemblies and out housings to the major assembly. I had to cut some tube to specific lengths and the flare the ends of the tubes. In assembly, these flares allow for the arm assemblies to stay into place.
The kit also comes with a muffler bracket to mount the wiper motor under the dash. I have been reading about this installation and everyone hates the muffler clamp. I can see why. I have seen many different approaches to mounting the motor but I needed something different. The reason is that I also need to drill holes in the body for the wiper holes. Since I don't want to do this yet, I needed to think up a mounting system that I can adjust later. Basically I went to the hardware store, bought four bolts, some angle iron and some hose clamps to create my version of the mounting bracket. I added some insulation stripping to the angle iron, drilled holes on both pieces and then used the bolts to "tension mount" the assembly onto the 2X2 dash frame. This allows me to move the entire wiper assembly right and left should I need to move it. I can also change the angle of the motor by bending the "L" bracket. I really won't know how slick this approach is until I mount the body. Wish me luck! Click image below for larger view


posted by Khan Smith at 11:27 AM
0 comments
![]()
![]()