Master Cylinder Install:
Apologies for the late entry. I actually have a few projects done that I will enter separately. For this entry, I am going to cover the Master Cylinder Installation.
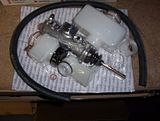
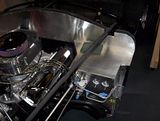
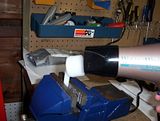
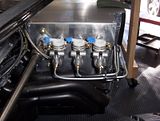
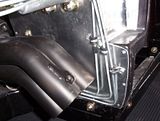
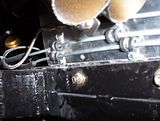
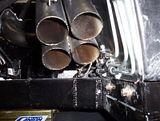
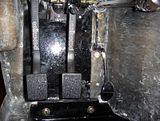
First off, the Wilwood master cylinder kits are awesome. These are such a no brainer. The instructions are very clear and they provide multiple set up options for your application. The hardest part regarding this installation was the widening of the holes I drilled through the foot boxes so that the cylinder push rod can connect with the pedals. At first, I was mad at myself for not drilling bigger holes as I almost did but changed my mind at the last second. I figured you can always go bigger later. Well, I had to go bigger. Not by much, mind you. Anyway, I used my dremel to widen the holes and it took many test fittings. I also found out that my foot box fiberglass is much thicker than I think others. The reason I say this is that the mounting studs for the master cylinders that I put in the pedal assembly (see previous post) didn't allow for all the recommended washers during the install of the cylinders. I instead relied on copious amounts of red heavy duty threadlocker to make up for the lack of recommended hardware. The Hurricane kit utilizes a remote brake fluid reservoir that will mount on the inner fender (which is installed later). As a result, I used the remote reservoir option on the kit which requires you to install these tops on the master cylinders which will connect via a hose to the remote reservoir. The instructions inform you to heat up the tops when installing to avoid cracks. I whipped out my wife's trusty hair dryer to do the job. Worked great! After I installed everything, I set adjusted the pedal height and brake bias (front rear). The pedals work great. The final part of the install was routing the hard lines for front, rear and clutch up the pedal box and up to the master cylinders. As you can see, these are very close to the headers. That means lots of HEAT. I will most likely use a high heat brake fluid but I want some extra protection. I have ordered some heat shield that I will be placing on the bottom of the master cylinders and on the hard lines that run closest to the headers. I also used some split fuel line to wrap parts of the hard lines that might rub against other metal. Don't want any pin holes due to our friend friction! Pictures are below. Click pictures to expand.



0 Comments:
Post a Comment
<< Home