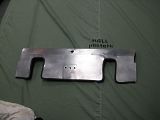
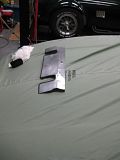
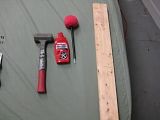
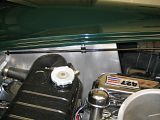
Not only did the sheetmetal get beat up from the rubbing compound but the radiator top cap aluminum got really bent up. I figure I would do my best to pound it back into shape, add some edging and try out some aluminum polish using Mother's powerball (new tool!). As you will see below in the pictures, the piece came out OK. I just need to make a new piece but don't have the tools to do it right at this time. I could fab up a sheet metal brake using an old bed frame but time is limited. I guess it will just "age" the car and make it look more authentic...yeah right.
Before:
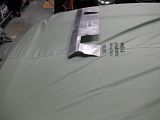
After:
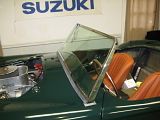
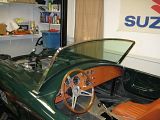
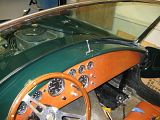
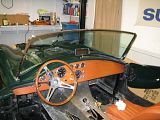
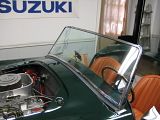
I started work on the cockpit moving again from front to back. I started with the windshield install:
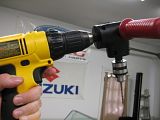
Next I went to install the rear view mirror. I then realized that my drill couldn't locate the holes with the windshield angle. So instead of removing the windscreen, I just bought a new tool :)
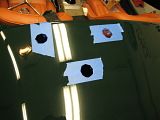
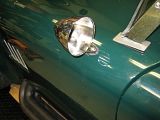
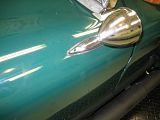
Next up was the side mirrors. I spent a lot of time in the cockpit, positioning the mirror and then using a level to align the mounting holes on the painters tape.
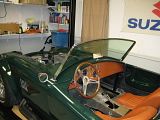
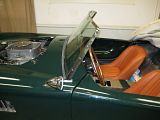
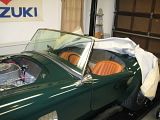
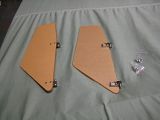
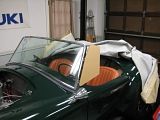
I then proceeded to install the windwings. I was hesitant at first because I really like the clean look of the car thus far. But the windwings are clear and they don't stand out all that much. I did have to modify the mounting brackets and create an angle at the base because of the angle of the windshield as it mates with the windshield legs. I ground down the square bottom and added a slite angle to the mounting hole. Worked out great.
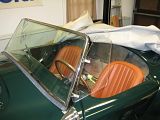
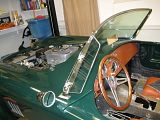
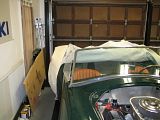
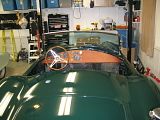
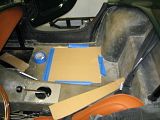
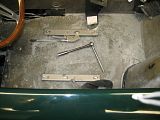
I then started to prep the cockpit for carpet by removing the seats. But before I did that, I needed to create a mounting template for the passenger seat. I taped down a piece of cardboard on the passenger floor and raised the car on the lift. I went underneath with a sharpie and I marked the holes. Now I can transfer this template onto th bottom of the seat. I then removed the driver seat.
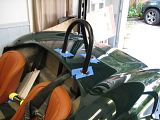
I then took a shot at installing the rollbar and the cool gaskets and rings I had made. Unfortunately, I hit a problem. One of the rollbar holes w/ the rollbar doesn't align right with my nice new ring. Need to work through that one. As of now, I just have the rollbar WITHOUT the rings.
What I am working on now is to continue prepping the cockpit for carpet. That will include making panels for the trans tunnel, cleaning up wiring, washing the cockpit, etc.
OH...still waiting for the hood. My painter has more excuses than a teenage stoner behind the school building. Each week is a new drama as to why he hasn't fixed the hood scoop. Maybe I'll be running hoodless?
