Throttle Cable and Gas Pedal Installation:
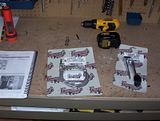
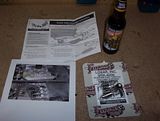
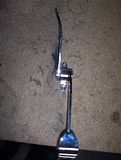
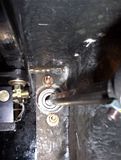
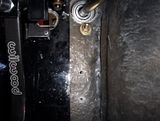
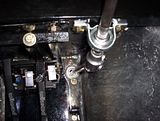
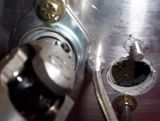
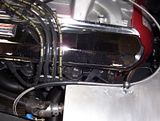
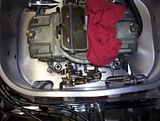
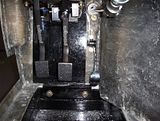
Here is another delayed posting for your enjoyment. The installation of the throttle cable and gas pedal was relatively easy. Lokar was the source of all the parts. They have a pretty sweet set up if you ask me. As you can see in the pictures below, the space to work in the pedal box is incredibly tight. As a result, I had to alter the gas pedal by bending the top of the assembly. I did this so I could drill a hole for the throttle cable on the left of the steering shaft. This took a couple of tries as I had to get just the right amount of bend. Once I found the right angle, I marked and drilled holes to mount the gas pedal on the foot box wall. One think I learned is that with the foot box being as tight as it is, it will be necessary for me to wear racing shoes which are very skinny when driving this car. I had my work boots on and I felt like my feet were those of giants as there is no way you are not going to accidentally hit the brake and clutch at same time, etc. Hey...this is basically a race car. It isn't for comfort! Anyway, once I got through the foot box with the cable, I ran the cable over the steering shaft (also used a tie against the master cylinder to make sure it didn't interfere with the shaft) and secured it on top of the foot box making sure I kept sweeping curves in the cable. You will see i put some fuel line around the cable that is near the spark plugs. I didn't want the braided cover to saw through a spark plug cable and causing problems. The cable very easily went through the back of the turkey pan (That is the metal pan that the carburetor sits in on top of the manifold). I then had to install the Lokar throttle linkage onto the side of the carburetor. I have to say that this would be much easier without the turkey pan as it is a tight fit (see pics). It is so tight that I had to alter how I connected the actual cable to the linkage. The cable is supposed to terminate on the "turkey pan" side of the linkage. As you will see in the pic, I terminated on the other sided near the carburetor. I was worried that this might bind the linkage but it didn't. I just didn't see a way for the linkage and the termination assembly working without binding against the turkey pan. I tested the movement with my altered version many times and it seems to work great. As always, pictures are below. Click on the thumbnail to see a larger picture.
Here is another delayed posting for your enjoyment. The installation of the throttle cable and gas pedal was relatively easy. Lokar was the source of all the parts. They have a pretty sweet set up if you ask me. As you can see in the pictures below, the space to work in the pedal box is incredibly tight. As a result, I had to alter the gas pedal by bending the top of the assembly. I did this so I could drill a hole for the throttle cable on the left of the steering shaft. This took a couple of tries as I had to get just the right amount of bend. Once I found the right angle, I marked and drilled holes to mount the gas pedal on the foot box wall. One think I learned is that with the foot box being as tight as it is, it will be necessary for me to wear racing shoes which are very skinny when driving this car. I had my work boots on and I felt like my feet were those of giants as there is no way you are not going to accidentally hit the brake and clutch at same time, etc. Hey...this is basically a race car. It isn't for comfort! Anyway, once I got through the foot box with the cable, I ran the cable over the steering shaft (also used a tie against the master cylinder to make sure it didn't interfere with the shaft) and secured it on top of the foot box making sure I kept sweeping curves in the cable. You will see i put some fuel line around the cable that is near the spark plugs. I didn't want the braided cover to saw through a spark plug cable and causing problems. The cable very easily went through the back of the turkey pan (That is the metal pan that the carburetor sits in on top of the manifold). I then had to install the Lokar throttle linkage onto the side of the carburetor. I have to say that this would be much easier without the turkey pan as it is a tight fit (see pics). It is so tight that I had to alter how I connected the actual cable to the linkage. The cable is supposed to terminate on the "turkey pan" side of the linkage. As you will see in the pic, I terminated on the other sided near the carburetor. I was worried that this might bind the linkage but it didn't. I just didn't see a way for the linkage and the termination assembly working without binding against the turkey pan. I tested the movement with my altered version many times and it seems to work great. As always, pictures are below. Click on the thumbnail to see a larger picture.



0 Comments:
Post a Comment
<< Home