Driveline, Safety Loop and Battery Cables Revisited:
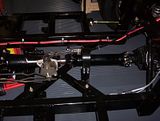
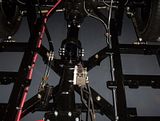
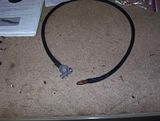
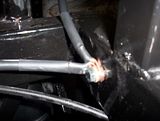
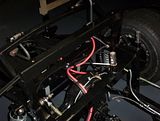
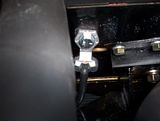
My driveline arrived from Denny's Driveshafts. I have to say that Denny has his stuff in a pile. It was so easy to measure the proper dimensions and submit my order. The guys there are super helpful as well but the directions on their website are second to none (http://www.dennysdriveshaft.com/). I highly recommend this shop. They ship everywhere around the world. Anyway, The driveshaft just slipped right into place. But this was after a minor oil spill in the garage. I used all the cat's dirt to clean it up. Poor cat had to hold tight until we got more cat litter. Anyway, the next item on the agenda was to assemble, mock up, fab and install the driveline safteyloop. These are a must as you realize you have a large steel shaft spinning and several thousand RPM right next to your butt. I like my butt and don't want a drive shaft in it. I ordered a universal driveline saftey loop from Jegs (http://www.jegs.com). I just trimmed it a bit and drilled some holes to fit the bolts that hold up the rear of the trans x brace (remember that fun thing?). I can't believe how nice everything installed. The last thing I had to do was revisit the battery cables. I installed these previously but I had to take out the whole thing....Yup....start from scratch. Why you ask? Well...I needed to figure out my grounding set up before I could move to the next step of installing the cockpit tub on the frame. I decided to take a controversial set up that some will like and others will skoff at. I needed to make two grounds: one on the frame and one on the engine block. Most people do this right at the frame next to the engine. If you haven't guessed already, this 428 is huge and it isn't really easy to get a drill to the frame. My goal was to make both access to the frame and the block grounds as easy as possible. I will need to clean them on occasion to keep the system healthy. So I drilled and tapped a portion of the frame above the rear axle. This required me to make a cut in the negative battery cable and install two terminals. One cable goes into the trunk while the other travels back up the frame and attaches to the block. I bought a side mount batter terminal, drilled it out and installed a bolt to the side of the block. It is right under the header (but far enough back from the heat) so that I can get to it if needed. For next steps, I will be preparing the cockpit tub for installation on the frame. This will include hurculiner, aluminum and heat shield. More later
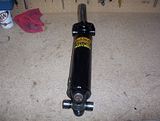
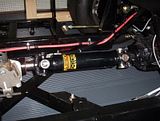
My driveline arrived from Denny's Driveshafts. I have to say that Denny has his stuff in a pile. It was so easy to measure the proper dimensions and submit my order. The guys there are super helpful as well but the directions on their website are second to none (http://www.dennysdriveshaft.com/). I highly recommend this shop. They ship everywhere around the world. Anyway, The driveshaft just slipped right into place. But this was after a minor oil spill in the garage. I used all the cat's dirt to clean it up. Poor cat had to hold tight until we got more cat litter. Anyway, the next item on the agenda was to assemble, mock up, fab and install the driveline safteyloop. These are a must as you realize you have a large steel shaft spinning and several thousand RPM right next to your butt. I like my butt and don't want a drive shaft in it. I ordered a universal driveline saftey loop from Jegs (http://www.jegs.com). I just trimmed it a bit and drilled some holes to fit the bolts that hold up the rear of the trans x brace (remember that fun thing?). I can't believe how nice everything installed. The last thing I had to do was revisit the battery cables. I installed these previously but I had to take out the whole thing....Yup....start from scratch. Why you ask? Well...I needed to figure out my grounding set up before I could move to the next step of installing the cockpit tub on the frame. I decided to take a controversial set up that some will like and others will skoff at. I needed to make two grounds: one on the frame and one on the engine block. Most people do this right at the frame next to the engine. If you haven't guessed already, this 428 is huge and it isn't really easy to get a drill to the frame. My goal was to make both access to the frame and the block grounds as easy as possible. I will need to clean them on occasion to keep the system healthy. So I drilled and tapped a portion of the frame above the rear axle. This required me to make a cut in the negative battery cable and install two terminals. One cable goes into the trunk while the other travels back up the frame and attaches to the block. I bought a side mount batter terminal, drilled it out and installed a bolt to the side of the block. It is right under the header (but far enough back from the heat) so that I can get to it if needed. For next steps, I will be preparing the cockpit tub for installation on the frame. This will include hurculiner, aluminum and heat shield. More later


