 REAR END PART II: Axle Installation
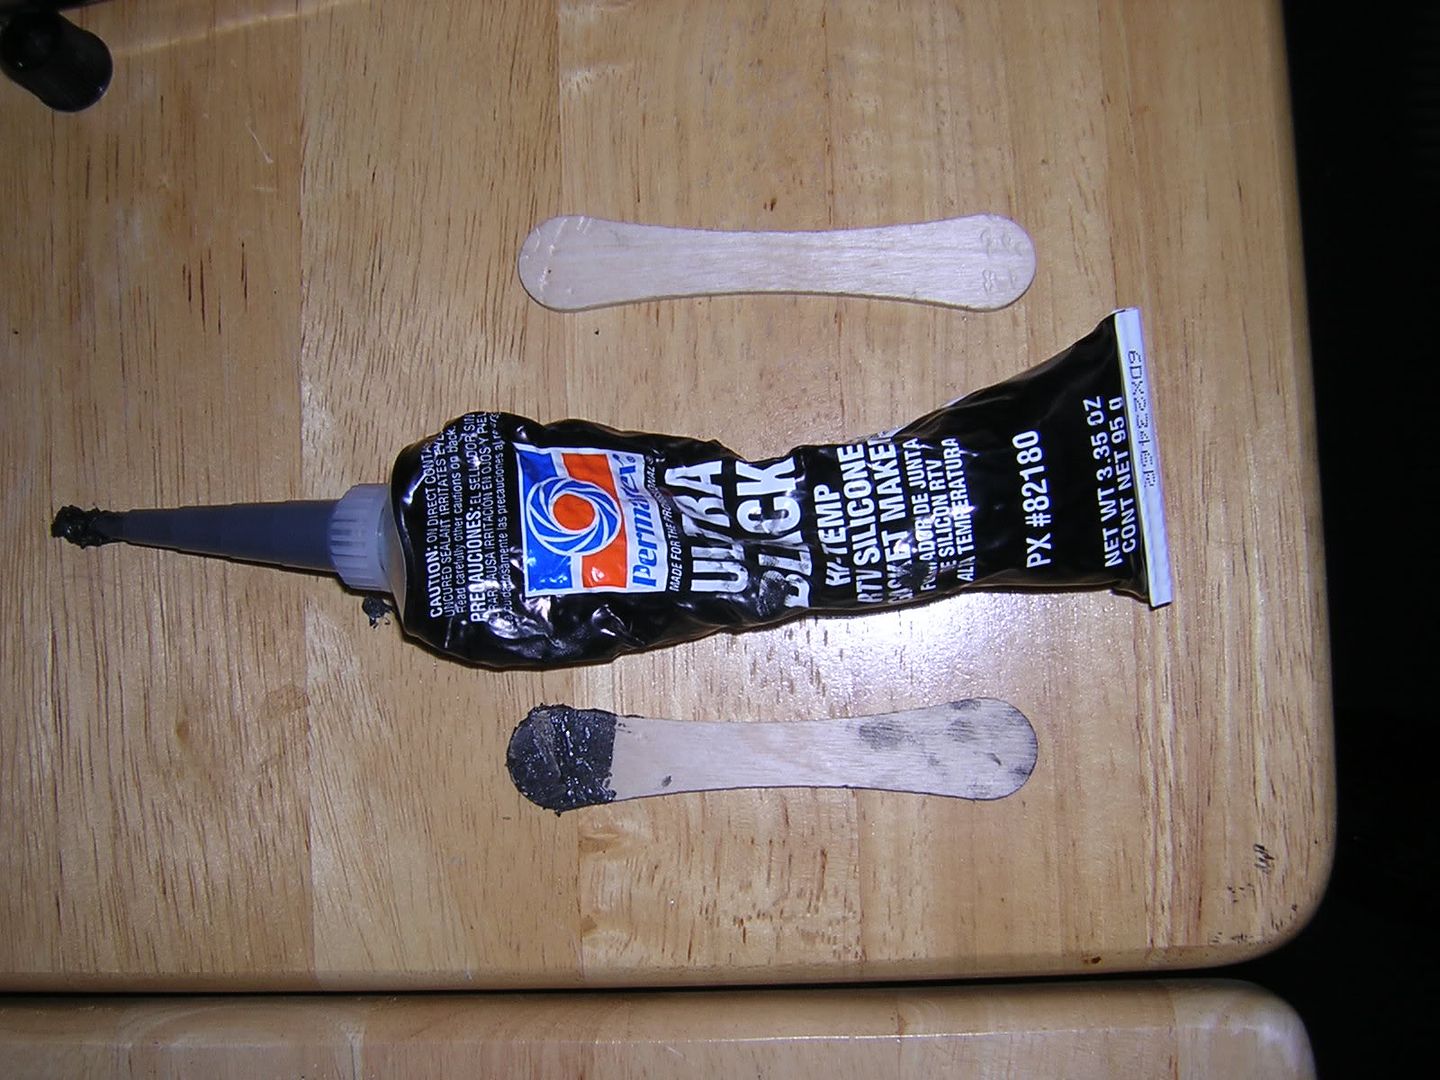
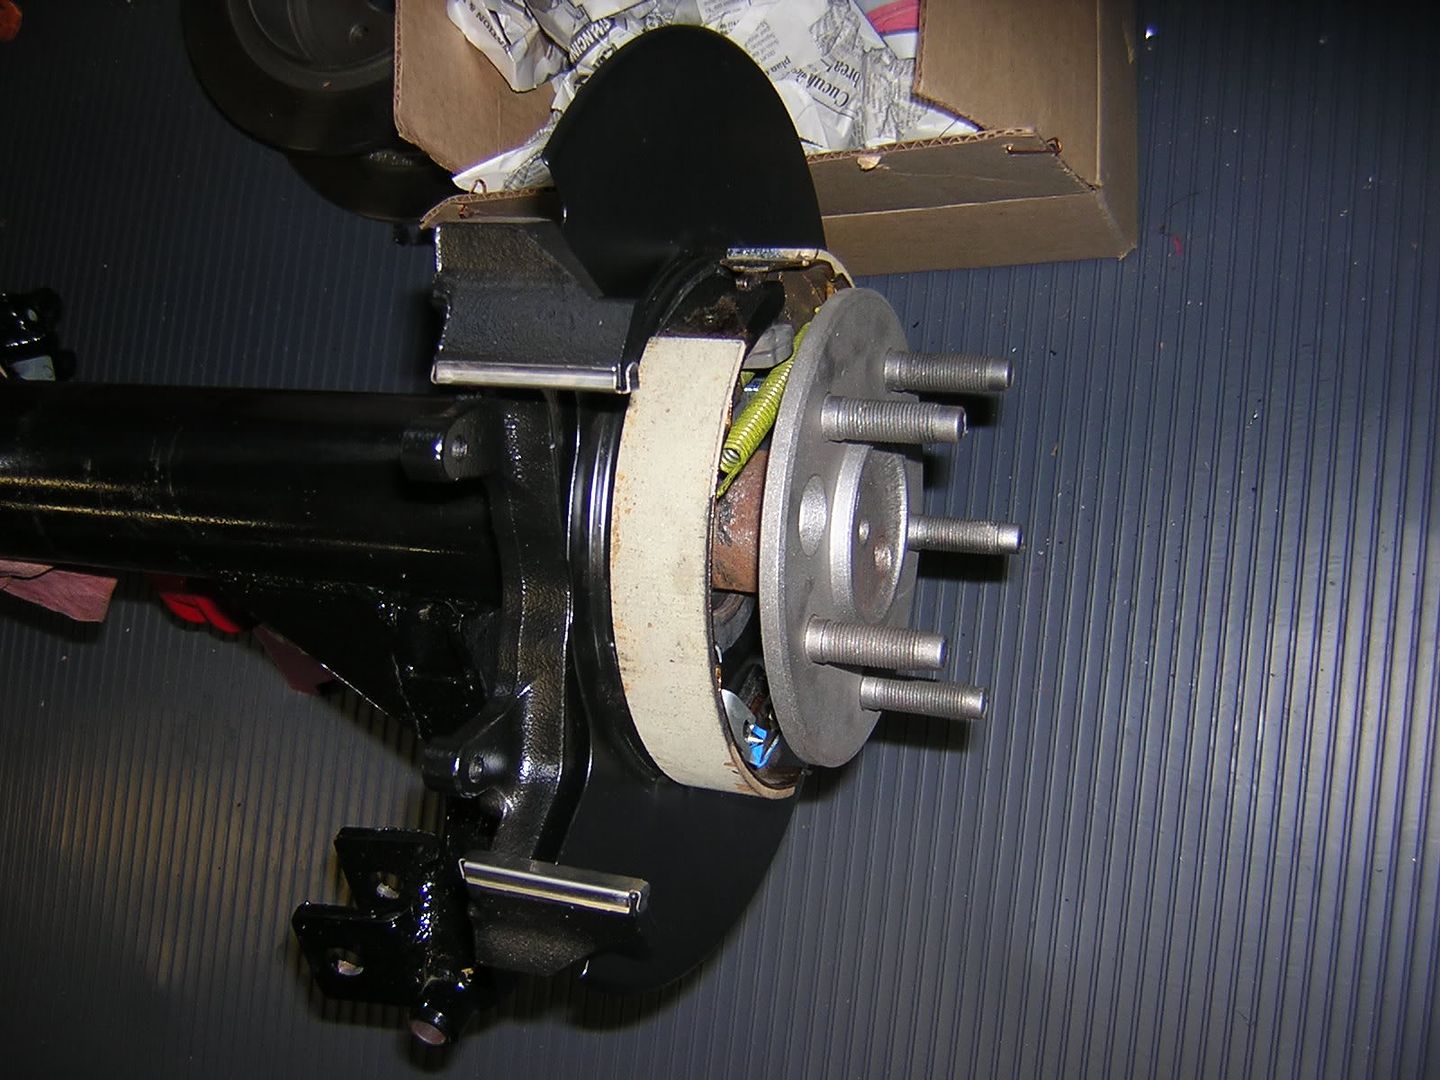
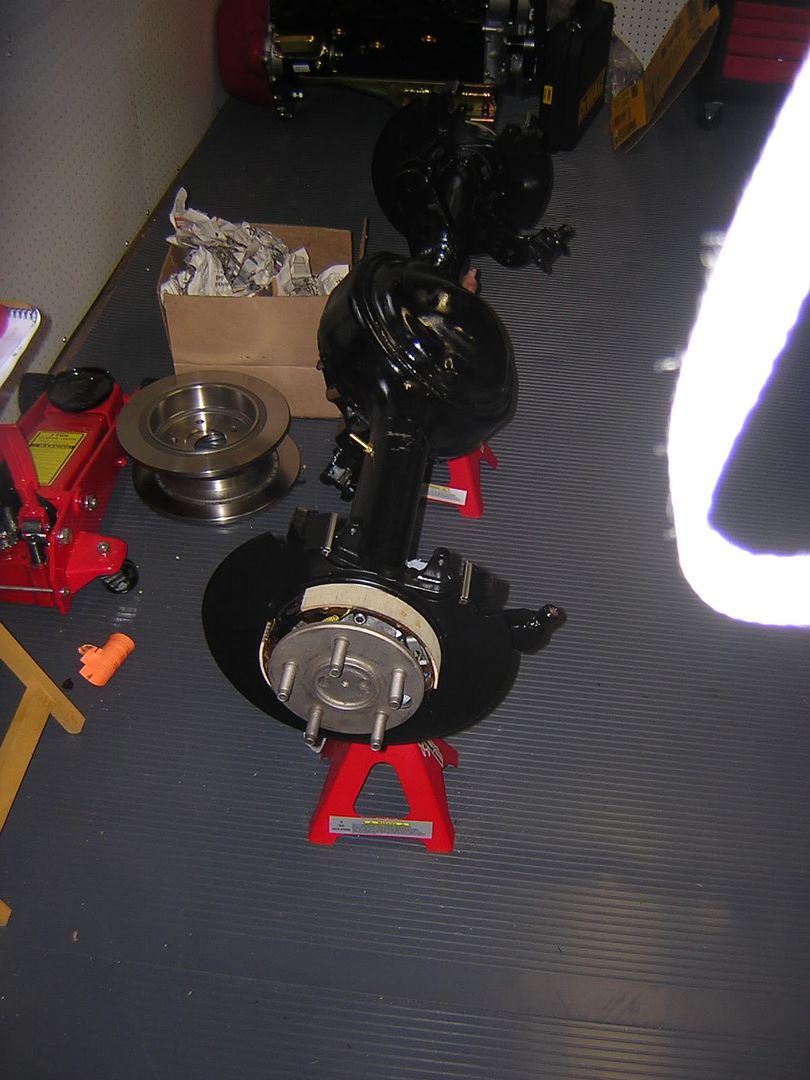
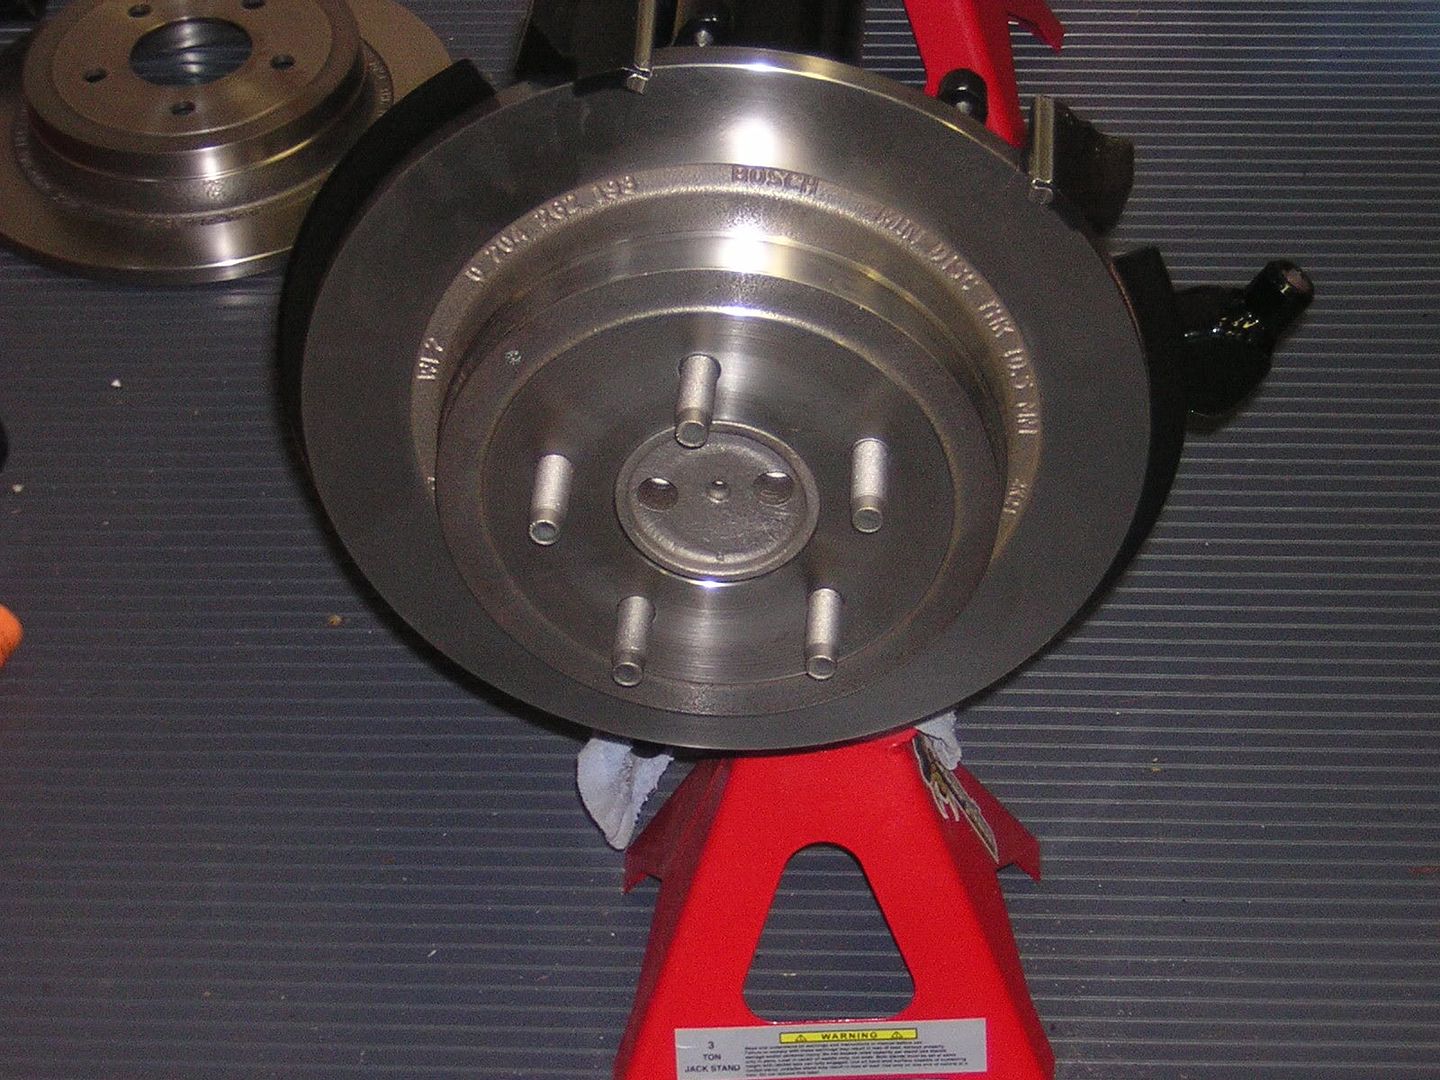
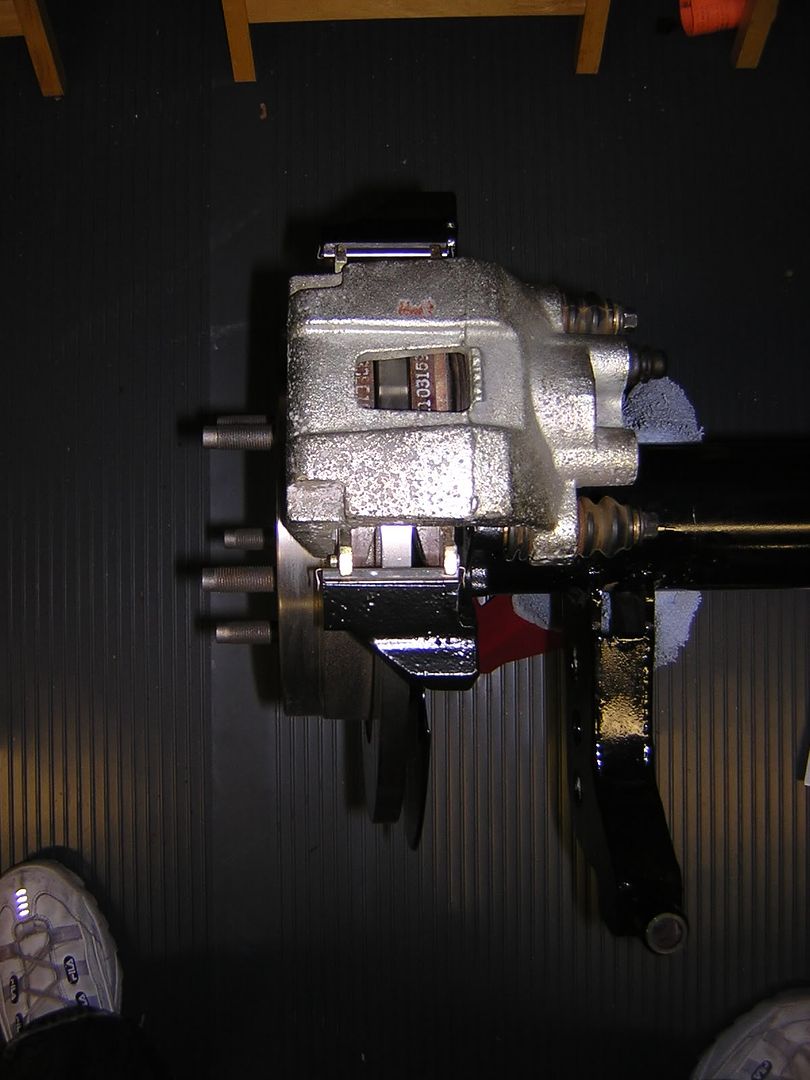
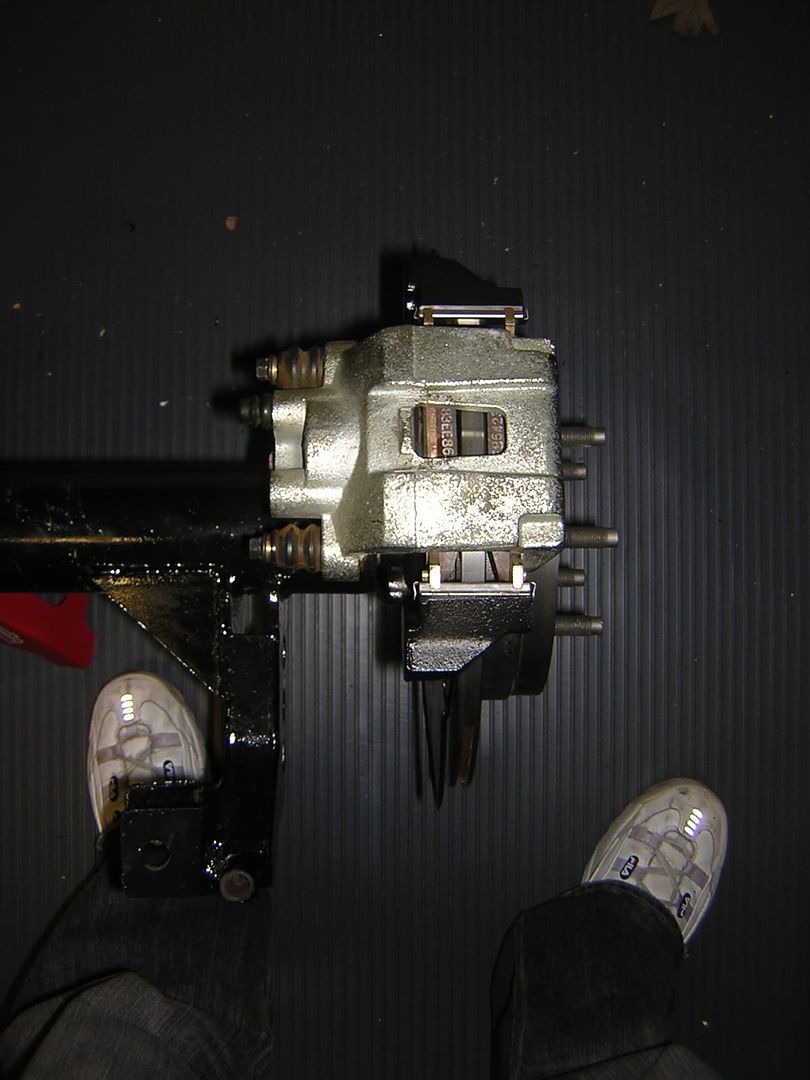
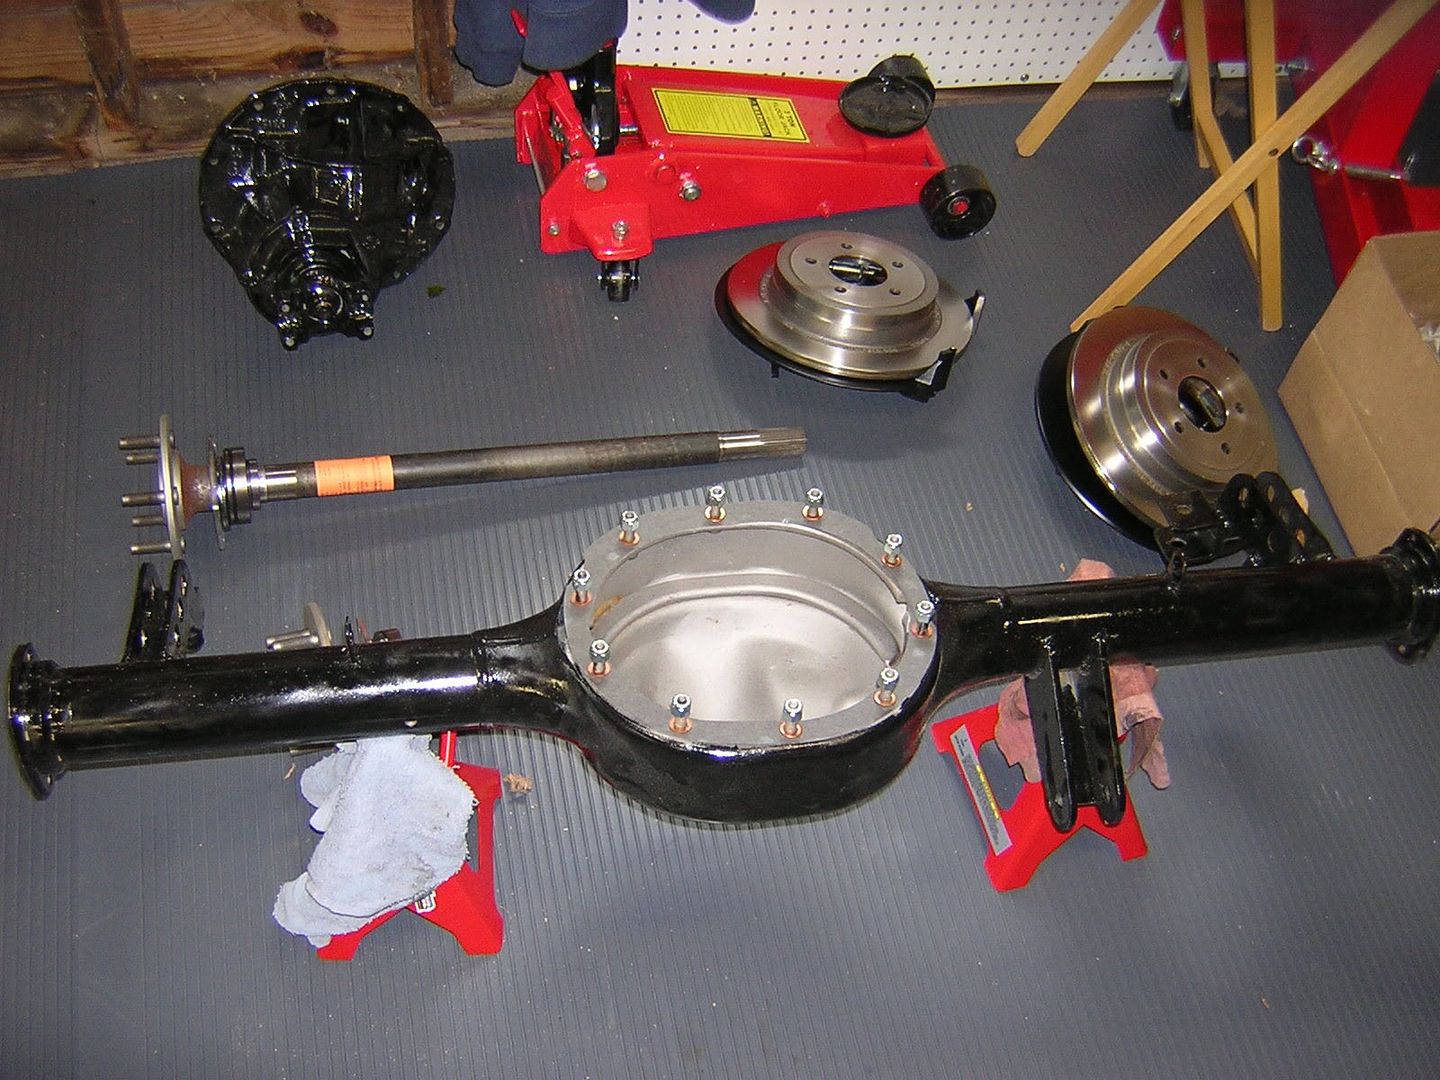
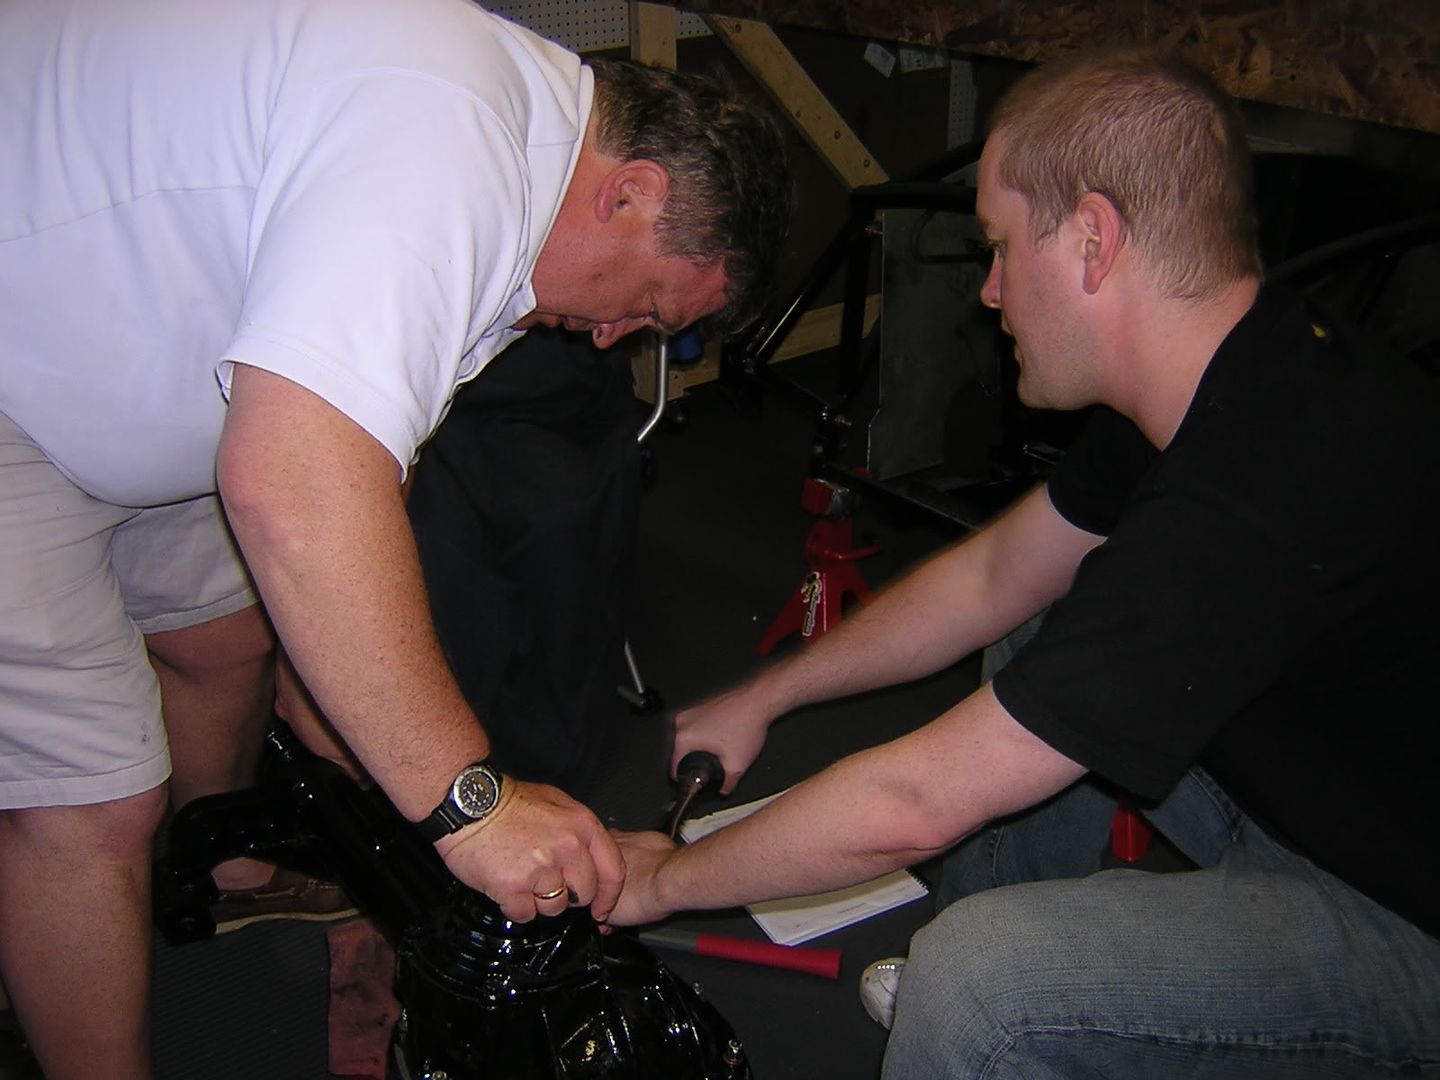
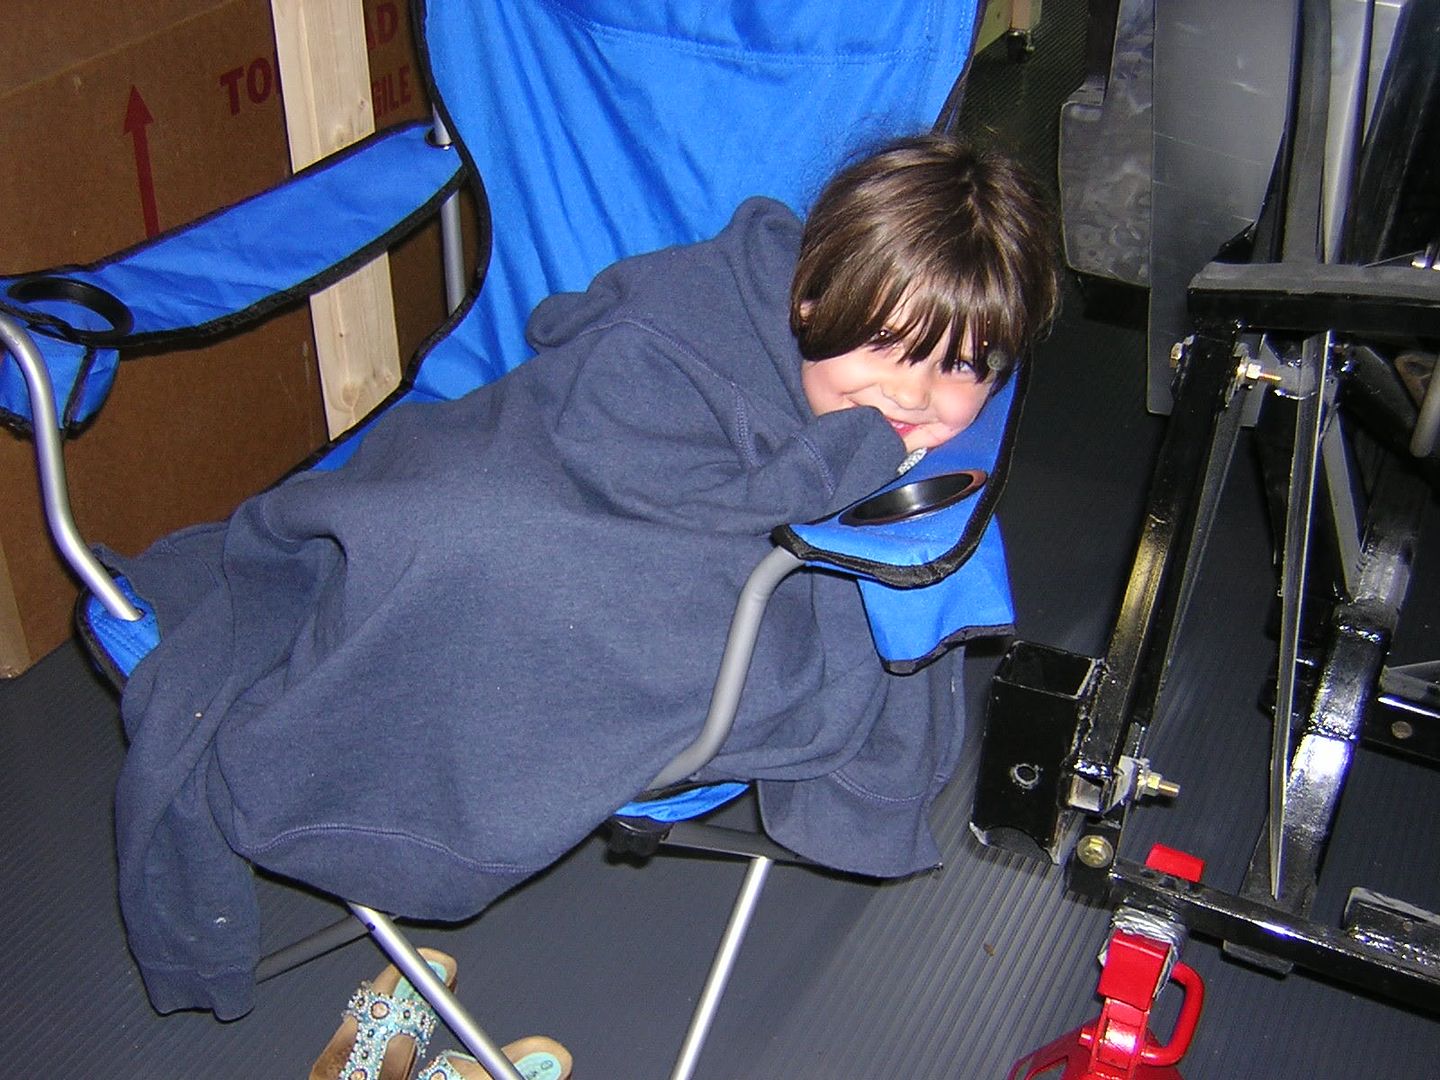
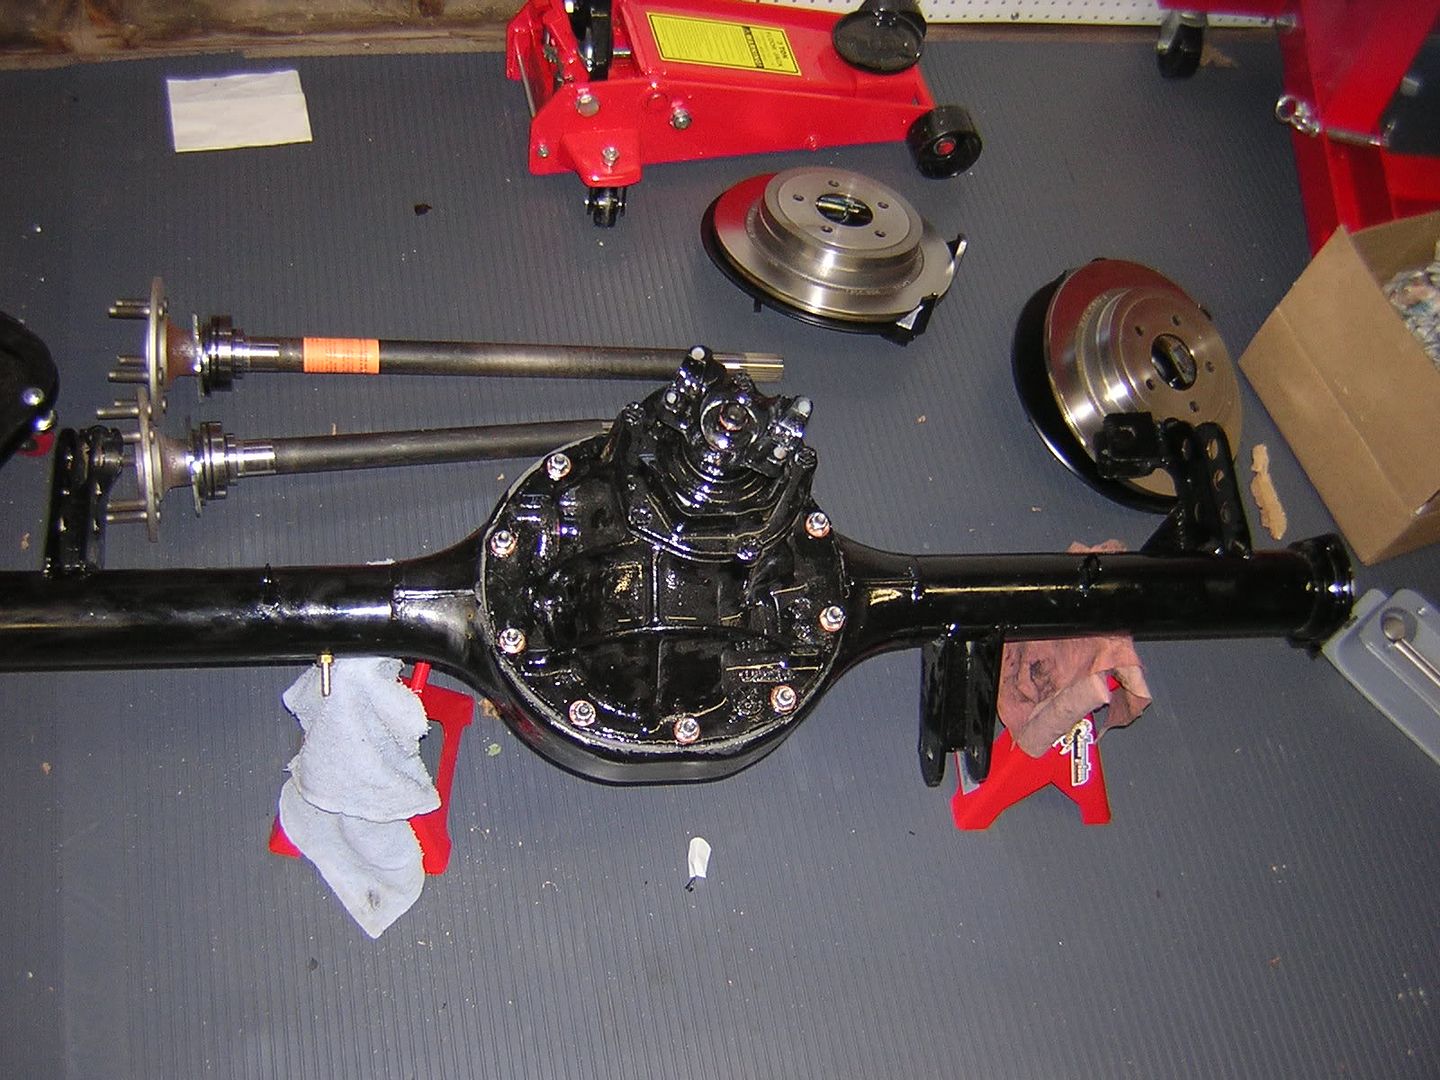
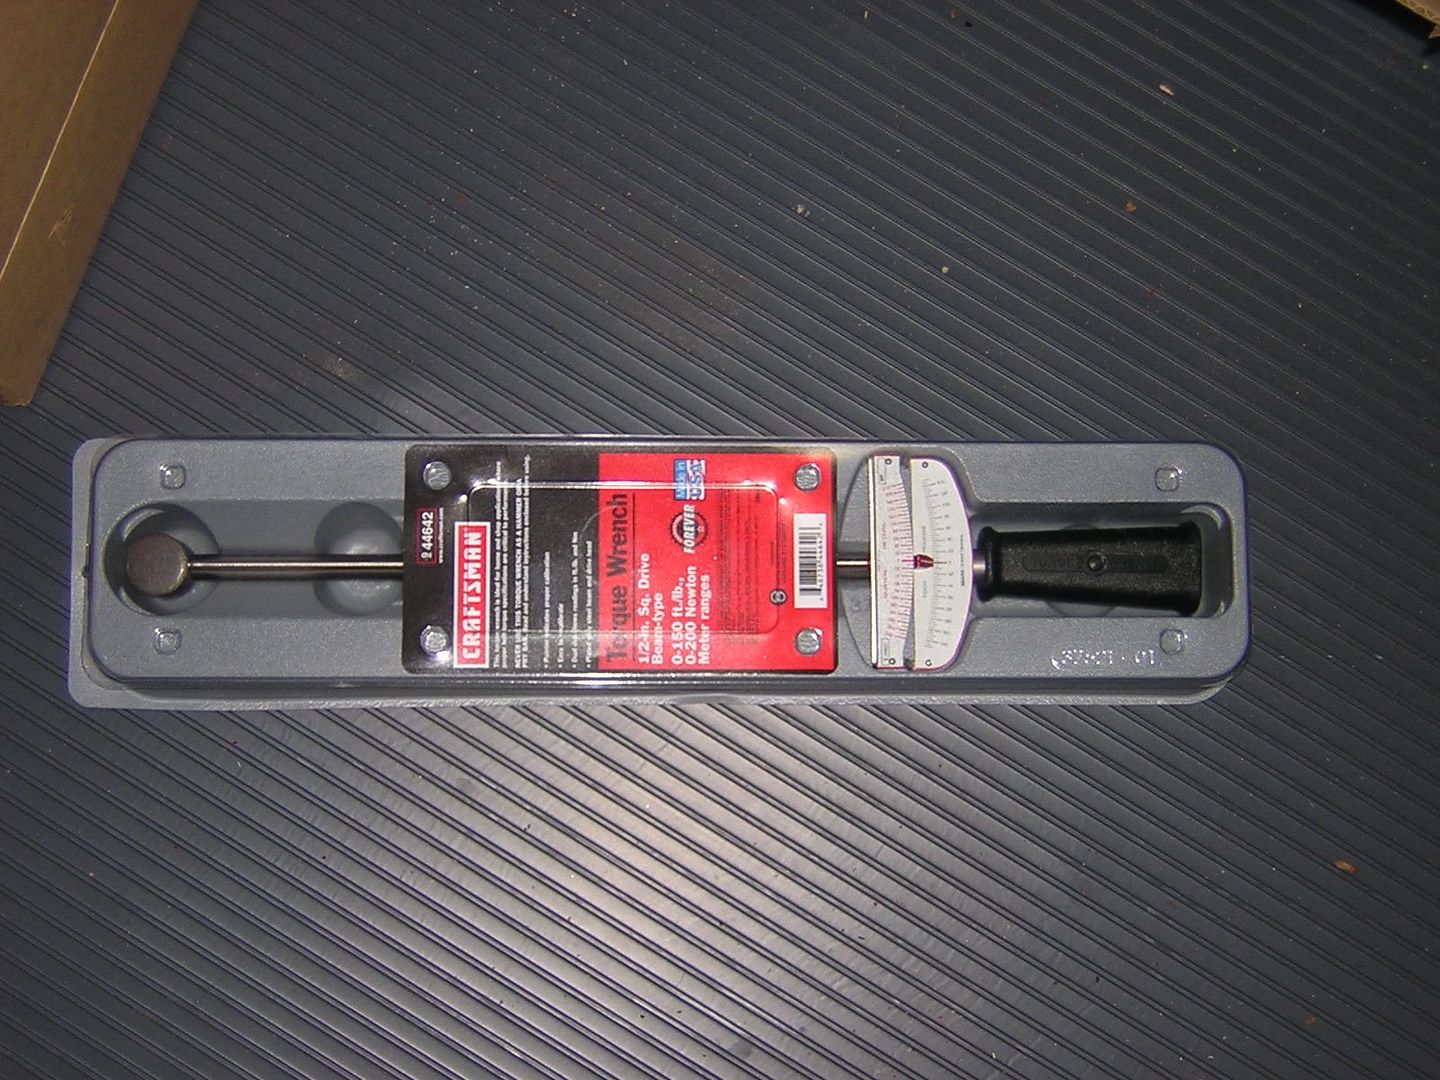
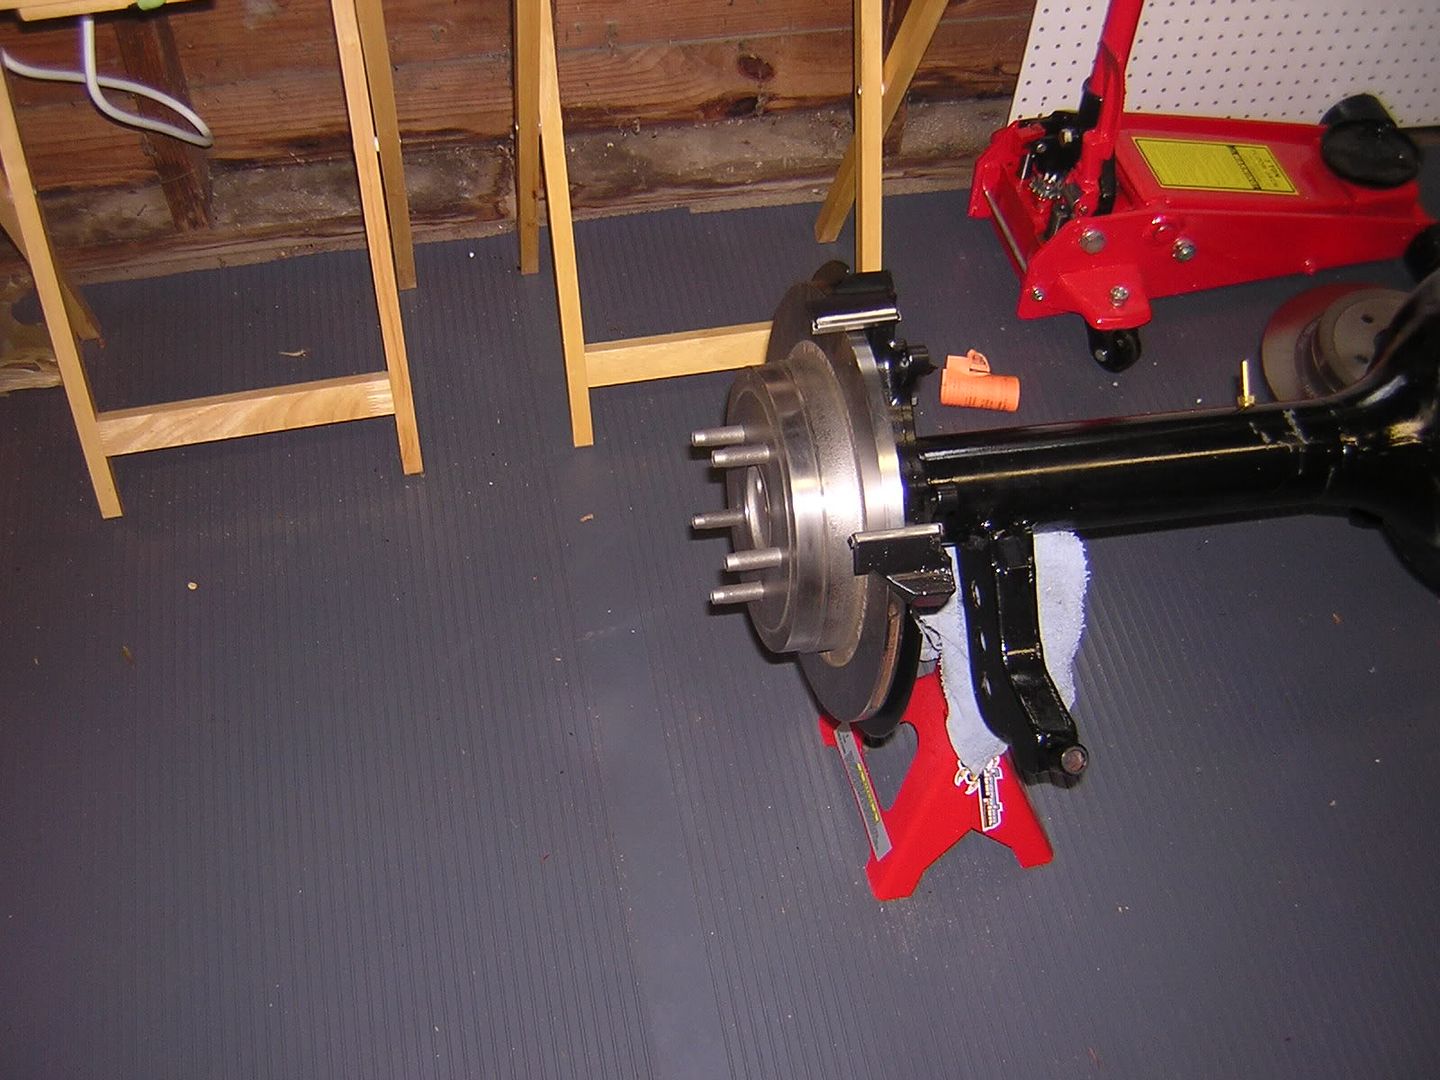
I had an issue with the axle installation last Sunday. Not to get too technical but basically the shaft is composed of 4 main components: The axle shaft, axle bearing, bearing spacer and the retaining plate. The axle bearing was already pressed into the place on the shaft. As a result, you have two parts in between the bearing and the outward face of the axle; the bearing spacer and the retaining plate. These two things just jingle around as they hang out on the shaft. The instructions tell you to glue the bearing spacer to the bearing utilizing RTV silicone gasket before you insert the axle into the axle tube. No big deal. My helper, Claire and I prepped the bearing and the spacer for their union. Once we felt the RTV had set, we went to inserting the axle into the housing and into the third member. Now this procedure does require some finesse.....with a dead blow hammer. This does not mean you are swinging the hammer like John Henry, it just needs some Newtonian physics to move it along. During this process, the axle gets closer and closer to the e-brake assembly that sits on the end of the axle shaft housing tube. As a result, the gap between the hub lip and this assembly gets smaller....and smaller and smaller. If you click on the pictures below, you will get a large, high res version of the picture which will allow you to see this. Anyway, right on the last swing when the gap is at its smallest, the bearing spacer falls off the bearing. #$%@!!!!! How did THAT happen? How do I get that spacer back on the bearing without pulling the axle out? By the way, the tool to pull the axle out costs about $100. Claire and I sit in disappointment, talk about what happened and strategies for axle number two. We decide that we didn't let the RTV set up enough and that we should give it more time. We do this. All looks well. Here comes the dead blow hammer again.....same thing. Right at the LAST moment....."ting ting ting" #$%@!!!!!!! Claire and I are defeated again. I feel that I must get an axle puller at this point and go at it again. Meantime I write for help on some of the forums and find out that this is REALLY common during installation. Anyway, I go out to the auto part stores to find an axle puller. Most stores are closed. The super "Mega Mart" auto parts store I went to was worthless. I asked them about an axle puller and they looked at me like I asked them for an umpaloompa or something. I went home defeated again and told Claire that I would have to order this axle puller before we could continue. But something bothered me. I didn't want to give in yet. After two days of restless sleep, I thought I should just throw in the towel and buy the tool online. Before I did this, I sat down to eat an icecream bar; drowning my depression in sweets...oh no..I sound like a pregnant woman. I digress again. As I finished my icecream bar, I was left contemplating the chocolate stained stick. The skinny, wooden flat stick. A flat stick with the width to fit through the narrow space left between the axle face and the ebrake assemble. A stick that could apply another coat of RTV and maneuver the bearing spacer back into position which would allow me to get the retainer plate into position. But what if I need two? I know what I had to do...eat another ice cream bar. Selfless I know. One never can be too prepared. Well my plan worked out great! Although my wife thought I was an obsessed mad man as I ran out the garage with a chocolate smeared grin and a maniacal laugh. It was 10pm so I didn't want to bother Claire so I would have to do it alone. An hour later, I had the axle shafts completely installed. Tonight, I will torque down the assembly, and add the rotor hats and rear brake calipers. If this is completed, then I am set to assemble the rear suspension and add the rear axle to the car. What adventures will Claire and I have upon this part of the journey? Who knows but I will make sure to have the icecream handy.


