Mock Up: REAR
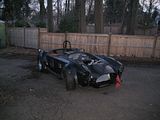
I decided to take a sectioned approach to the mock-up phase of the body before sending it off for paint. I decided to start with the rear, then move to the front, then finish off the cabin/windshield, etc.
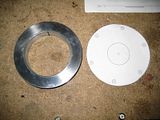
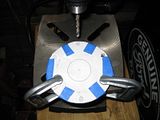
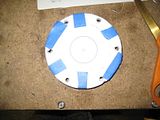
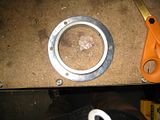
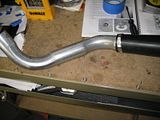
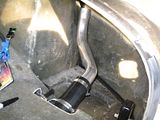
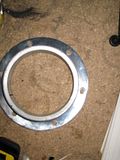
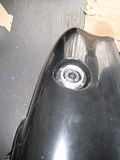
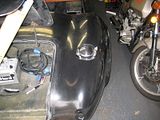
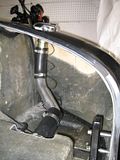
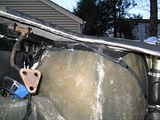
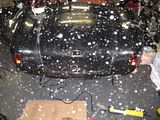
For the rear, I started with the fuel filler. I started here because I realized I was almost out of gas and had no way to fill the tank with the body on (I am so smart). I used the template in the build manual to create the mounting holes for the lemans gas cap base. This is a very nice piece btw. Once I had the holes drilled I counter-sunk the holes and use the cap as a template to drill the holes through the body. The kit comes with a prebent pipe connect the tank to the top of the spout. Everything fit together pretty well.
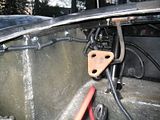
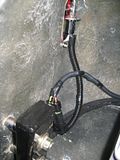
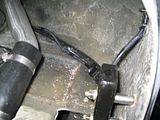
The next challenge was to route the electrical branches to their respective destinations. I used rubber coated clamps and used #10 screws to go through the trunk pan. I will most likely take a small cut off wheel and remove the end of the screws that stick out of the trunk pan.
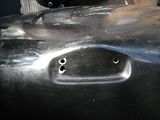
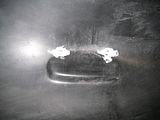
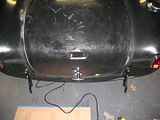
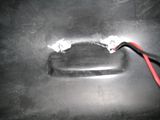
I preped the trunk for the license plate light by drilling 3 holes (2 for mounting screws and one for wires). I recessed the holes so that the inner bolts of the light would have a flush surface to rest against.
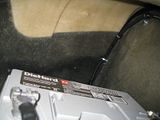
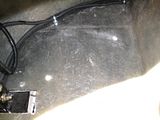
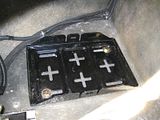
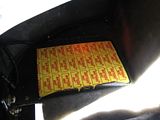
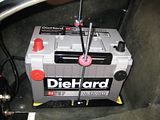
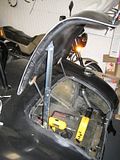
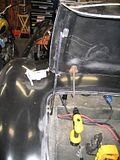
Before mounting the trunk, I decided to mount the batter tray. I only had two bolts for this when it really needs 4 to be safe. Figure this is mock up and I can always add 2 more. I added a battery mat into the tray...not that I'll need it as it is a gel batter but I felt it could help keep the battery in place. I will have to cut down the mounting anchors as they are very tall as you can see in the pictures.
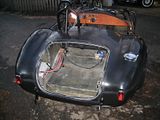
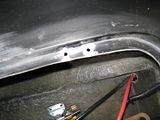
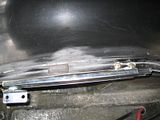
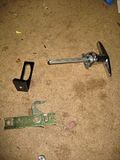
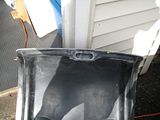
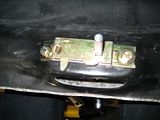
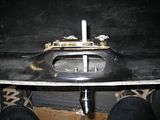
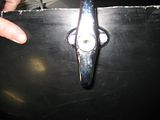
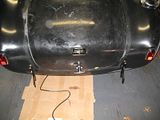
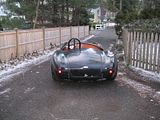
Next step was to mount the trunk lid. This requires installing the trunk prop and the rear latch assembly. I had to cut an access hole in the trunk and line up a receiving catch inside the trunk. Very hard when you are having to line this up by yourself. The trunk prop and rear latch when in relatively easy. Only issue I have with the trunk is one of the hinges doesn't line up any more with one of the mounting holes. It could have been the weather. We had gail storms with snow flurries. Pictures below.
