 "SHOW ME YOUR PAPERS!!!!"
This next step of the build is the front suspension. I have made some progress on this step that I will talk about later. Something wasn't quite right. I realized I was missing "something" as I watched "Indiana Jones and the Raiders of the Lost Arc." The scary German character named "Tolt" asked people about "their papers." This reminded me of New Jersey's requirements for inspection/registering your car. Then I realized that I need to take a break from the build and get "my papers in order." This will be the perfect weekend as I have a wedding to attend on Saturday and I will only have little windows of time to steal for myself. Also...I need to take my motorbike out for a spin. Anyway, when you build your own car, regardless of which state you reside, there is a lot of documentation needed to complete the process of inspection/registration. Frame certifications, bill of sale, receipts, pictures, tracings of serial numbers, pints of blood, DNA sampling, first children, etc. These documents are now sitting in the top of my tool box. I need to get my butt in gear and get these docs organized and into a binder.... And I should make COPIES of this binder as NJ requires original docs. Then I started to think about my own PERSONAL documentation of the build. What about future "little Khans" that question about the crazy car in the garage that "daddy said he built?" I then realized that this blog allows me to print out each post individuality. Not only does it have pictures, but my crazy rants as well! Then my mind moved over to other tasks of an organizational slant that I should be doing but haven't made the time. For instance..the frame is on jack stands right now. As like most of us, I don't have a big garage. How can I move this around? Well, FURNITURE DOLLY!! I need to put two furniture dollies under the frame. This way, I can move the frame AND the body buck. SLICK. What about a work bench. Mine today consists of three TV table/trays next to each other. I need something to mount my vice to. Need to get a work bench.... Oh..and my camera batteries died. I need to keep spare batteries in the tool box! Wrenches...such a pain in the tool box. I am going to hang them on the peg board wall so I can see them instantly. I will rant about more of this over the weekend.
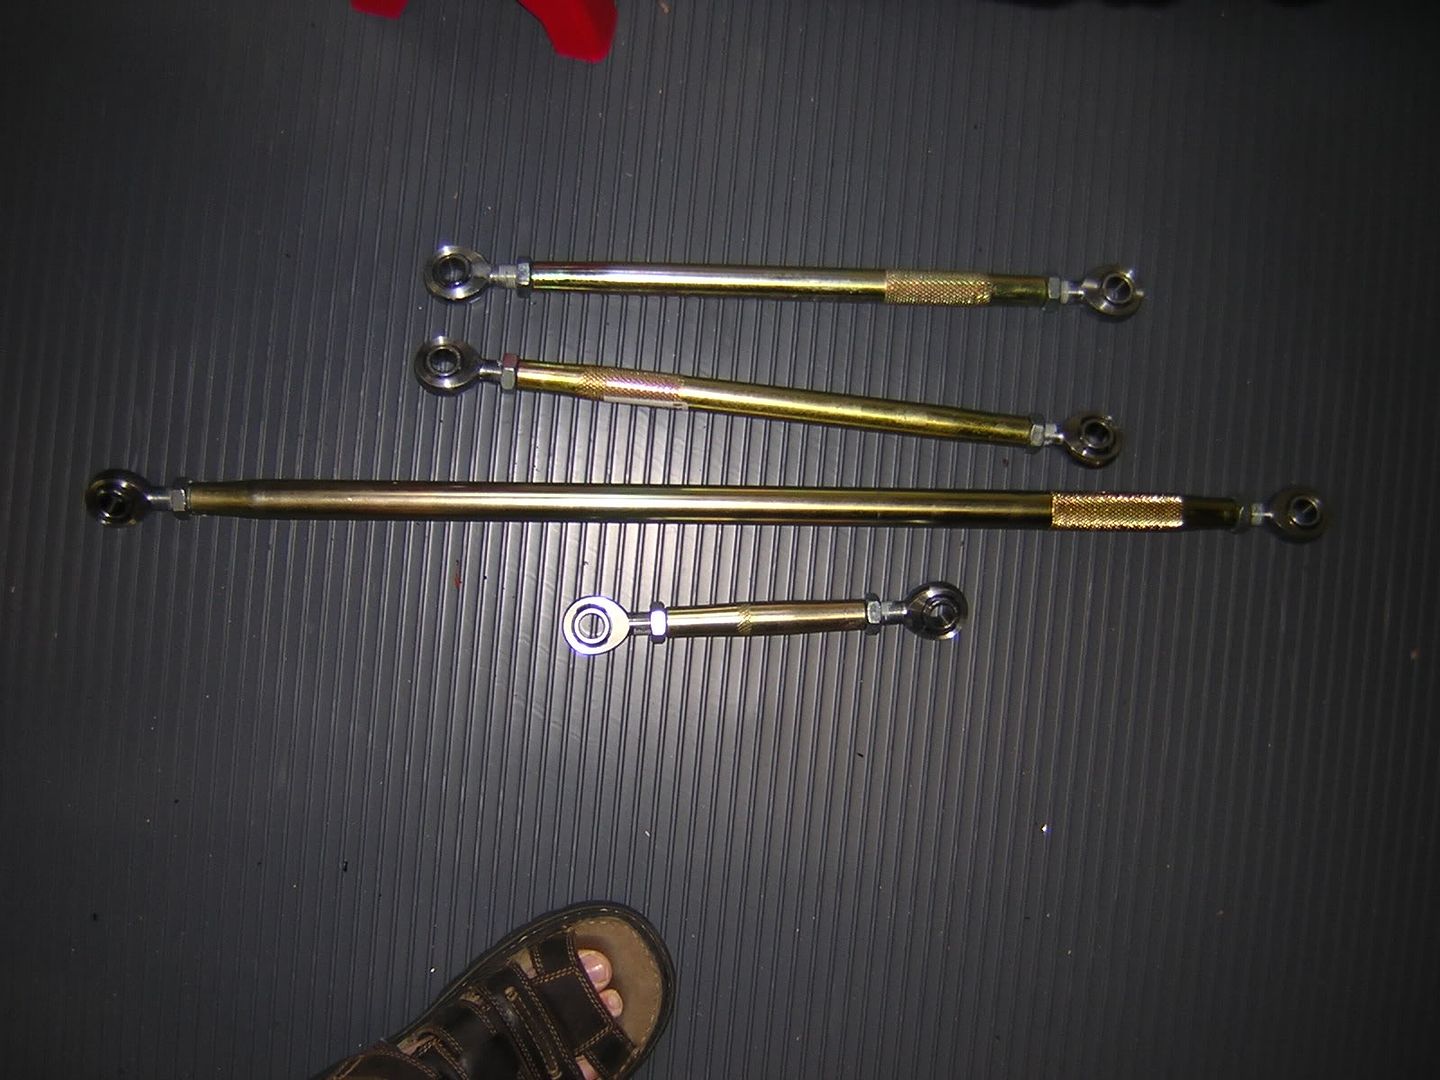
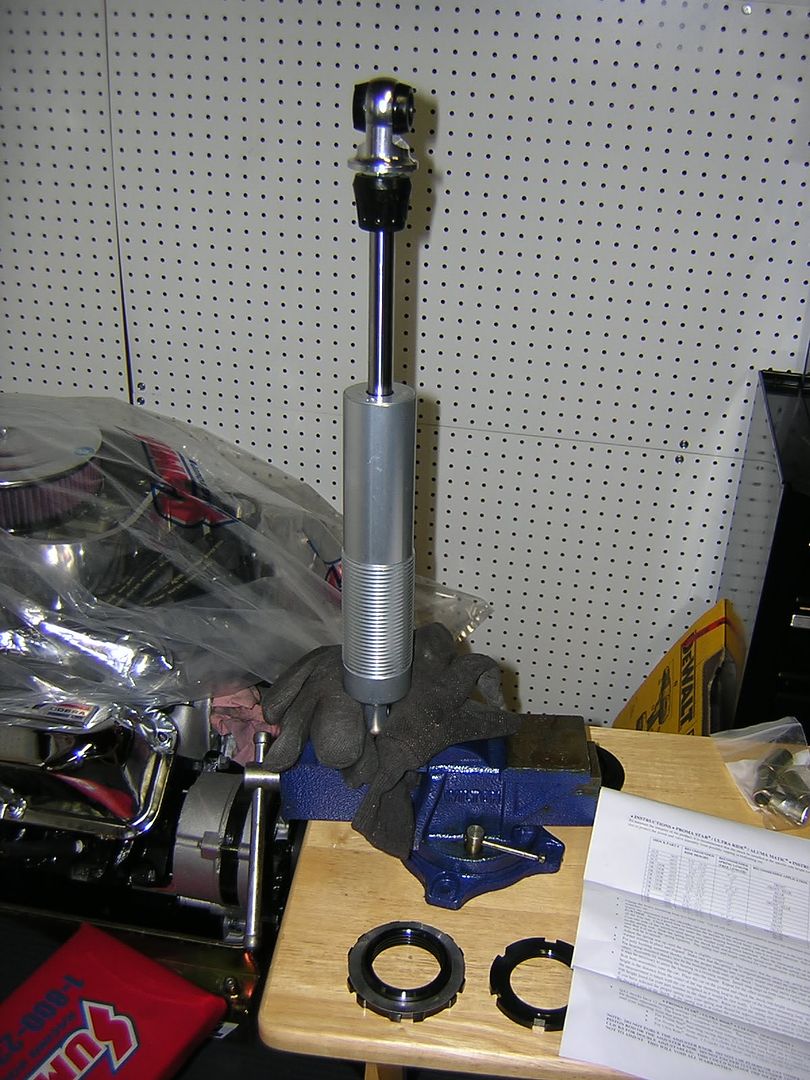
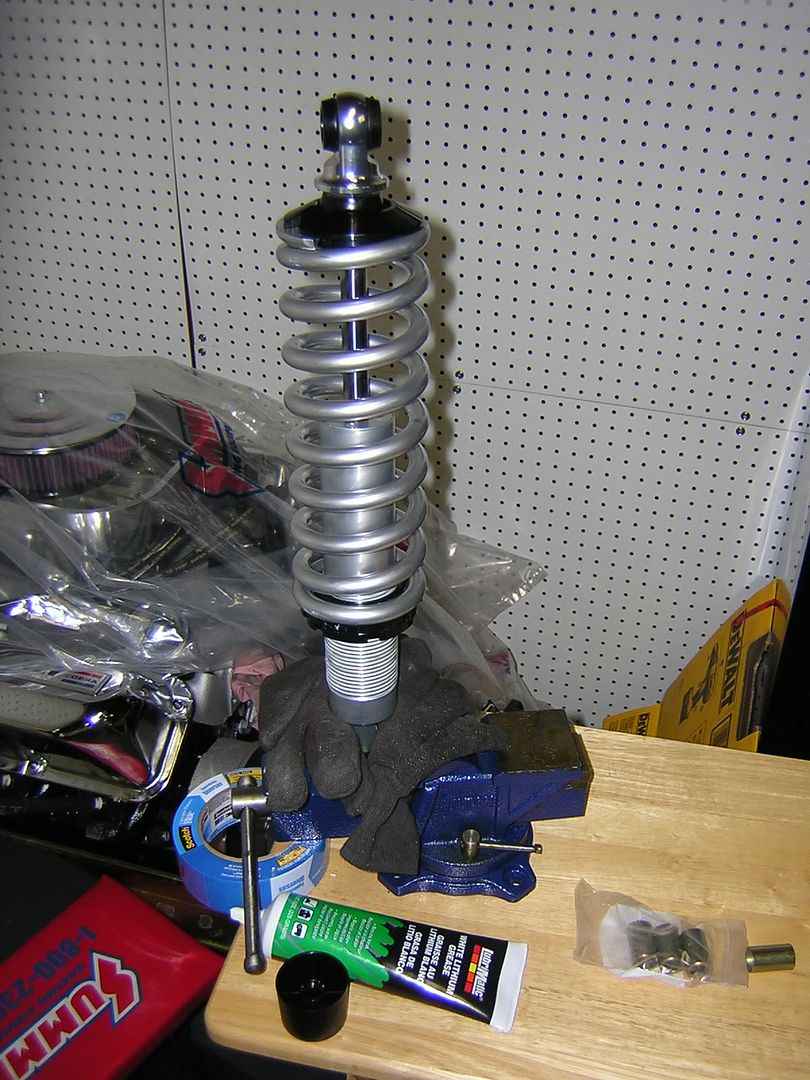
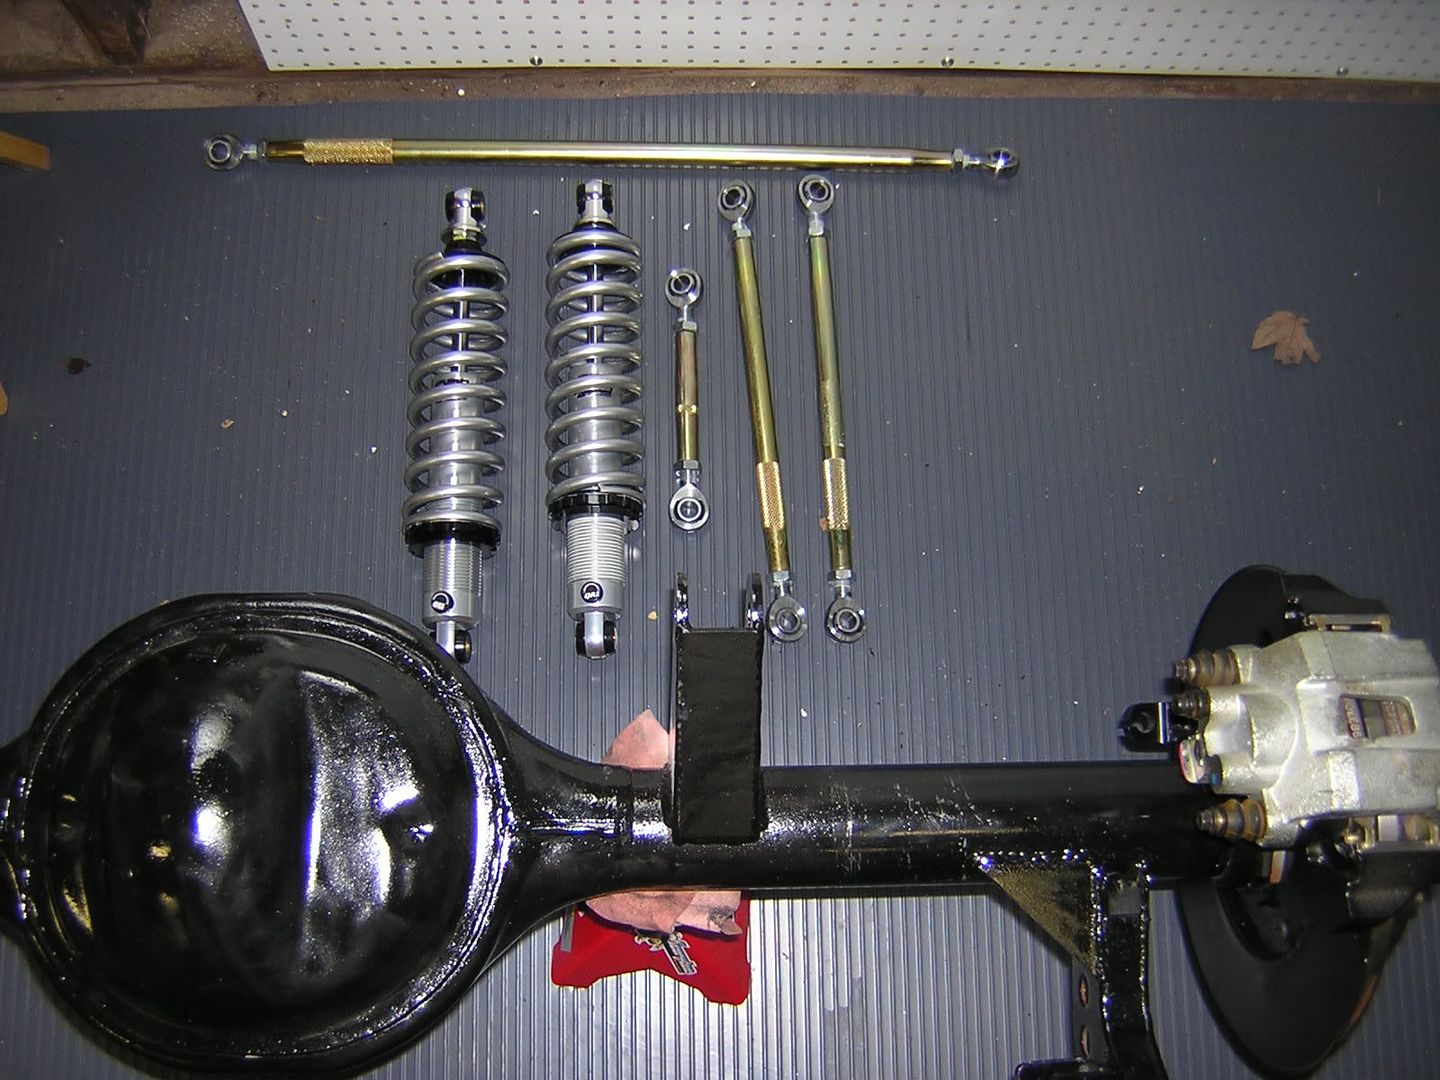
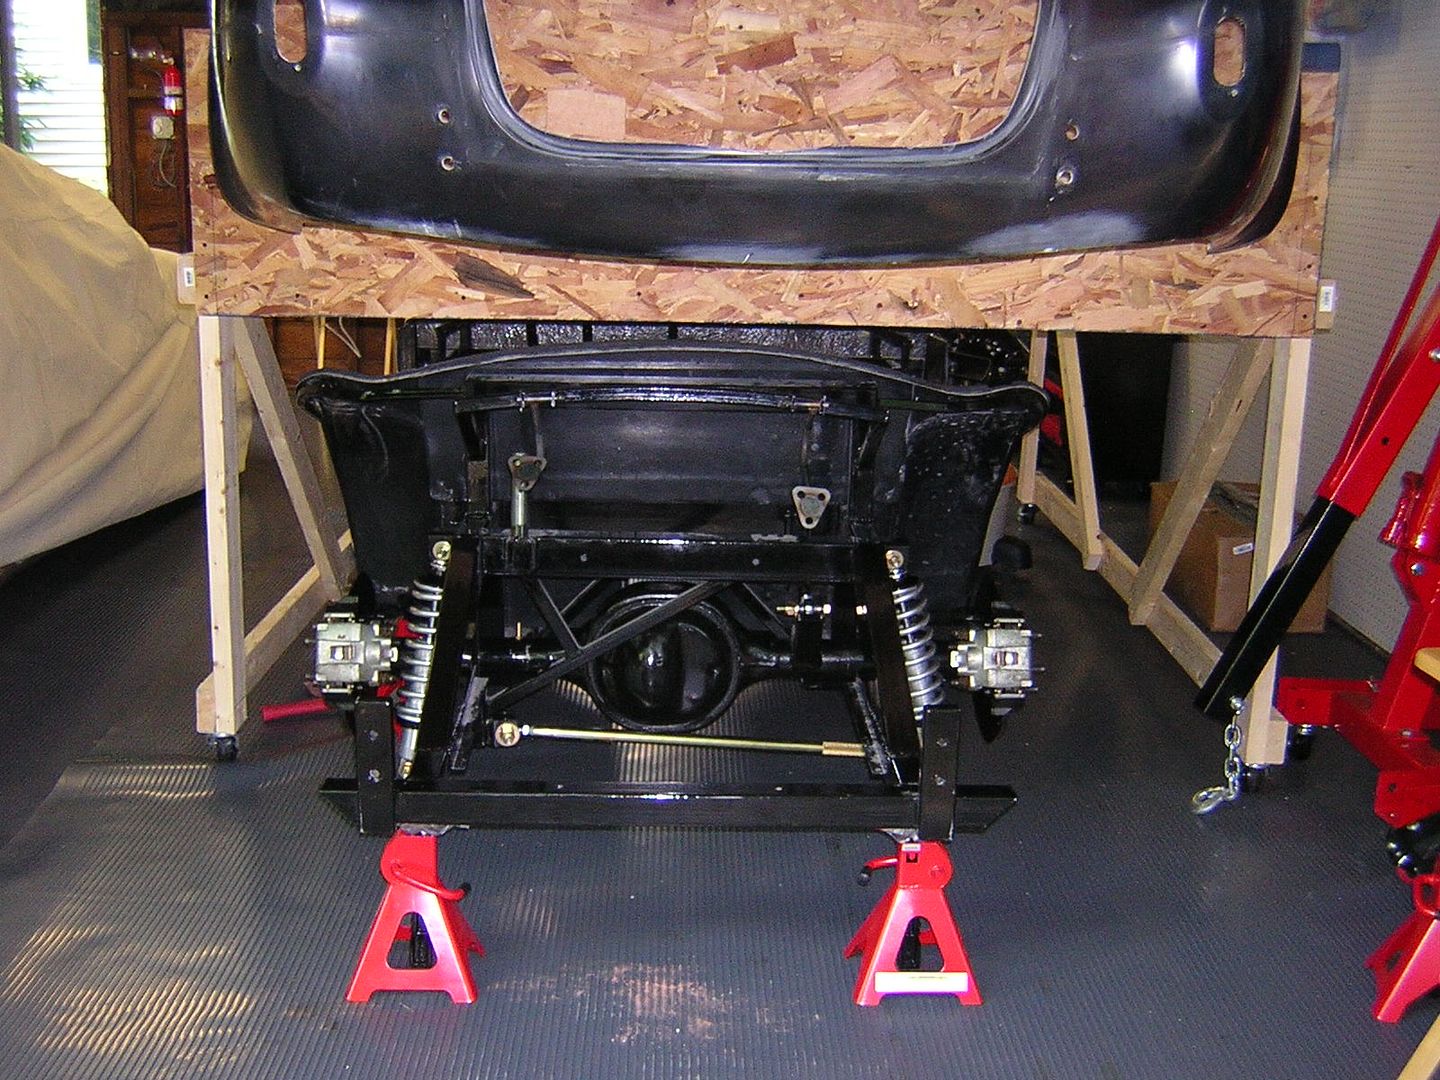
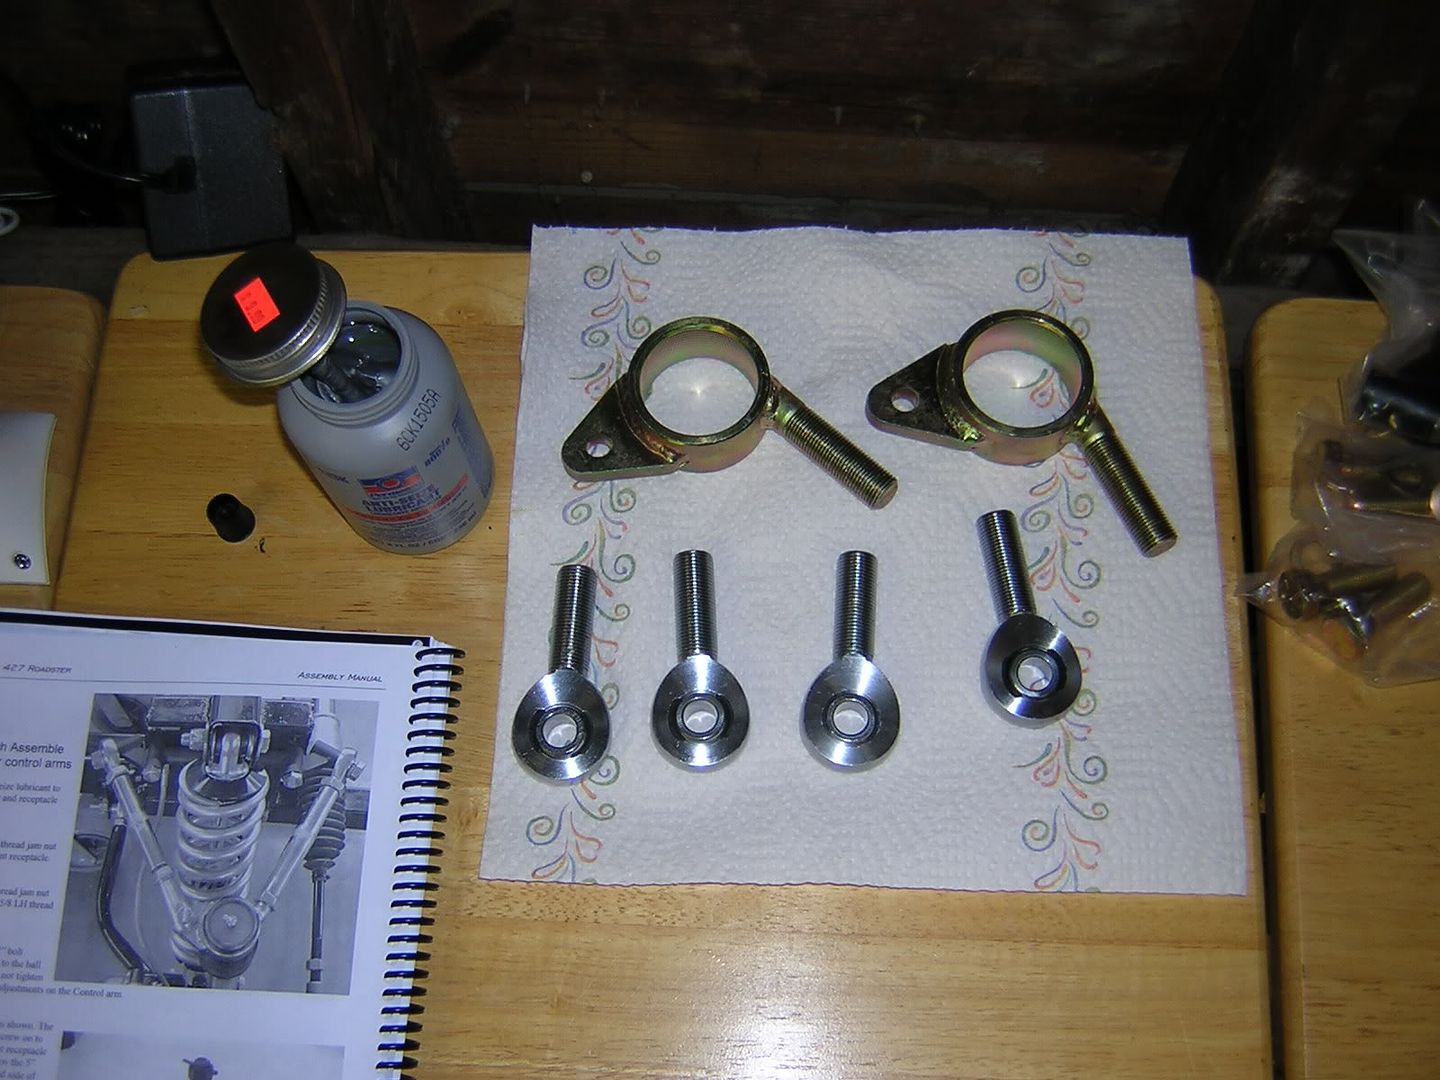
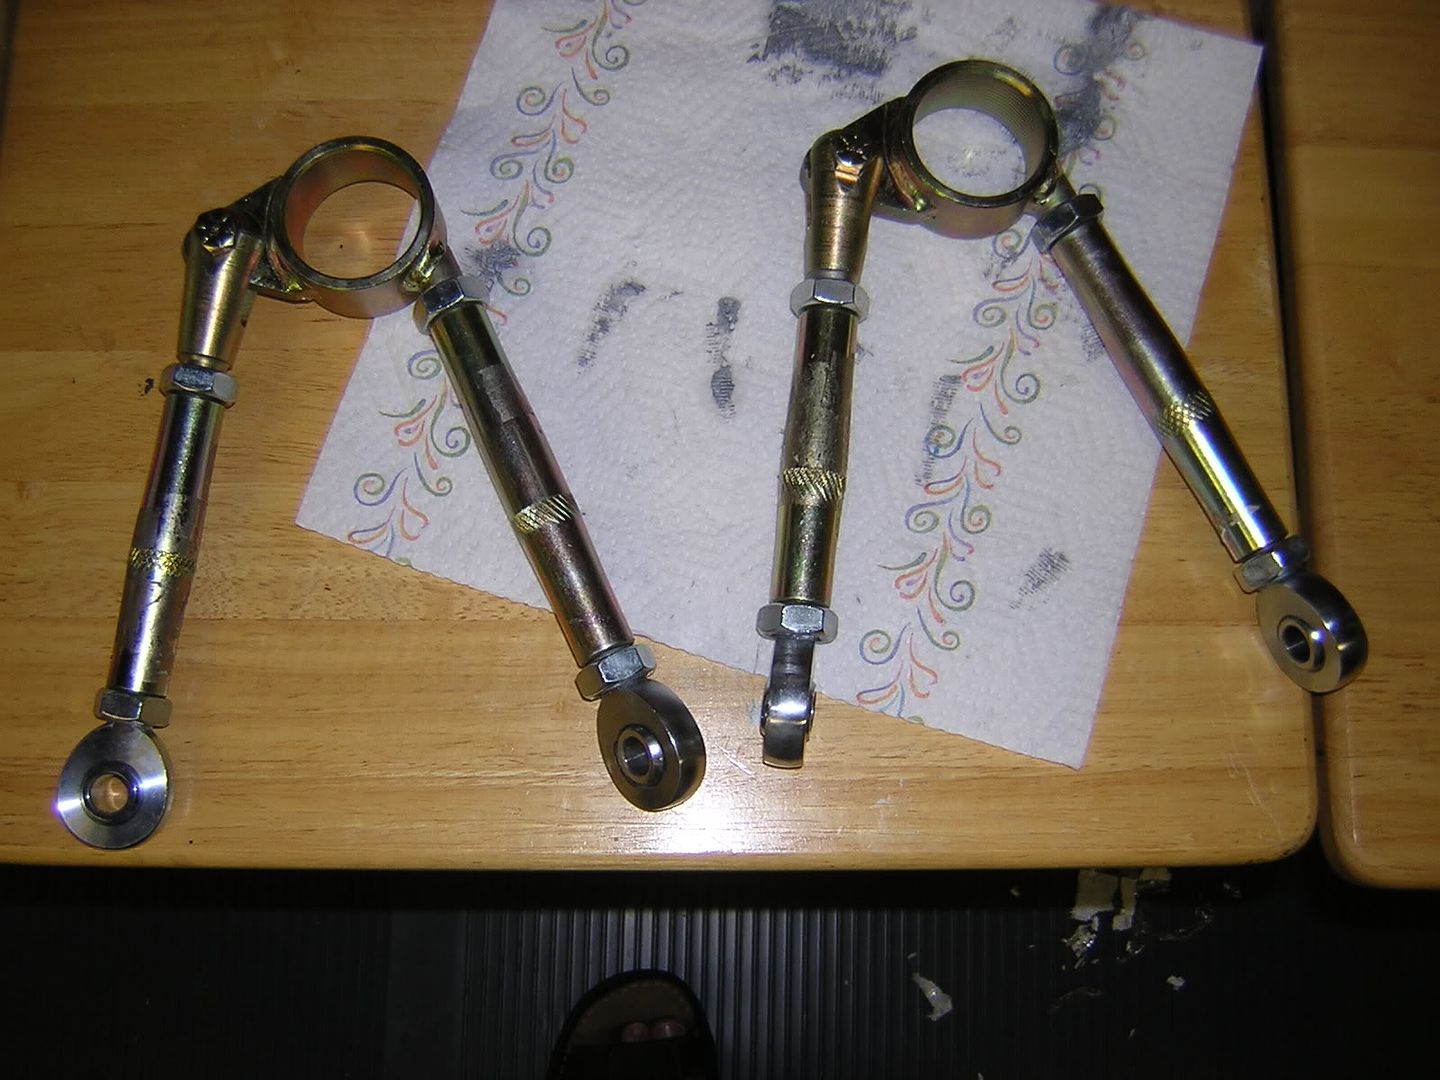
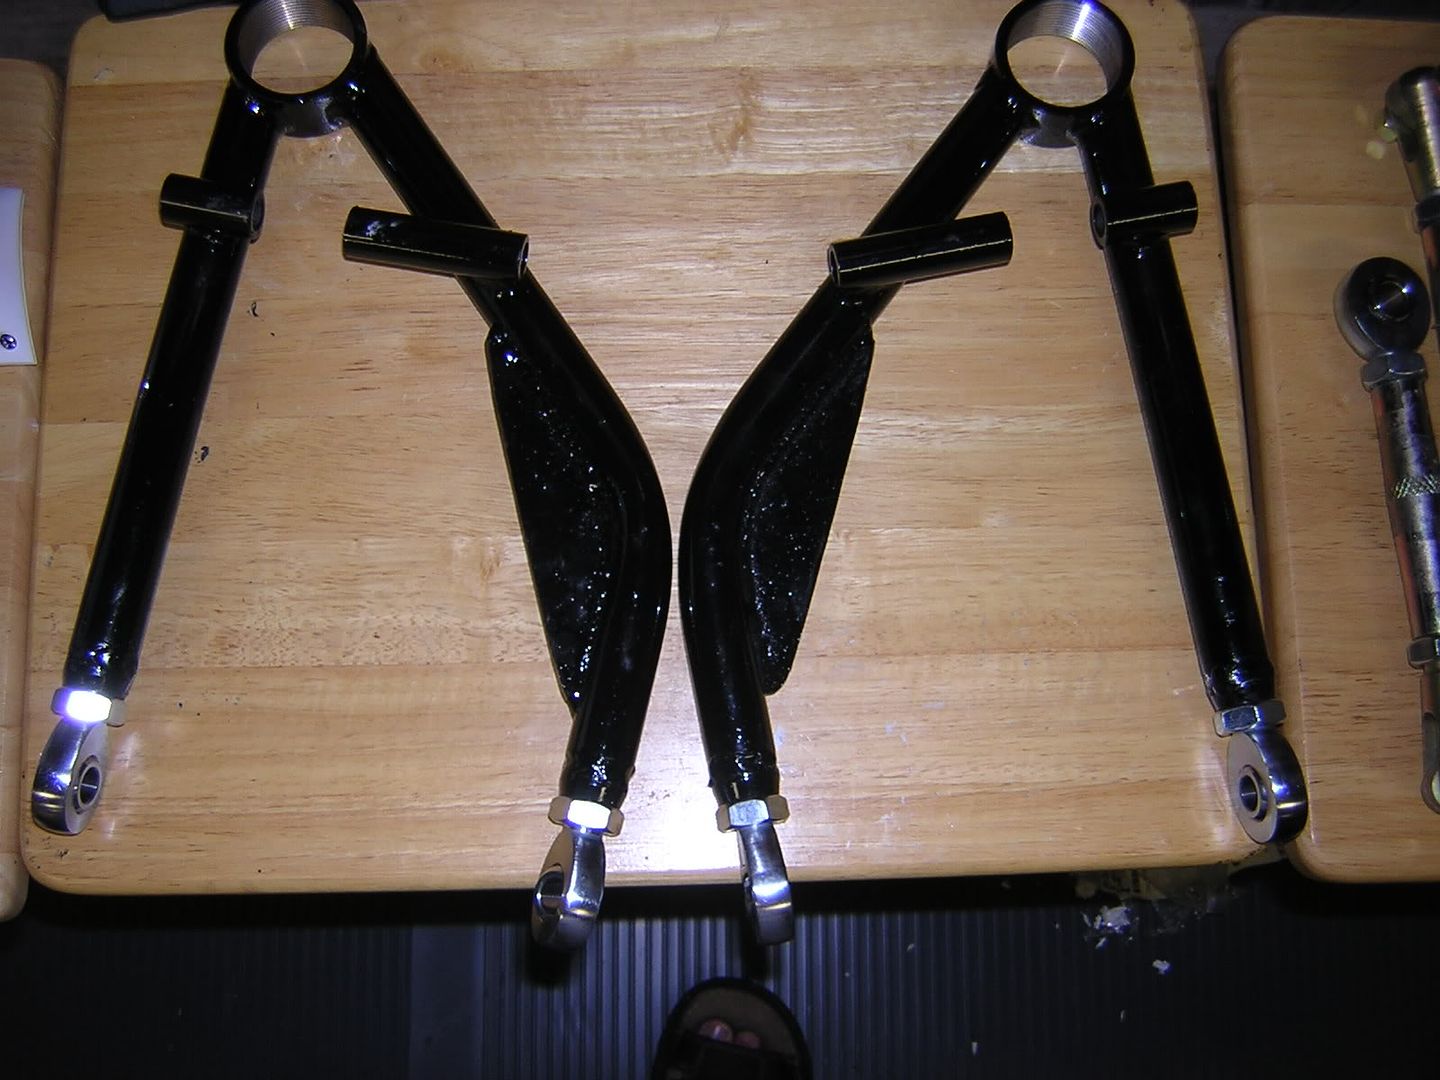
So what about the front suspension? Below are some pics of the lower and upper front sub assemblies. These will attach to the frame. The lower arms attach directly to the frame but the upper arms attach to the frame utilizing an "Upper Control Arm Frame Cross Shaft." Once these are mounted up, I will assemble the front coil over shocks, ball joints, spindles, etc.

posted by Khan Smith at 8:36 AM
0 comments
![]()
![]()