Put the Pedal to the Metal but Becareful Not to Switch the Oil Lines or KABLAAM!!
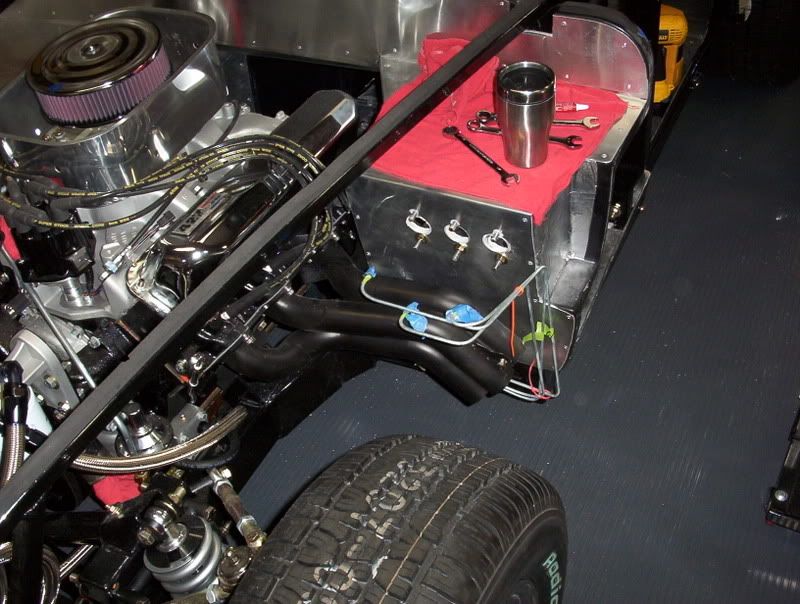
In this post, I will cover the installation of the pedal assembly into the car and the installation of the steel braided oil lines for the block, remote oil filter and remote oil cooler.
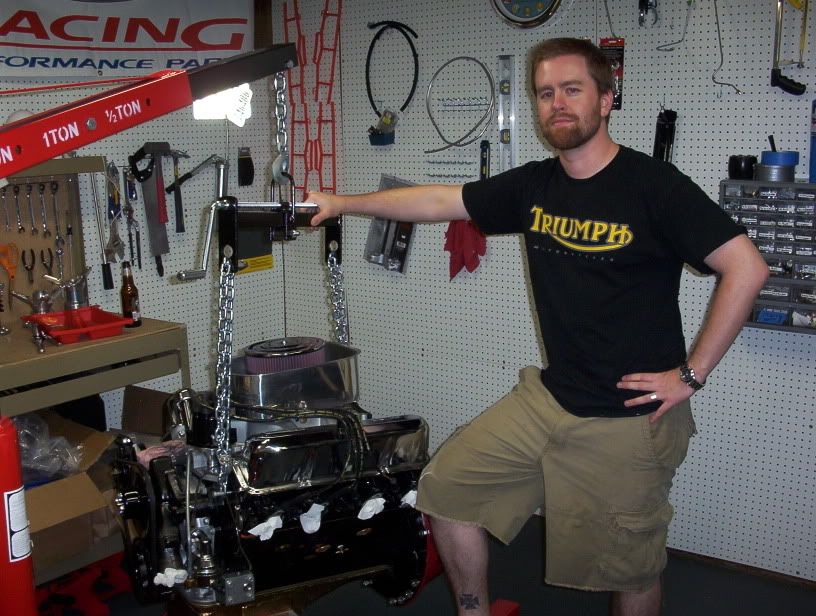
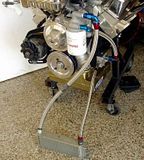
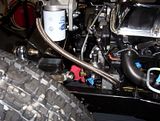
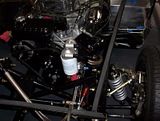
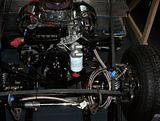
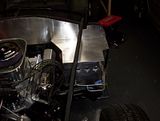
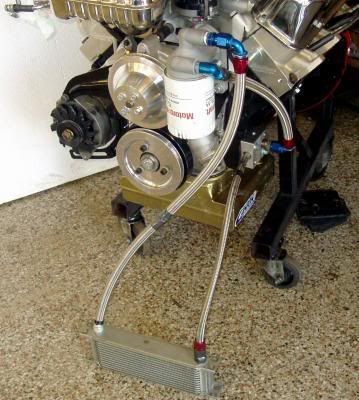
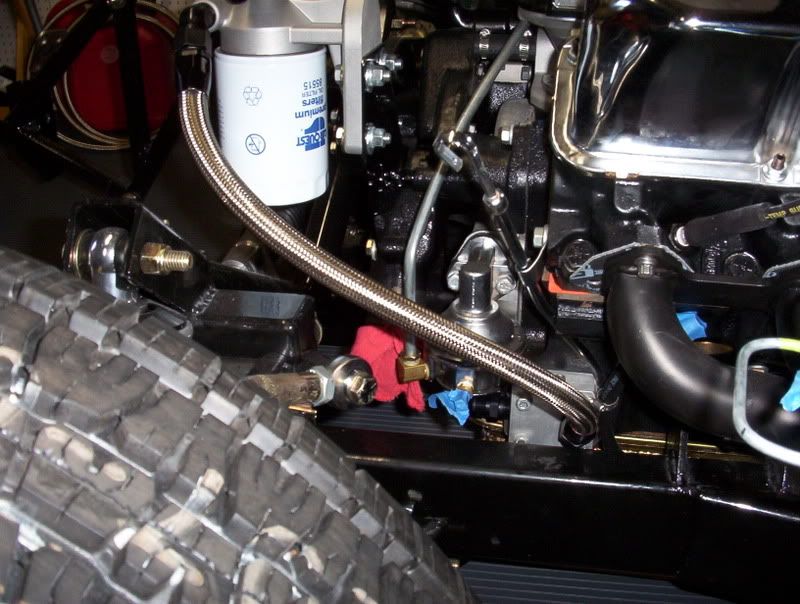
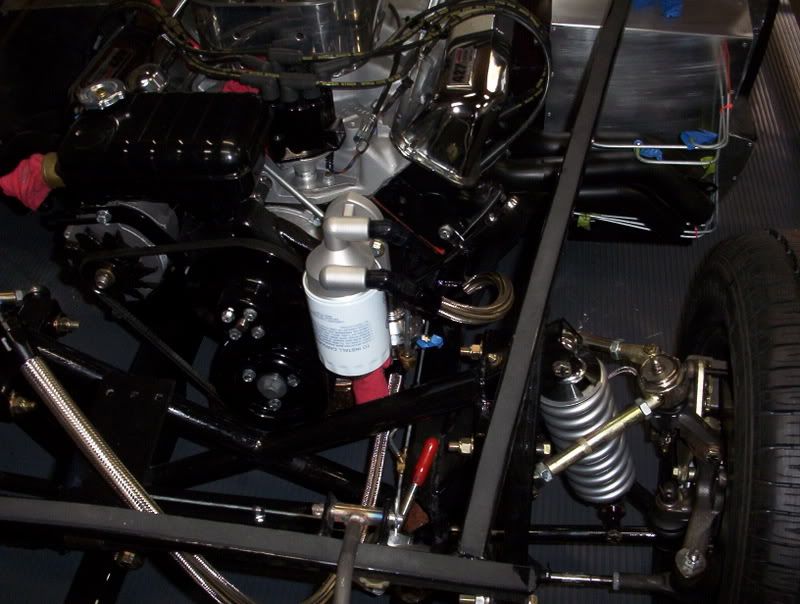
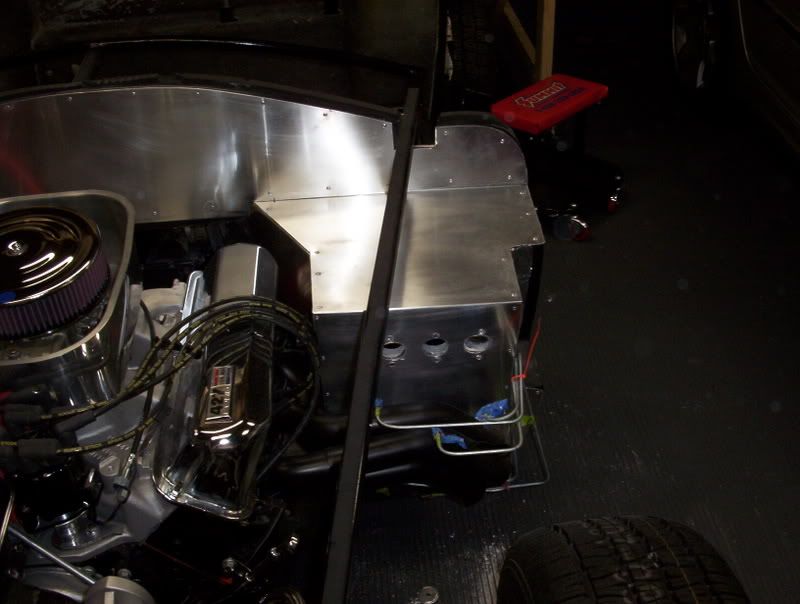
First, I will cover the oil lines. Right out of the gate, I am worried. Southern Automotive informed me that if I mess up the oil line routing, I could instantly blow up the engine. OK, no pressure.... But seriously, it isn't like the engine can get a hemroid if the oil blocks up. NO...it will blow up. BOOM! Luckily I got a great picture (see below of engine on stand) from Southern Automotive with the following flow instructions:
1. Oil comes out of the block through the block adapter (hole facing toward the driver's side front fender)
2. Oil goes from the block adapter up to the lower inlet of the remote oil filter.
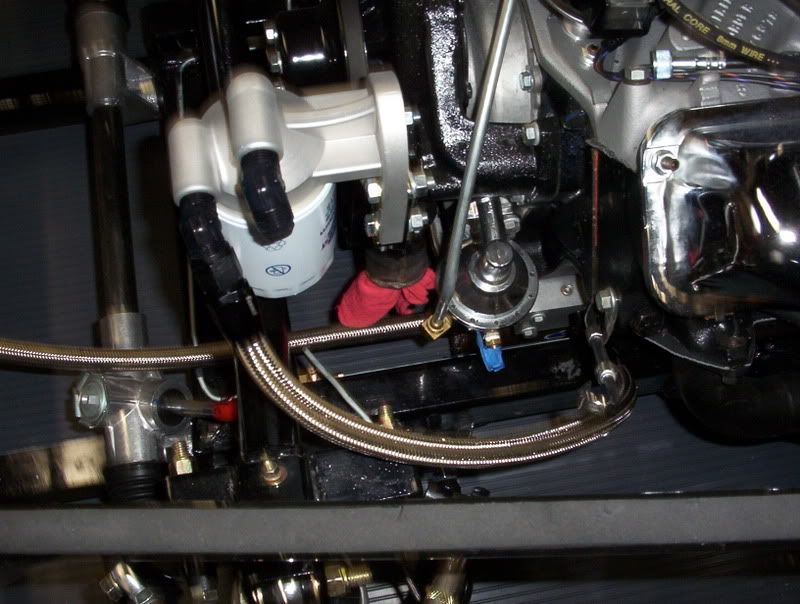
3. Oil circulates through the filter and exits out of the top of the filter and goes to the remote oil cooler.
4. Oil travels through oil cooler and returns to the block through the front opening of the block adapter.
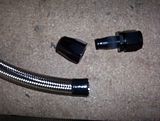
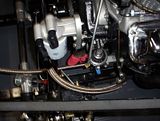
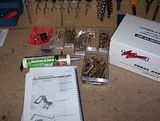
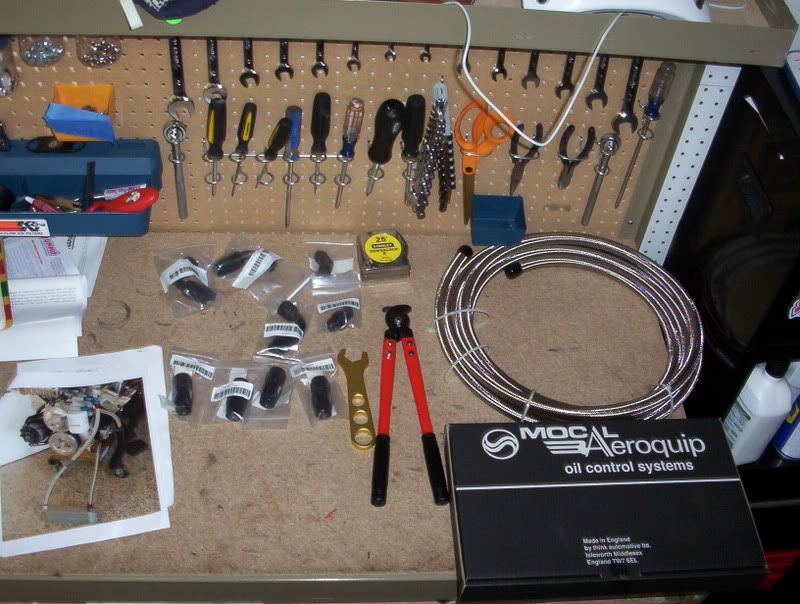
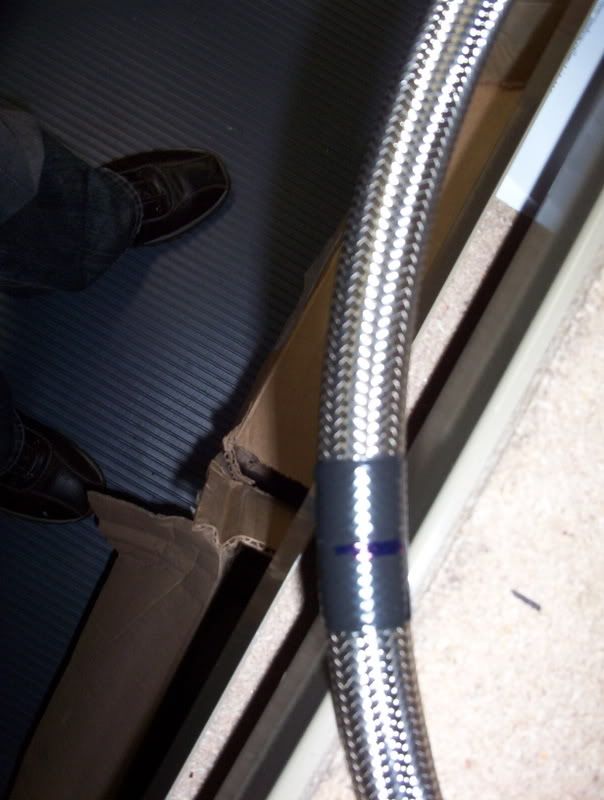
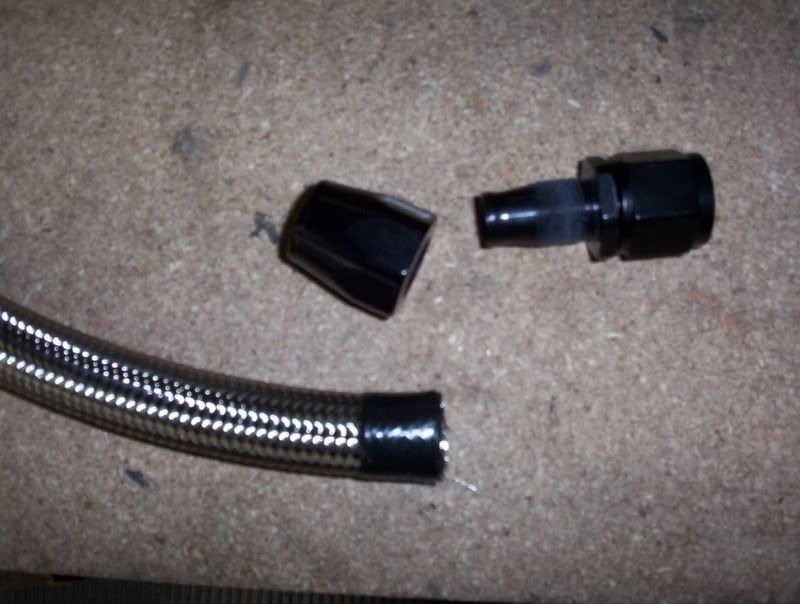
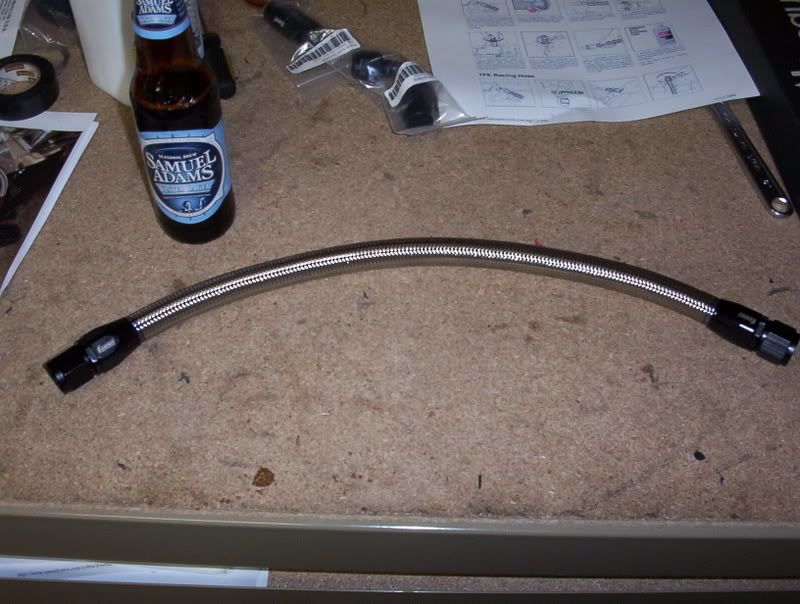
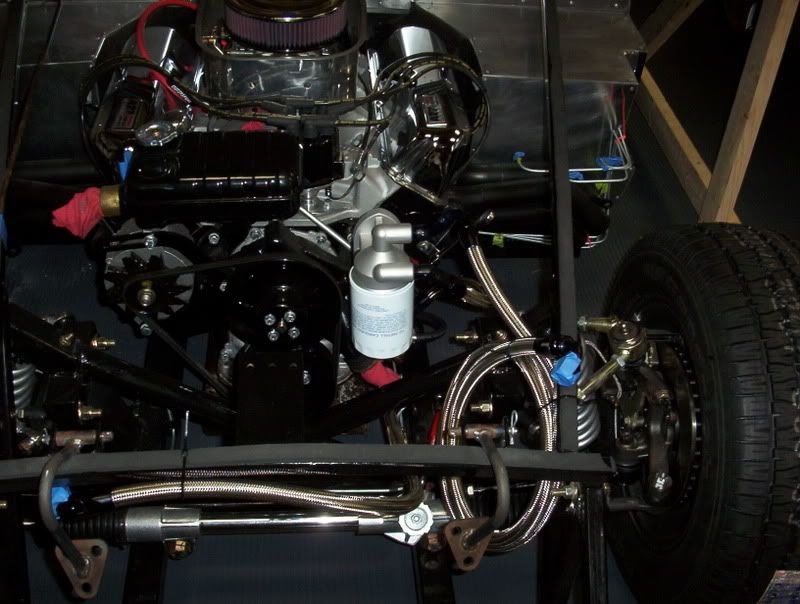
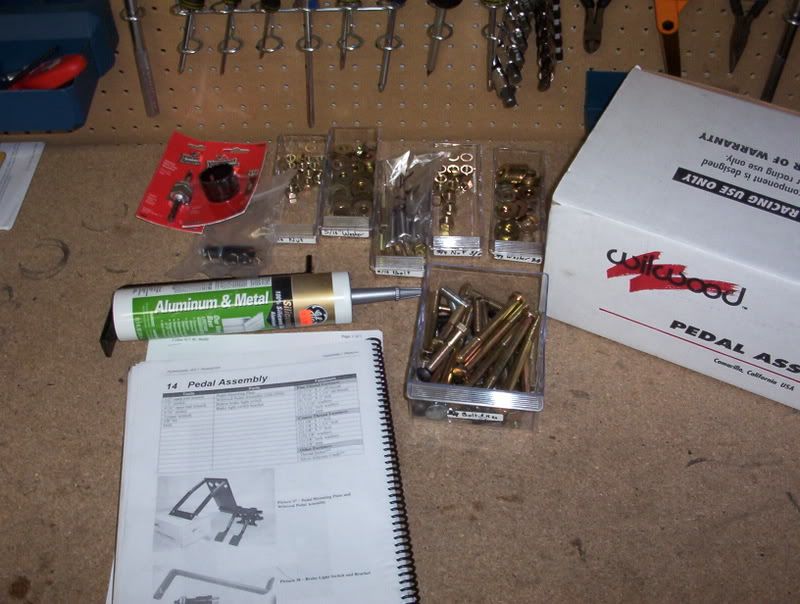
I also found a great diagram on the Hurricane Forum for the hose length. This was key for me as I needed to assembly the braided hoses with the fittings into the proper lengths (see below). Basically, I ordered my AN fittings and a very long uncut braided hose. I bought some braided hose cutting sheers and went to town. I also found a GREAT website with step by step instructions on how to create these lines with fittings found here http://www.bakerprecision.com/aqp12a.htm . Boy did my hands get messed up doing this. See, when you cut the end, you put tape on it so that the steel fibers don't spread. You take the tape off just before you are ready to install the fitting. Well, those little fiber ends are sharp. I must have stuck my fingers about a hundred times...and that was just the first time..that is right; all of 'em are sharp. I wised up and started wearing gloves. Necessity is the mother of all invention. I only had to re-install a fitting once. I wasn't happy with the fitting and decided to do it right or not do it at all.
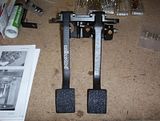
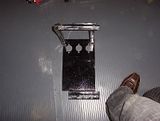
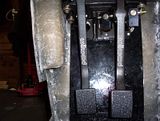
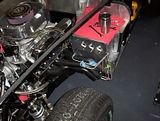
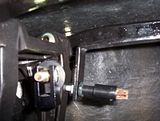
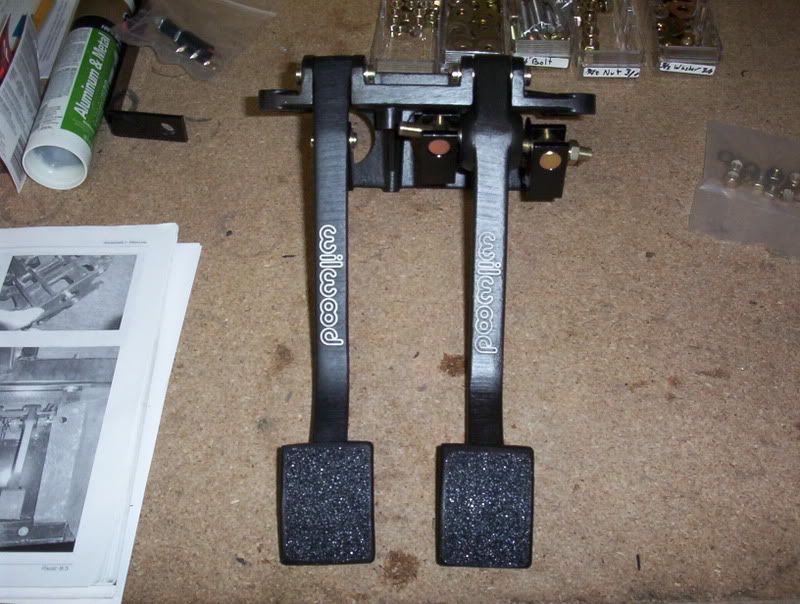
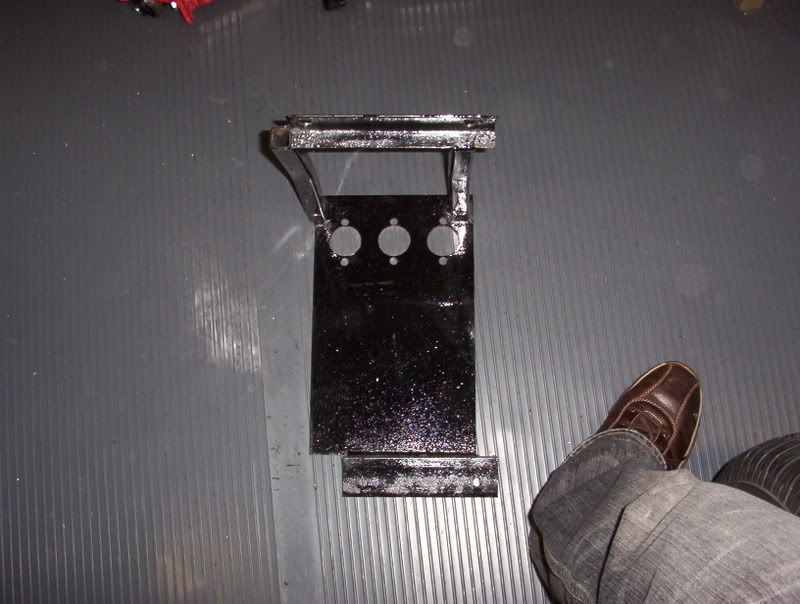
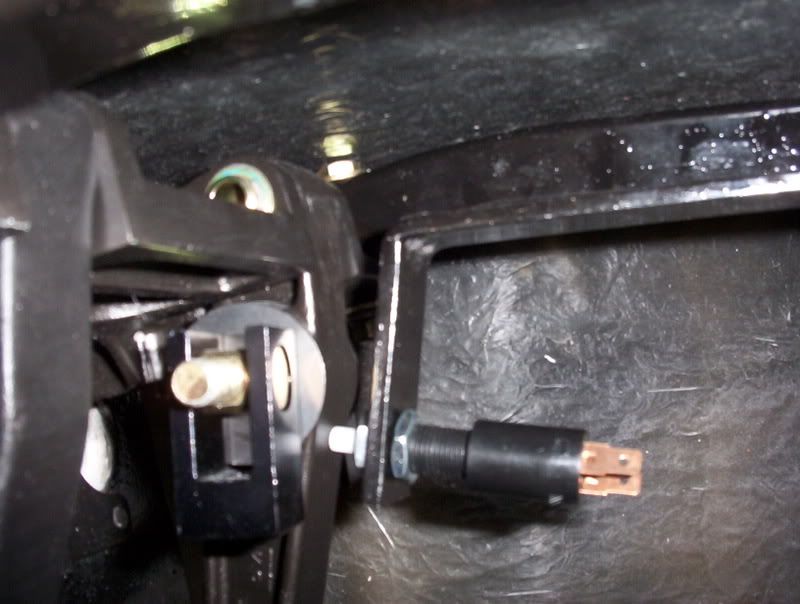
Next up was the pedal assembly installation into the car. This was fairly easy and the manual from hurricane covers it beautifully. I basically had to retrofit some studs on the pedal assembly to elongate them. These studs run the the firewall where the master cylinders will hook up. I have to say this Wilwood assembly is pretty sweet. I am glad Hurricane has them as standard for their kit. Everything fit together nice. I did, however, take some time to test fit but so far, so good. I also installed the bracket for the brake light switch. That went in fine. The switch was installed as well but will be wired up in a later stage.
Up next will be the steering linkage, side pipe installation and master cyliders! Pics below
(click on images for larger view)


In this post, I will cover the installation of the pedal assembly into the car and the installation of the steel braided oil lines for the block, remote oil filter and remote oil cooler.
First, I will cover the oil lines. Right out of the gate, I am worried. Southern Automotive informed me that if I mess up the oil line routing, I could instantly blow up the engine. OK, no pressure.... But seriously, it isn't like the engine can get a hemroid if the oil blocks up. NO...it will blow up. BOOM! Luckily I got a great picture (see below of engine on stand) from Southern Automotive with the following flow instructions:
1. Oil comes out of the block through the block adapter (hole facing toward the driver's side front fender)
2. Oil goes from the block adapter up to the lower inlet of the remote oil filter.
3. Oil circulates through the filter and exits out of the top of the filter and goes to the remote oil cooler.
4. Oil travels through oil cooler and returns to the block through the front opening of the block adapter.
I also found a great diagram on the Hurricane Forum for the hose length. This was key for me as I needed to assembly the braided hoses with the fittings into the proper lengths (see below). Basically, I ordered my AN fittings and a very long uncut braided hose. I bought some braided hose cutting sheers and went to town. I also found a GREAT website with step by step instructions on how to create these lines with fittings found here http://www.bakerprecision.com/aqp12a.htm . Boy did my hands get messed up doing this. See, when you cut the end, you put tape on it so that the steel fibers don't spread. You take the tape off just before you are ready to install the fitting. Well, those little fiber ends are sharp. I must have stuck my fingers about a hundred times...and that was just the first time..that is right; all of 'em are sharp. I wised up and started wearing gloves. Necessity is the mother of all invention. I only had to re-install a fitting once. I wasn't happy with the fitting and decided to do it right or not do it at all.
Next up was the pedal assembly installation into the car. This was fairly easy and the manual from hurricane covers it beautifully. I basically had to retrofit some studs on the pedal assembly to elongate them. These studs run the the firewall where the master cylinders will hook up. I have to say this Wilwood assembly is pretty sweet. I am glad Hurricane has them as standard for their kit. Everything fit together nice. I did, however, take some time to test fit but so far, so good. I also installed the bracket for the brake light switch. That went in fine. The switch was installed as well but will be wired up in a later stage.
Up next will be the steering linkage, side pipe installation and master cyliders! Pics below
(click on images for larger view)


posted by Khan Smith at 4:47 PM
0 comments
![]()
![]()