Dashboard and Instruments:
I am really, really, really behind in my blog. I suck; I know. I have actually got a lot of stuff done but will have to catch up in my writing. For this installment, I am going to cover the dashboard and instrument installation.
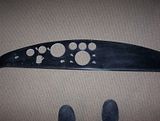
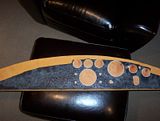
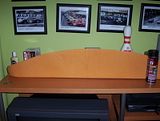
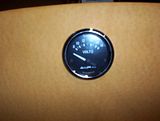
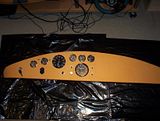
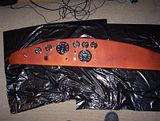
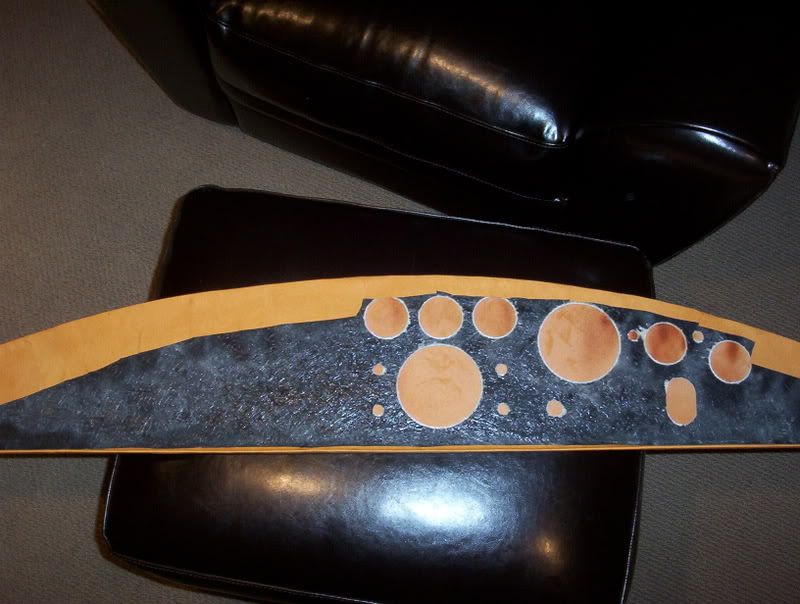
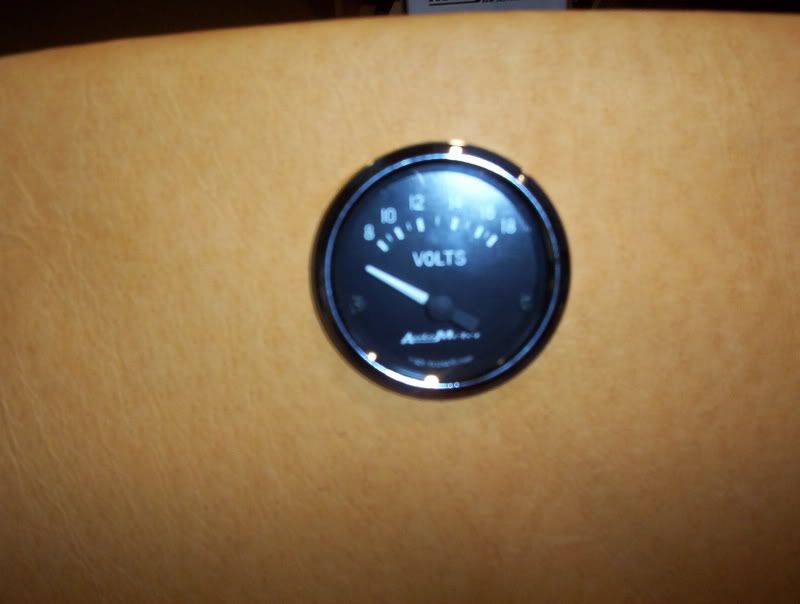
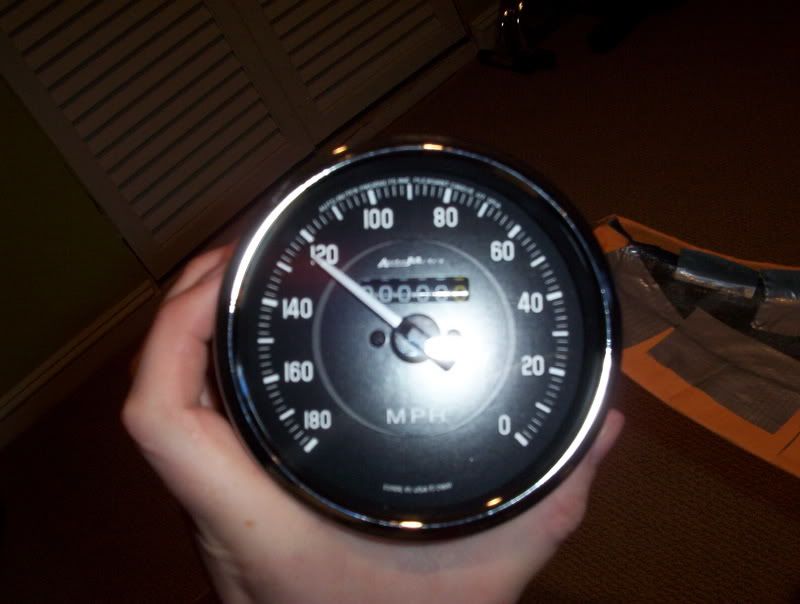
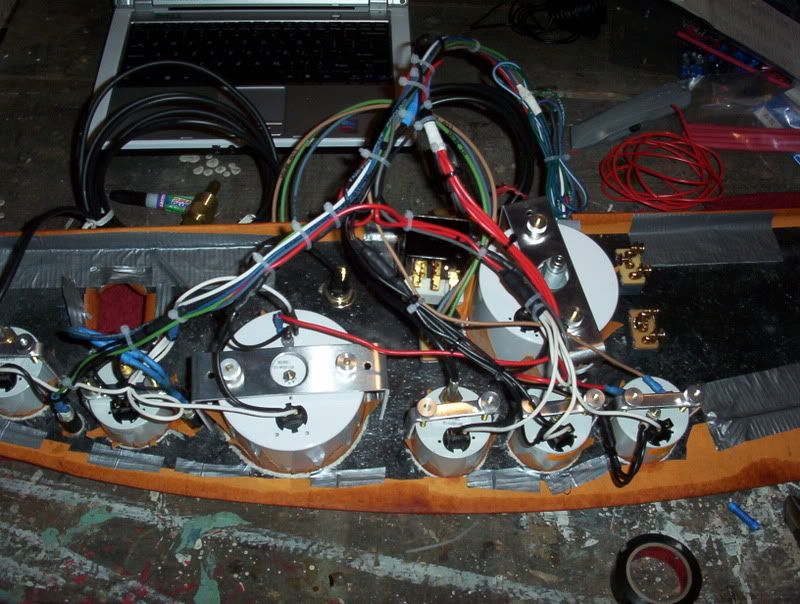
The kit utilizes a fiberglass dash shell that contains predrilled holes. The steps are basically to cover the dashboard with the supplied black vinyl material, install the instruments, wire the instruments and then install the dash in the car. I ended up with a broken speedometer which was stuck at 120 MPH....man, the car is fast already! I replaced it though.
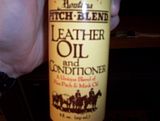
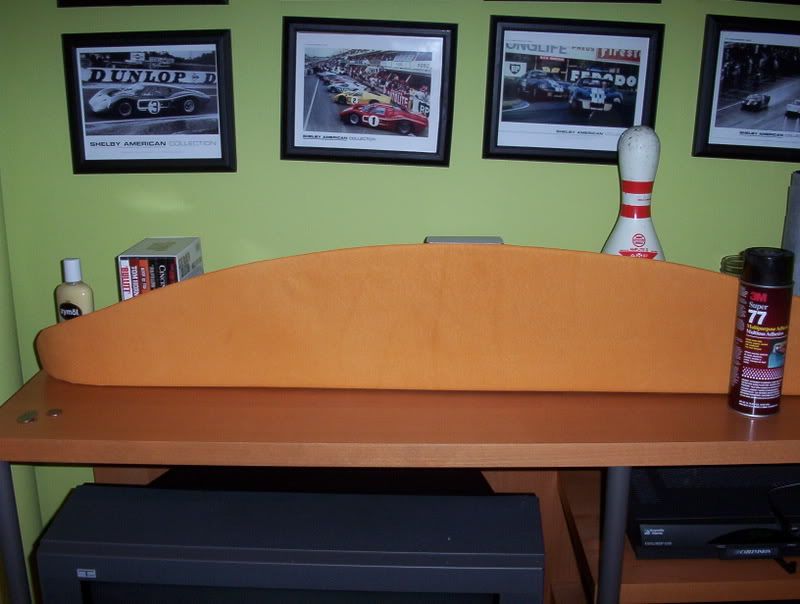
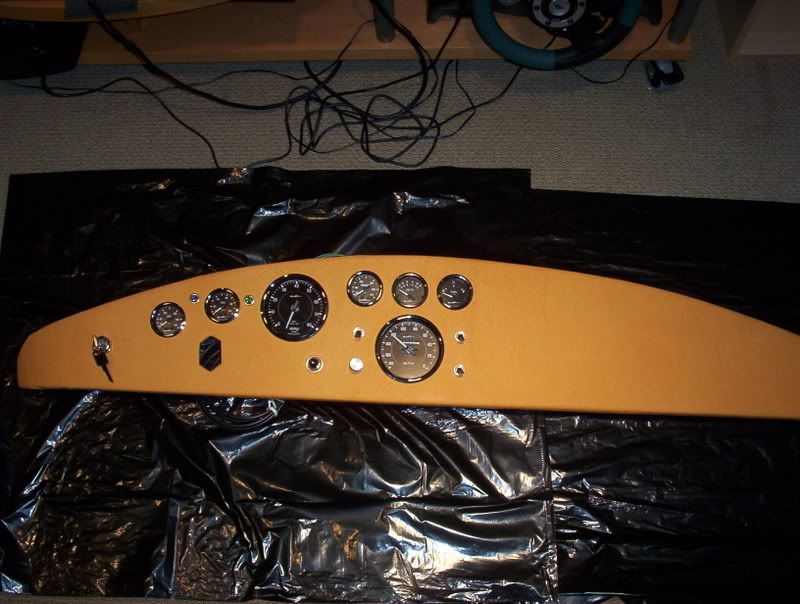
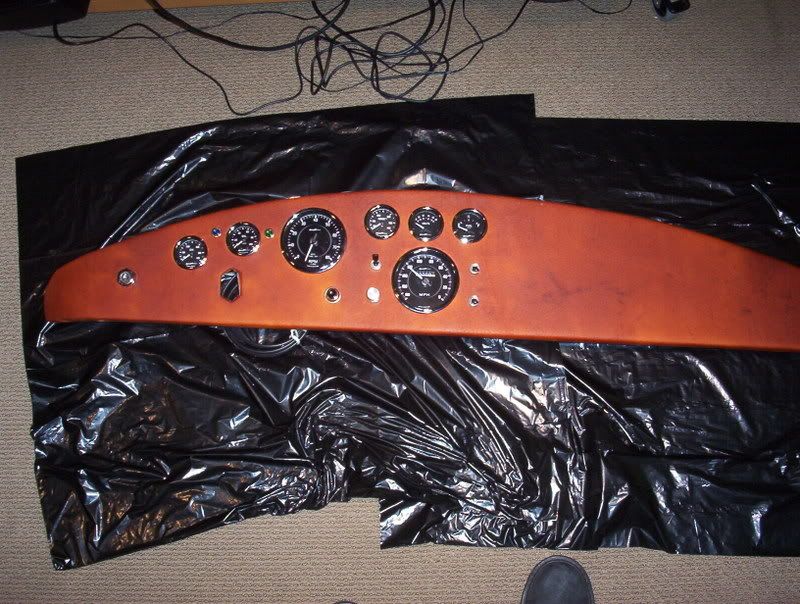
I want to note that I am doing something different. I have decided to paint the car “British Racing Green” or otherwise known as “BRG.” As a result, I wanted to take some cues from vintage English cars and change the seat and dash materials. My In-Laws are actually fine leather craftsmen (3 generations) that create fashion accessories out of exotic leathers. Ok, I am not going exotic but I do have their knowledge to pull from. Therefore, I wanted to create a leather that had a nice cognac color (which is funny as I am enjoying a nice cognac at the moment). I started out with a piece of light yellow pigskin (they laughed at me as it was the cheapest in their stock of skins…next to the alligator and ostrich). Again, I want this car to be a driver and I want tough skin in the car. I want the skin to get a nice patina as well. Anyway, I tanned the skin with a nice oil and pitch mixture which tinted the skin a shade darker than I was envisioning but since these pictures a have been taken, the color has slightly changed. But I ran into a problem that was a blessing then a problem again. Here in New Jersey it has been ridiculously cold. My garage is not heated nor insulated…thus bad weather provided me with an opportunity to work in my nice, warm basement. However, I actually installed the dash in the car but have since taken it out as the 0 degree weather caused the beautiful leather to pucker like a butt hole (I know as I have been to prison….joking!). Luckily, after bringing it in for the night, the leather now looks flawless! What this means is that I need to stretch the leather more and I will do so in the cold.
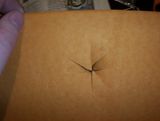
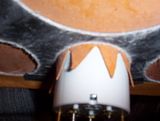
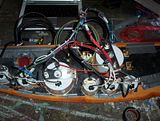
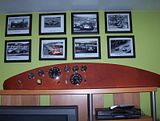
The pictures below outline the assembly process of the dash to the final product. The wiring was actually quite time consuming but not much to elaborate on. Click on a thumbnail for a larger picture:

I am really, really, really behind in my blog. I suck; I know. I have actually got a lot of stuff done but will have to catch up in my writing. For this installment, I am going to cover the dashboard and instrument installation.
The kit utilizes a fiberglass dash shell that contains predrilled holes. The steps are basically to cover the dashboard with the supplied black vinyl material, install the instruments, wire the instruments and then install the dash in the car. I ended up with a broken speedometer which was stuck at 120 MPH....man, the car is fast already! I replaced it though.
I want to note that I am doing something different. I have decided to paint the car “British Racing Green” or otherwise known as “BRG.” As a result, I wanted to take some cues from vintage English cars and change the seat and dash materials. My In-Laws are actually fine leather craftsmen (3 generations) that create fashion accessories out of exotic leathers. Ok, I am not going exotic but I do have their knowledge to pull from. Therefore, I wanted to create a leather that had a nice cognac color (which is funny as I am enjoying a nice cognac at the moment). I started out with a piece of light yellow pigskin (they laughed at me as it was the cheapest in their stock of skins…next to the alligator and ostrich). Again, I want this car to be a driver and I want tough skin in the car. I want the skin to get a nice patina as well. Anyway, I tanned the skin with a nice oil and pitch mixture which tinted the skin a shade darker than I was envisioning but since these pictures a have been taken, the color has slightly changed. But I ran into a problem that was a blessing then a problem again. Here in New Jersey it has been ridiculously cold. My garage is not heated nor insulated…thus bad weather provided me with an opportunity to work in my nice, warm basement. However, I actually installed the dash in the car but have since taken it out as the 0 degree weather caused the beautiful leather to pucker like a butt hole (I know as I have been to prison….joking!). Luckily, after bringing it in for the night, the leather now looks flawless! What this means is that I need to stretch the leather more and I will do so in the cold.
The pictures below outline the assembly process of the dash to the final product. The wiring was actually quite time consuming but not much to elaborate on. Click on a thumbnail for a larger picture:


posted by Khan Smith at 9:47 PM
0 comments
![]()
![]()