Final Assembly: Front of the Car:
I figured that I would start at the front of the car to add teh finishing touches. But before I get into that, wanted to give my thoughts on the paint job and my experience.
Now that I have spent some hours with the car in close proximity, I have an opinion of the workmanship. On a scale of 1-10, I would give this car a solid 6. Now don't get me wrong, I didn't pay for a 10. I wanted a "driver" and that is what I got. The only disappointment really is how poor a job protecting the engine and cockpit from all the grit and grim from the polishing process. I was promised that the engine would have been protected and the dash that I tanned by hand would be covered. The polishing compound is everywhere: on the engine, on the leather, on all the aluminum, the frame, etc. In fact, the aluminum is etched with it! I am going to have to take scotchbrite on all the aluminum panels (which there are many). The leather really got beat up but with some TLC I think I wil be able to revive it. Anyway, one of the selling points was how "clean" I would get the car and that was not the case. I now have hours of cleaning to do. So my plan is to "clean as I go."
So...the front end. Here is what I wanted to do.
Add Brake Duct Screens:
Le Mans Style Gas Cap:
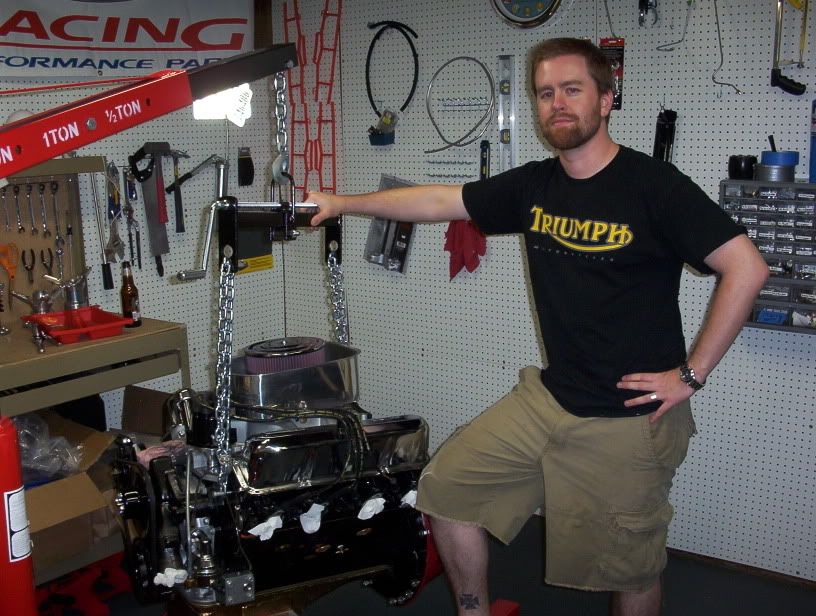
On closing, I would like to say how much I LOVE my new lift. It makes these jobs pure joy. The lift is so easy to operate and seems to be of great quality. I got the lift at Greg Smith Equipment out here in Atlanta. I will always have a lift in my garage from now on.
I figured that I would start at the front of the car to add teh finishing touches. But before I get into that, wanted to give my thoughts on the paint job and my experience.
Now that I have spent some hours with the car in close proximity, I have an opinion of the workmanship. On a scale of 1-10, I would give this car a solid 6. Now don't get me wrong, I didn't pay for a 10. I wanted a "driver" and that is what I got. The only disappointment really is how poor a job protecting the engine and cockpit from all the grit and grim from the polishing process. I was promised that the engine would have been protected and the dash that I tanned by hand would be covered. The polishing compound is everywhere: on the engine, on the leather, on all the aluminum, the frame, etc. In fact, the aluminum is etched with it! I am going to have to take scotchbrite on all the aluminum panels (which there are many). The leather really got beat up but with some TLC I think I wil be able to revive it. Anyway, one of the selling points was how "clean" I would get the car and that was not the case. I now have hours of cleaning to do. So my plan is to "clean as I go."
So...the front end. Here is what I wanted to do.
- Add aluminum panels inside the radiator cavity for forced cooling
- Re-route and resize an oil line
- Add brake duct screens
- Add side louvers
- Clean and paint front frame
- Tie up electrical for lights and blinkers
- Le Mans Gas Cap...yeah..it is not in the front but wanted to add it anyway.
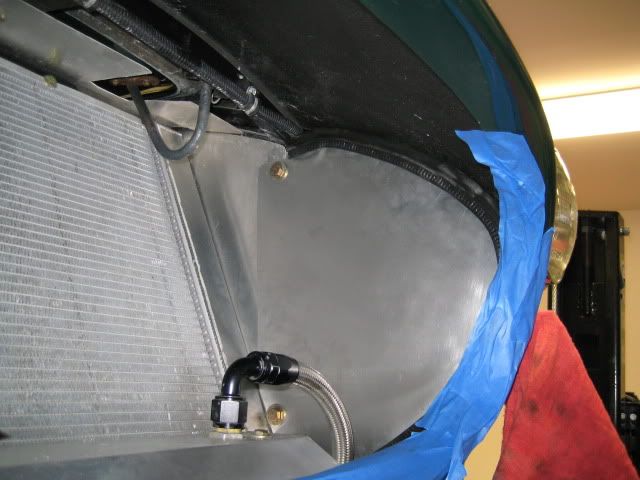
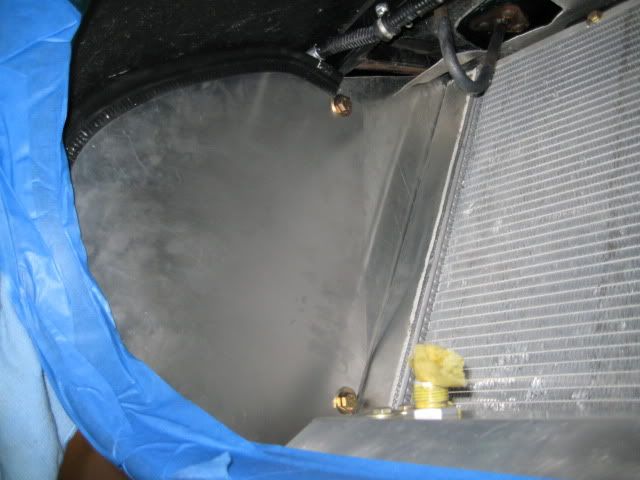
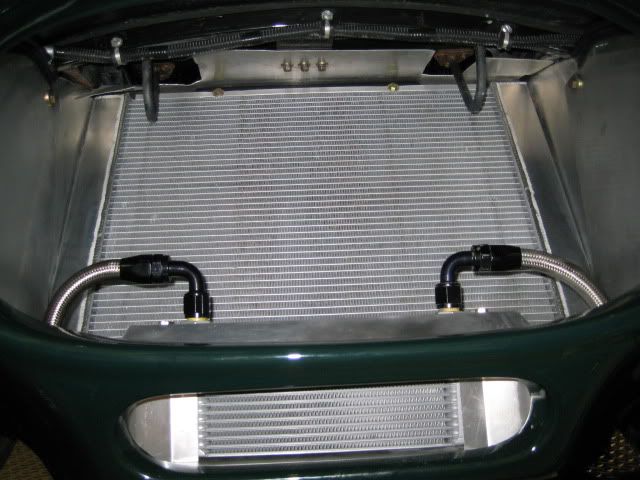
Aluminum Panels:
I added a bulb seal around the panels and fastened the panels to the bumper structure. Thank god I did this as the bolts were loose! The bulb seal provided a great tension against the body and the two mounting bolts. Really will add some forced air through the radiator and through the engine bay and oil cooler.


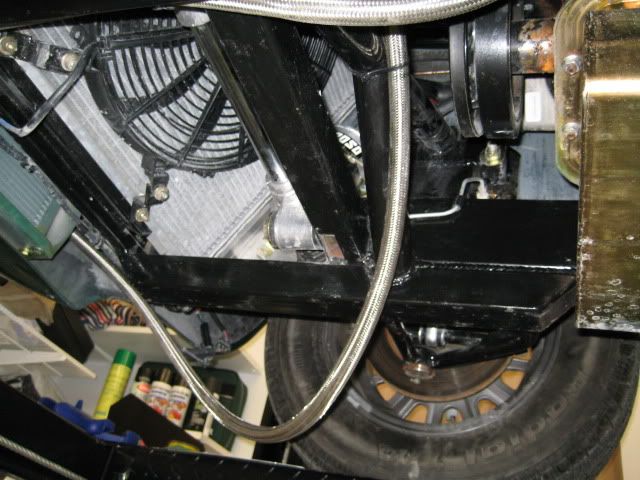
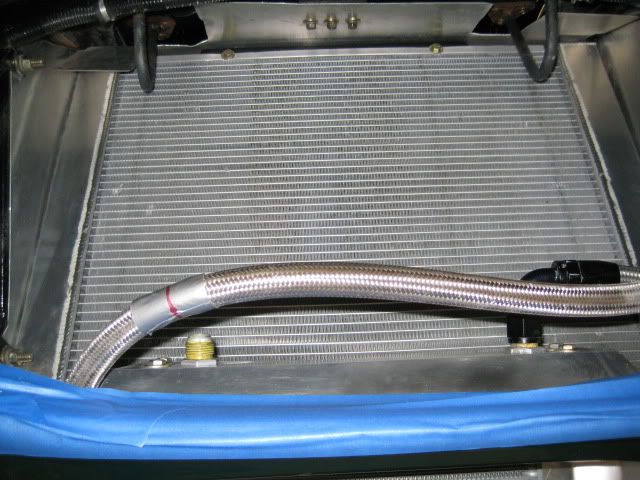
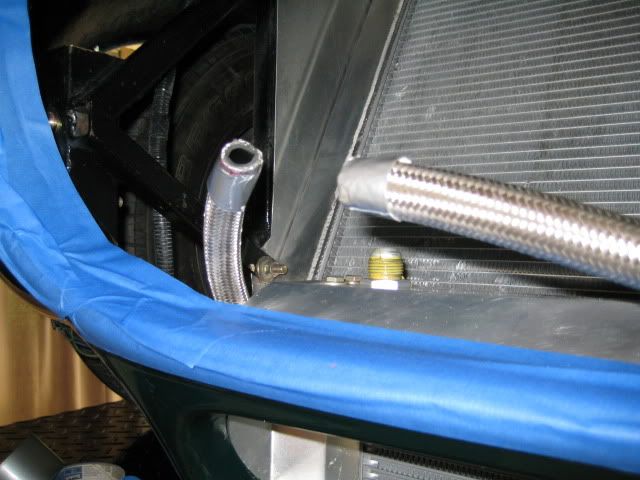
Re-route and resize oil line:
I had a temp oil line coming over the radiator to the top of the left side of the oil cooler. I never liked how this looked and wanted to run the line under the car but ran out of time before paint. I decided that now was the time! The original length was much too long and I needed to cut out about a foot. From previous posts, you will know that making braided stainless steel oil lines can cause lots of blood loss and frustration. Well, not anymore. I broke down and bought this braided line tool called the "Koul Tool." WORTH IT'S WEIGHT IN GOLD. What used to take me 30 mins of swearing, sweating and bleeding literally took 2 mins. I wish I had this tool in the beginning.


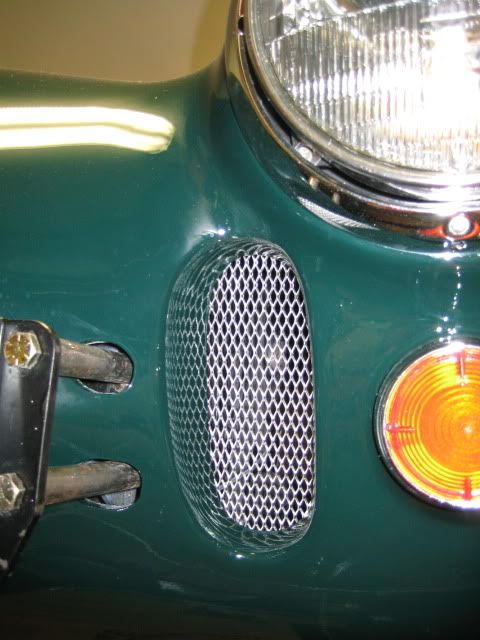
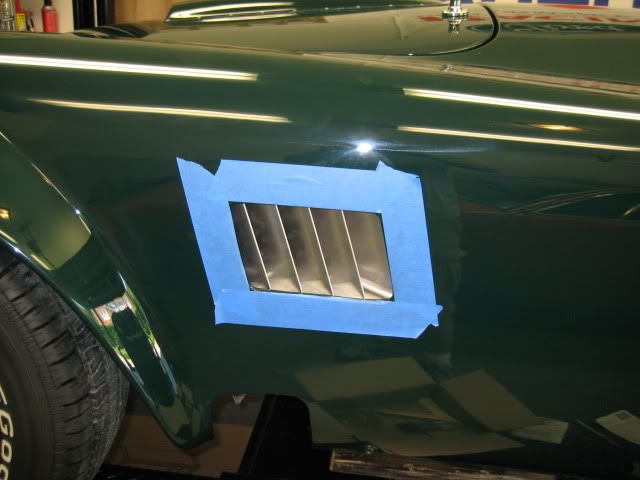
Add Brake Duct Screens:
I got these cool looking screens from a company called "finish line." I used an RTV along with the tension of the screens to mount these up.

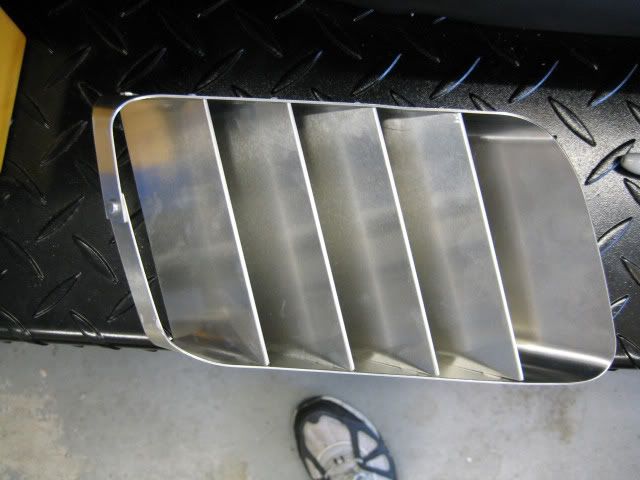
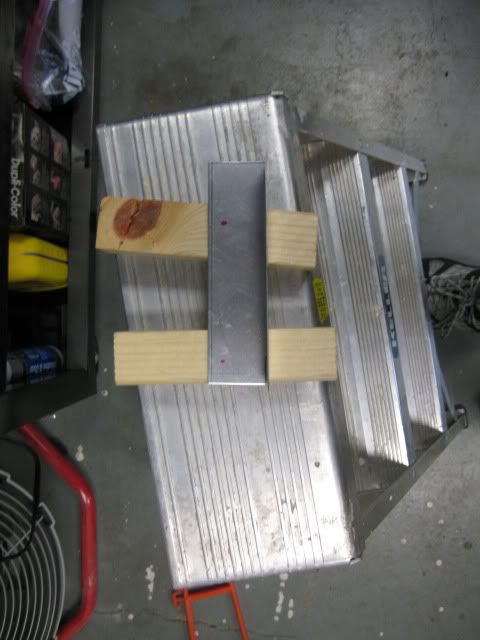
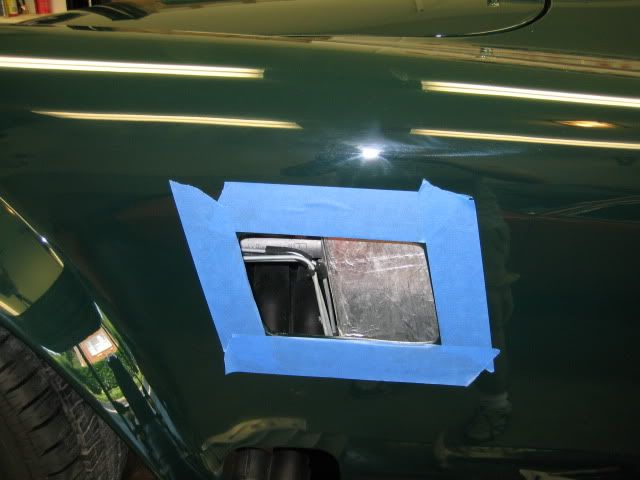
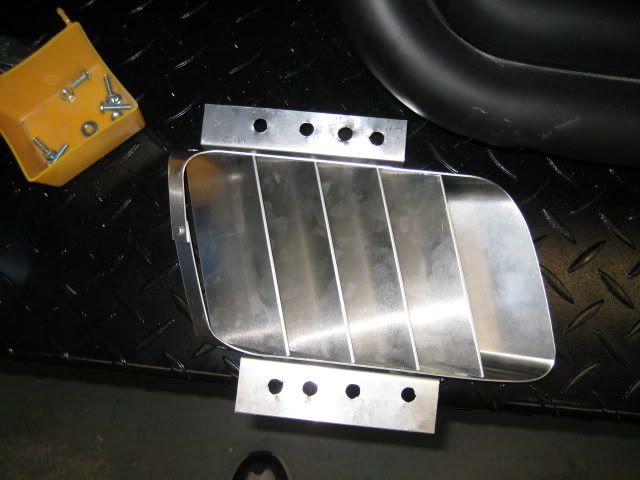
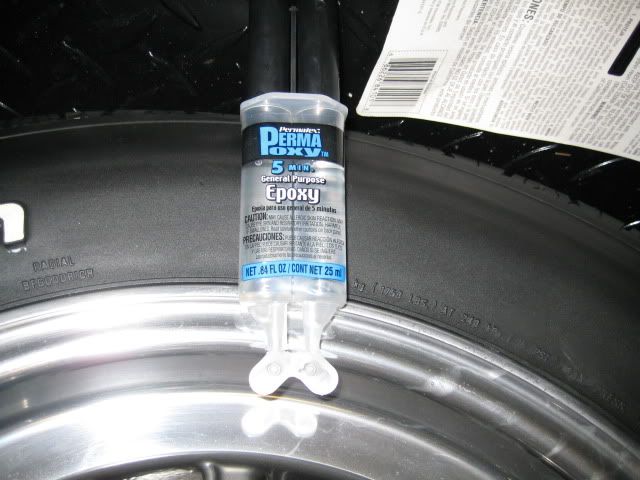
Side Louvers:
These were fun to put together. I used four screws and bolts to affix the louver to the mounting brackets. The brackets are secured to the inside of the fender with quick-drying epoxy...boy that stuff stinks.


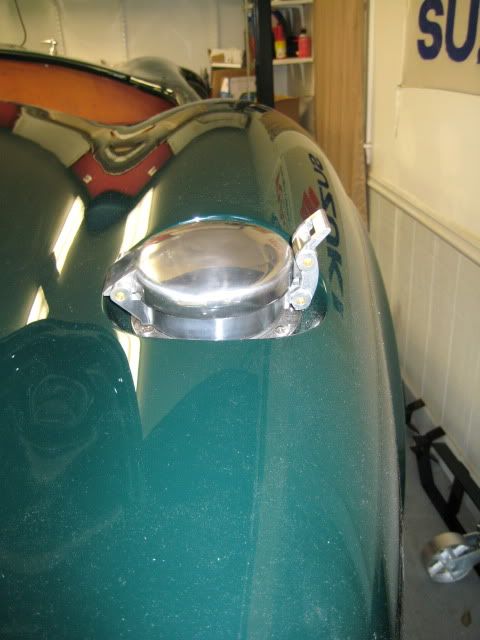
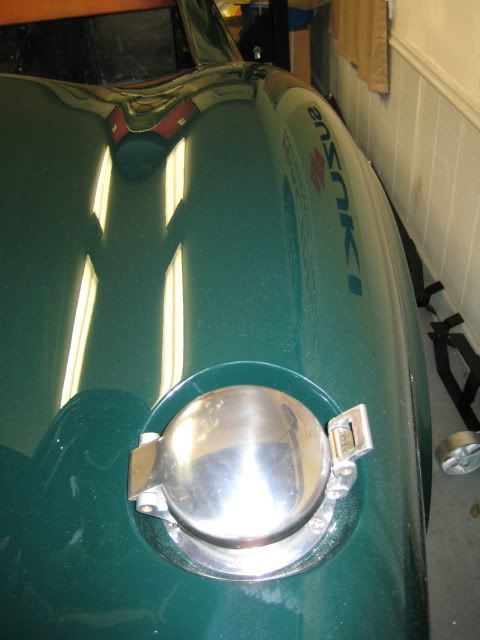
Le Mans Style Gas Cap:
I just couldn't wait to put this on...it is so cool looking.


On closing, I would like to say how much I LOVE my new lift. It makes these jobs pure joy. The lift is so easy to operate and seems to be of great quality. I got the lift at Greg Smith Equipment out here in Atlanta. I will always have a lift in my garage from now on.
I have some more pictures of the wiring and painting that I will post up next time.
posted by Khan Smith at 9:37 PM
0 comments
![]()
![]()