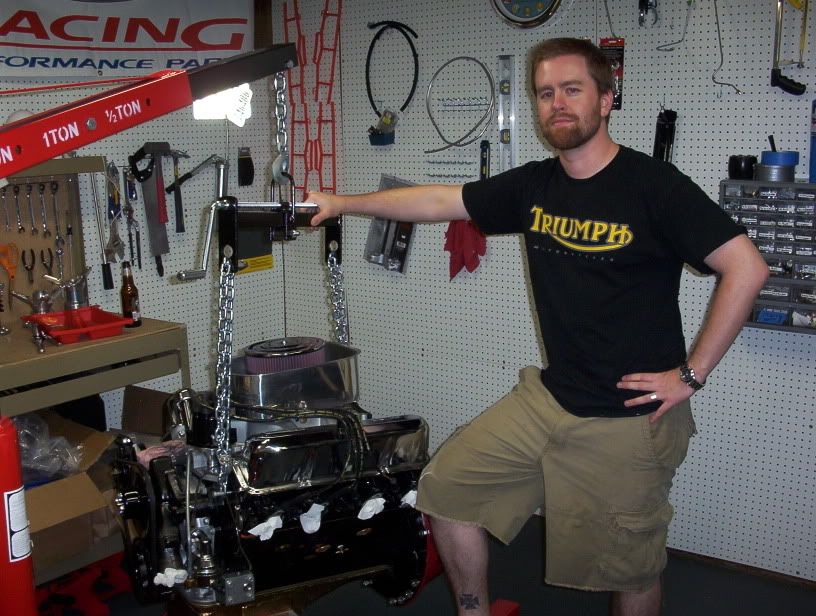
Prepping for final engine install:
I finished the install of the engine this morning but there was some work I finished this week that I would like to cover here before I write that entry.
xbrace-
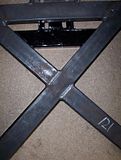
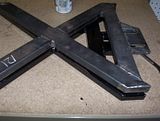
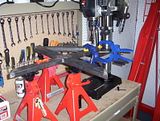
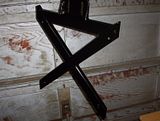
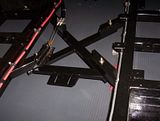
The new x-brace came in raw metal without the holes drilled for frame mounting. This means I have mock up the brace, drill the holes and paint with POR 15. I have some pics below that show you the difference between the new and old braces. You will see that for the toploader, the trans mount holes need to be about 3-4 inches forward from the old brace. I bought a new drill press and used it to drill out the holes after mock up. I mocked it up again in the frame with the motor just to be darn sure this would work...this time.. Magic. I went ahead and painted it with POR 15 (note: remember to use rubber gloves with this stuff...will stay on you for a couple of days if you don't. I removed the engine and performed the final install of the finished x-brace.
Fuel Filter Install-
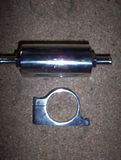
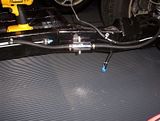
I researched a couple of fuel filter options and settled on a billet one from Summit Racing. Mind you, I am not building a billet trailer queen. As you will see as this build goes on, I am building a driver. No frills and pretty little tu-tu crap. This fuel filter however, was very slender and provded the best fitment to my frame. I will be laughing as I go down the road knowing I have this little diamond of a fuel filter and mount hidden away....
clutch slave cylinder-
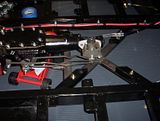
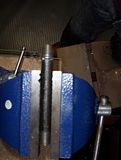
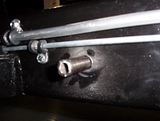
I got some great tips from Hurricane regarding a slick way to install the Wilwood slave cylinder. Guess another hurricane customer named Tom figured this out. Basically, he mounted the slave cylinder by using a bolt and some piping to create a sturdy, extended mount. This allows for a parallel install of the clutch slave cylinder to the clutch fork. Pics below show this process. Worked great and was fairly easy to do.
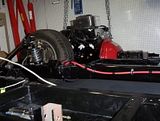
As previously stated, other work has been completed (front rims/tires mounted, engine mounted, etc). I will take some pictures now that I have some batteries! Look for posts later.


