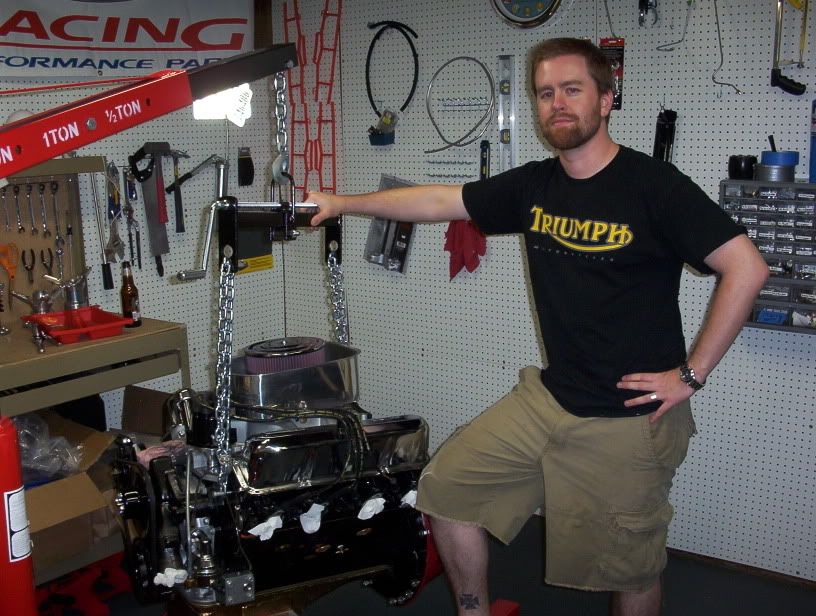
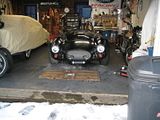
Headlight/Markerlight and Oil Cooler Install:
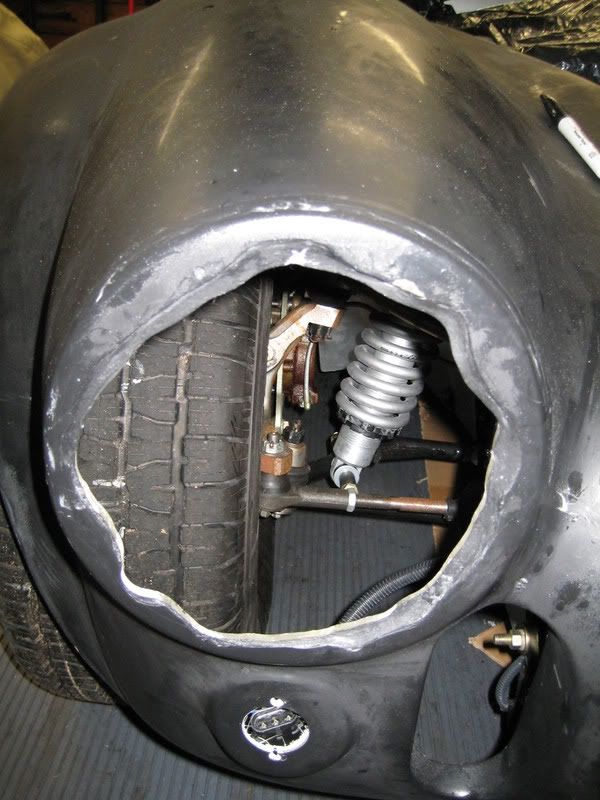
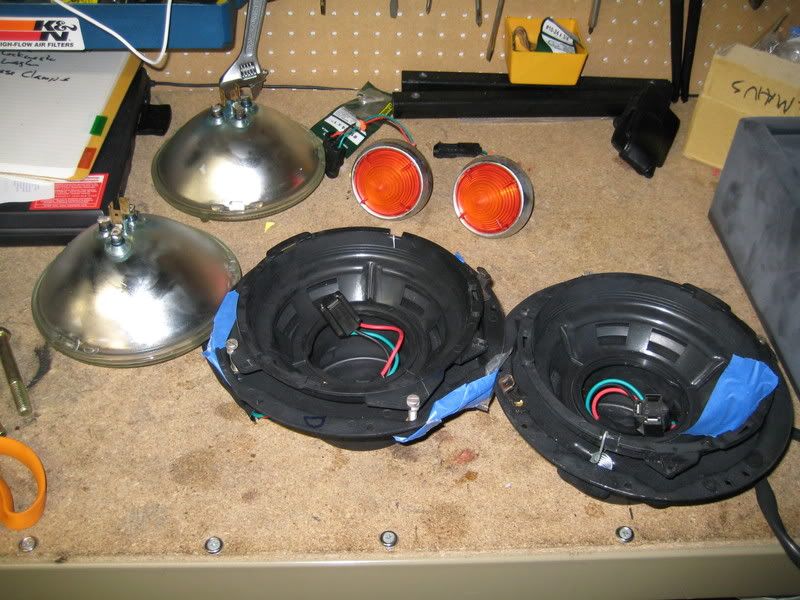
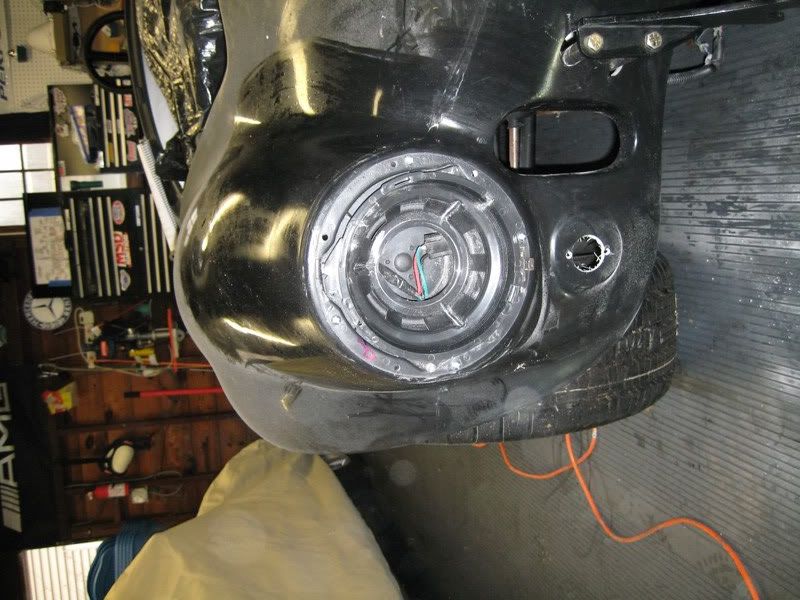
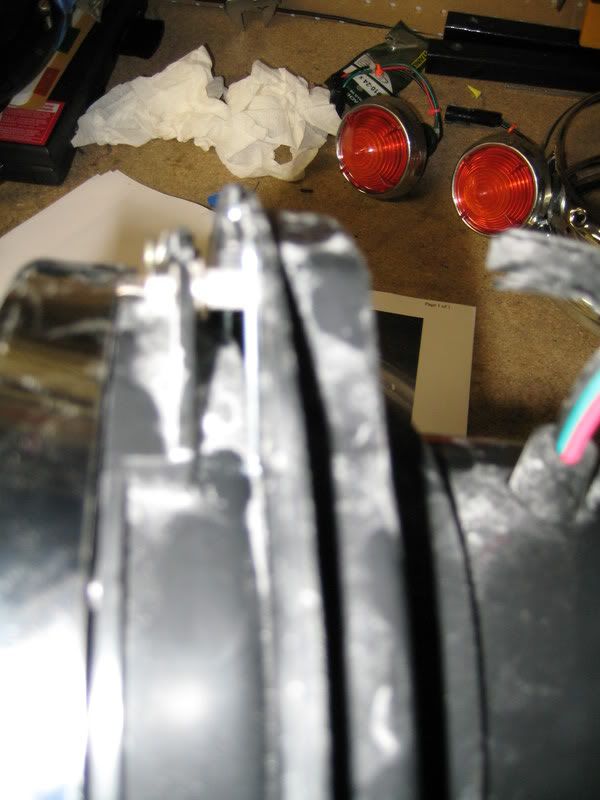
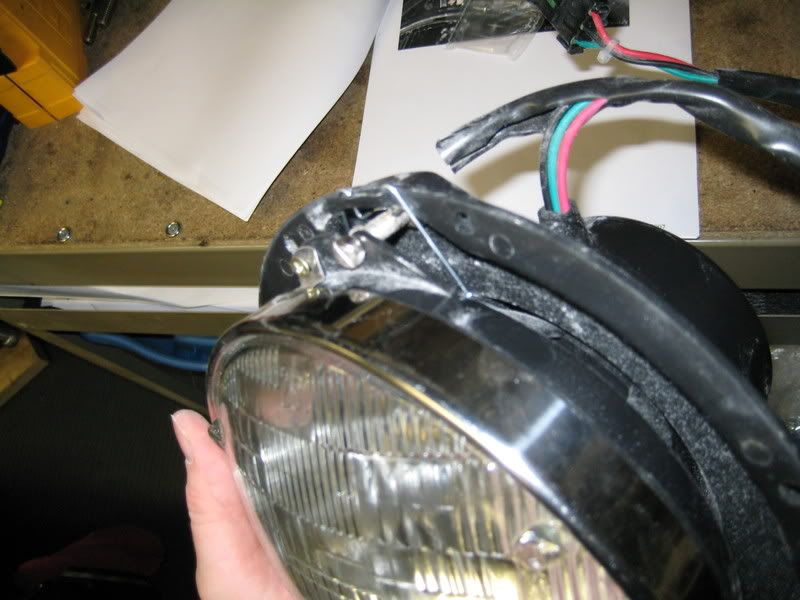
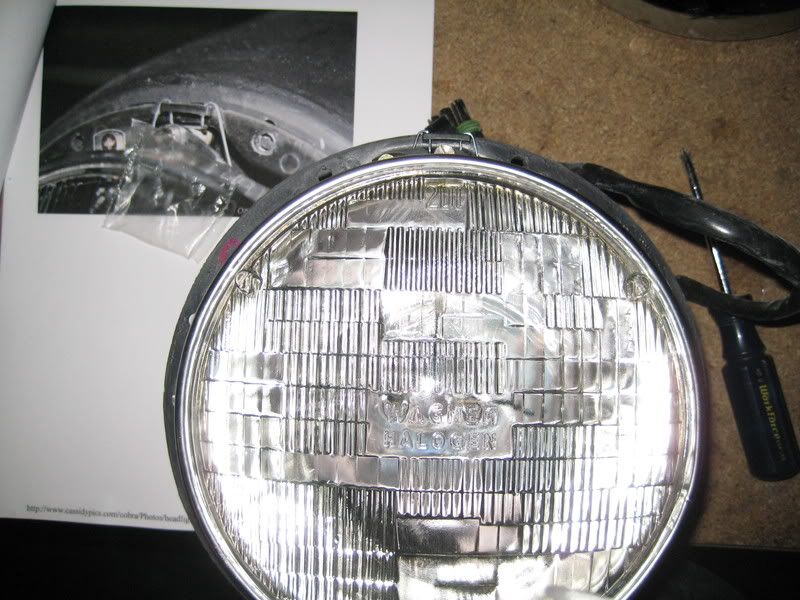
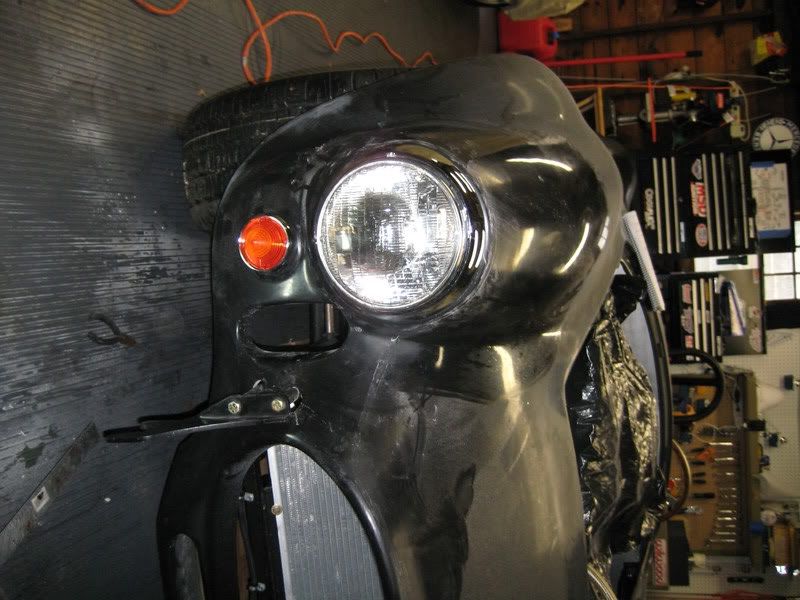
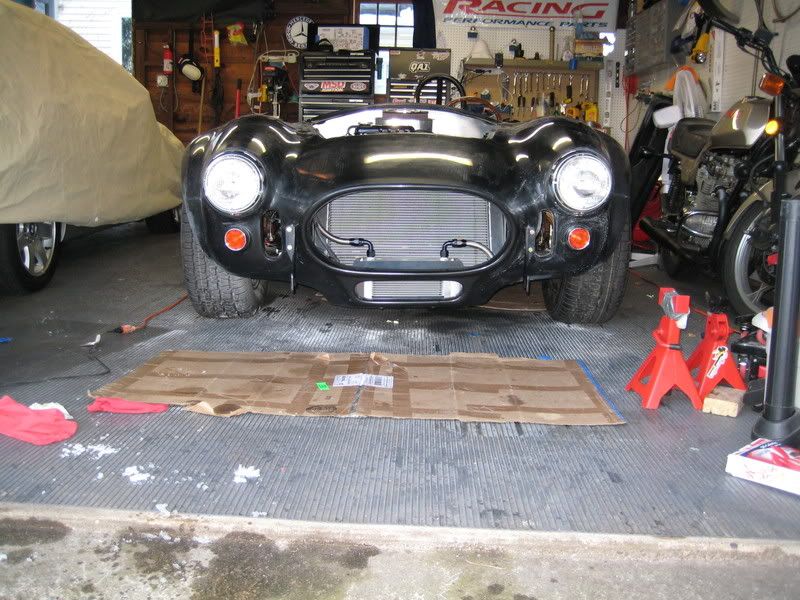
All the wiring for the headlights & marker lights were completed a long time ago. I used weather pak connectors on the end so that I would have nice, secure connections. The holes for the marker lights in the body were almost perfect. I just needed to do a little griding with my dremel tool. The headlight holes were another story. They needed to be hogged out a lot. I started with the passenger side first. I went slow, checking and rechecking to make sure I was center. I ended taking almost too much on the passengerside but it is fine. The driver side worked out perfect. Once the holes were complete, I assembled the buckets, installed the lights and put on the crome rings. The blinkers popped right in and all the electrical worked....because I made sure it worked before I put the body on!
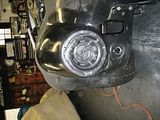
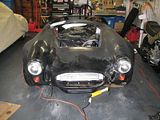
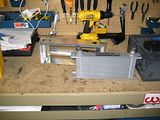
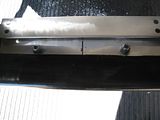
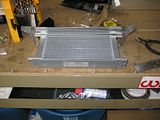
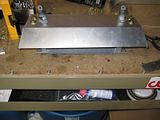
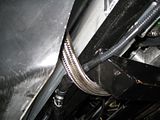
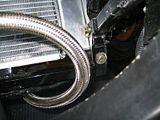
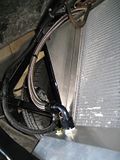
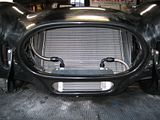
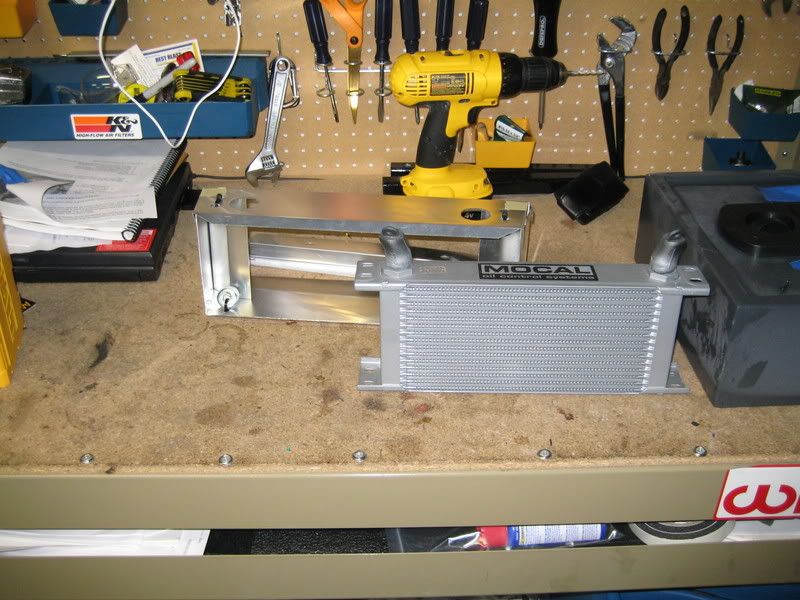
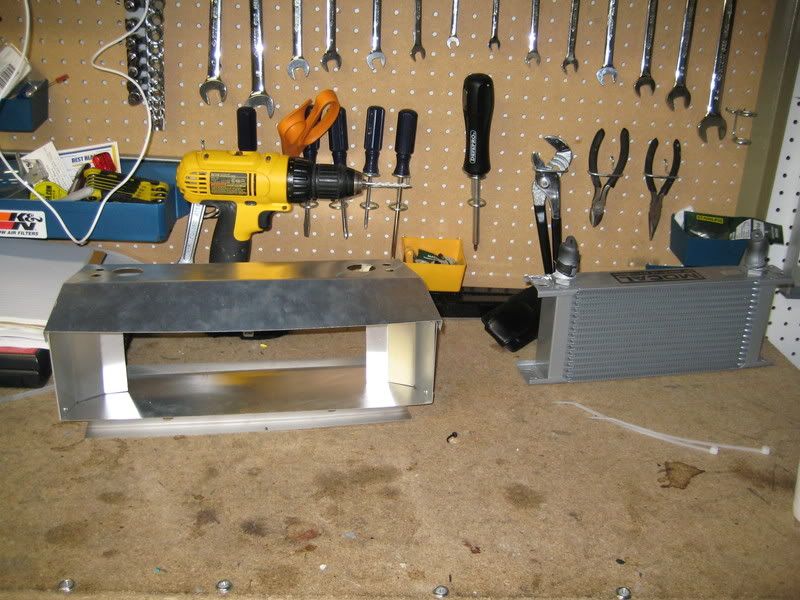
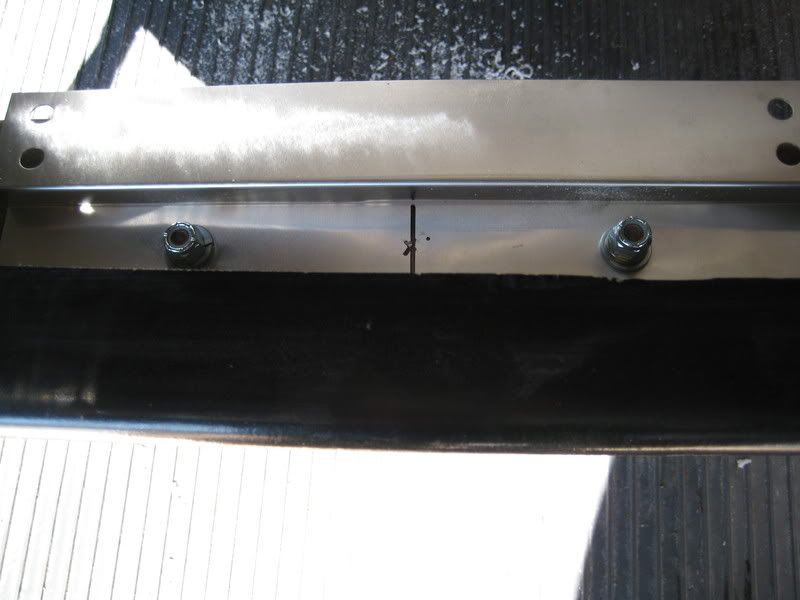
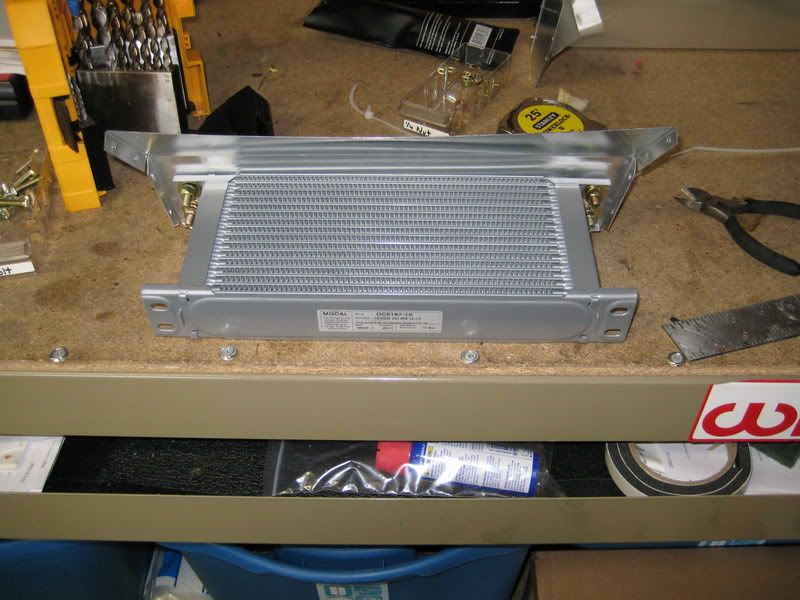
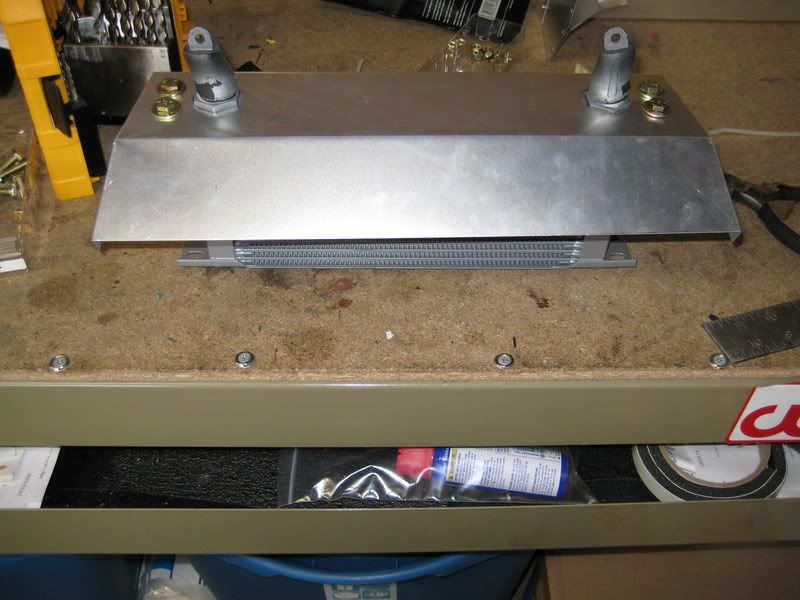
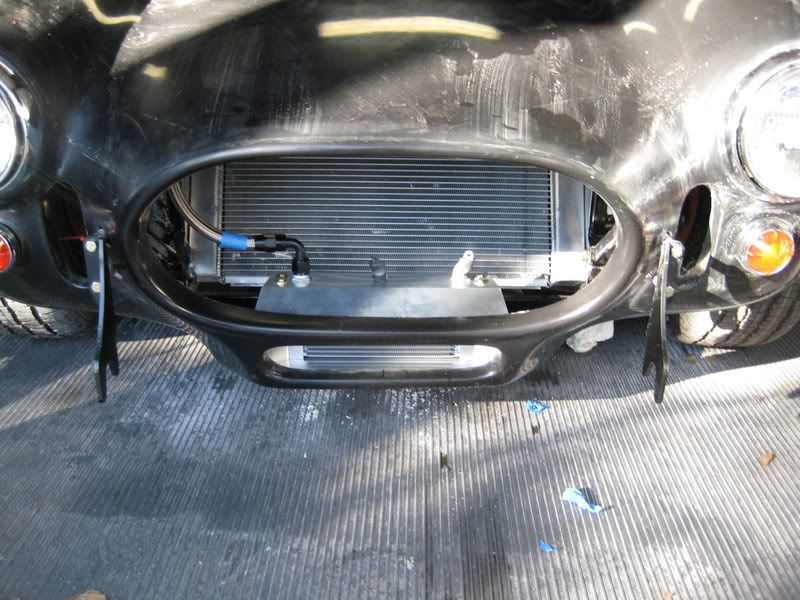
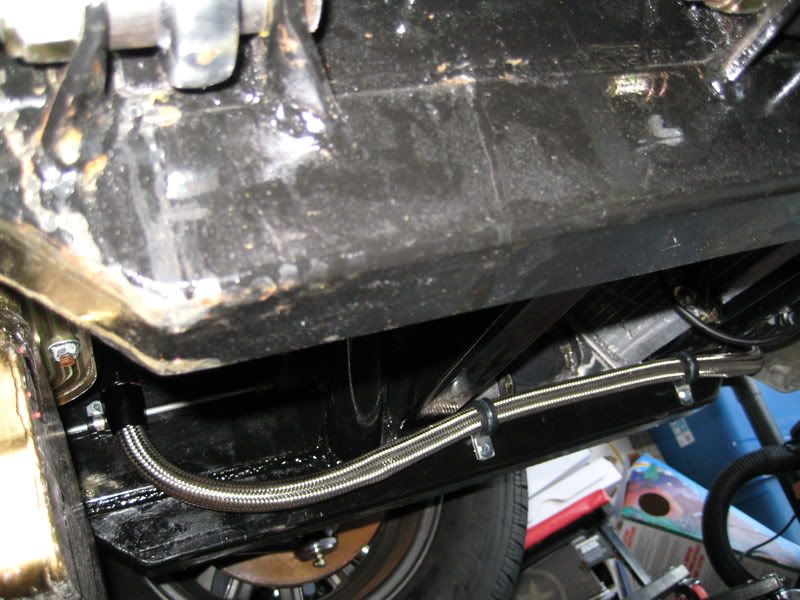
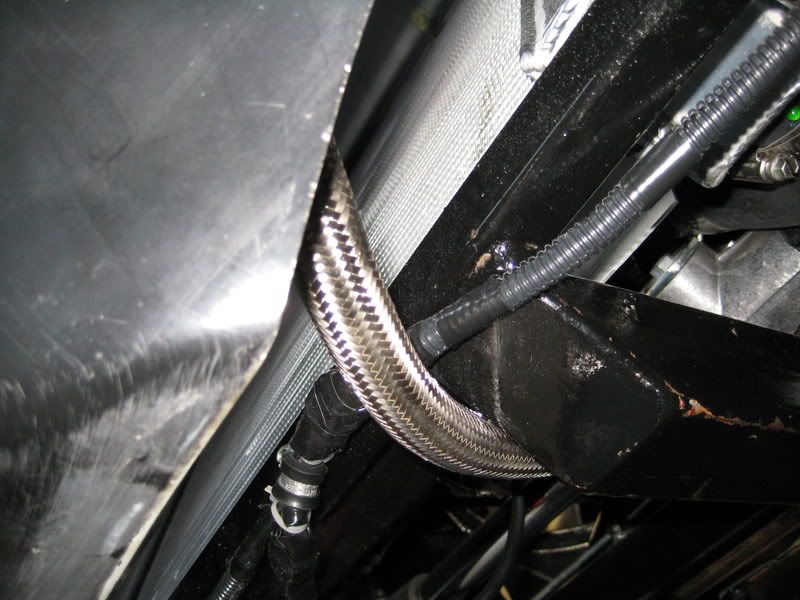
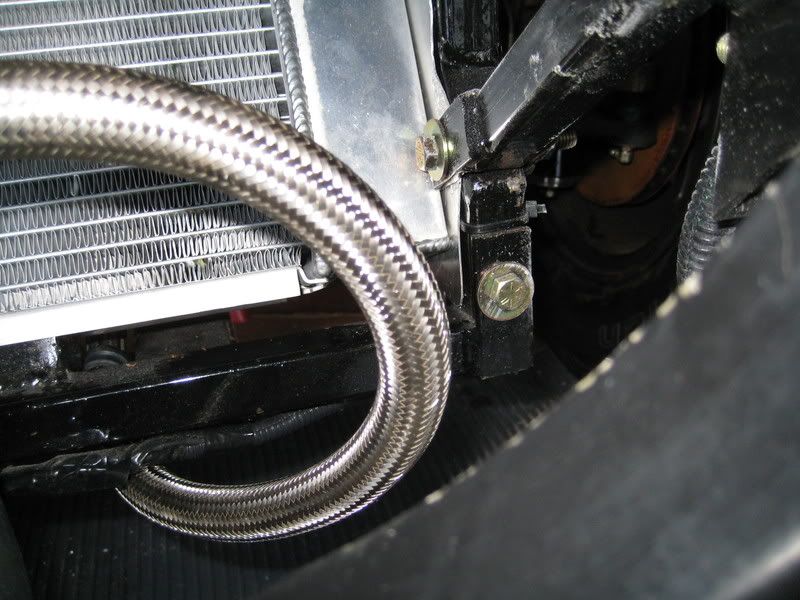
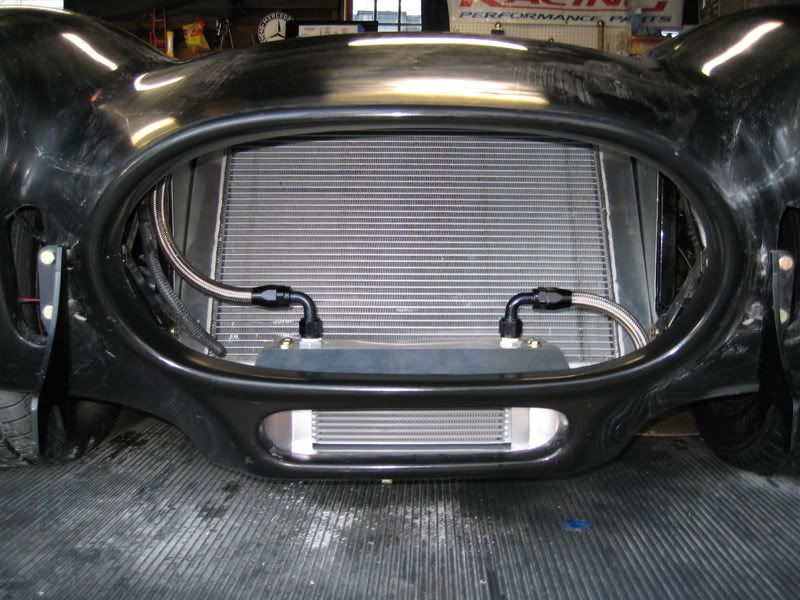
The oil cooler was a fun project. I used a factory five style oil cooler shroud from Finish Line for the Mocal oil cooler. I really liked the design of the finish line aluminium shroud. It went together like a glove. I had to re-route my oil lines. you will see that one line comes from the top of the radiator while the other comes from underneath. I may in the future make a longer braided hose so that both go over the top and come down but for now, I like it like this.
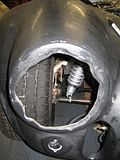
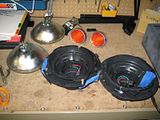
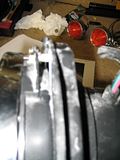


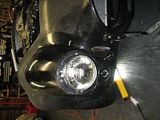
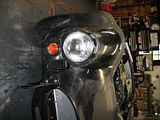


All the wiring for the headlights & marker lights were completed a long time ago. I used weather pak connectors on the end so that I would have nice, secure connections. The holes for the marker lights in the body were almost perfect. I just needed to do a little griding with my dremel tool. The headlight holes were another story. They needed to be hogged out a lot. I started with the passenger side first. I went slow, checking and rechecking to make sure I was center. I ended taking almost too much on the passengerside but it is fine. The driver side worked out perfect. Once the holes were complete, I assembled the buckets, installed the lights and put on the crome rings. The blinkers popped right in and all the electrical worked....because I made sure it worked before I put the body on!
The oil cooler was a fun project. I used a factory five style oil cooler shroud from Finish Line for the Mocal oil cooler. I really liked the design of the finish line aluminium shroud. It went together like a glove. I had to re-route my oil lines. you will see that one line comes from the top of the radiator while the other comes from underneath. I may in the future make a longer braided hose so that both go over the top and come down but for now, I like it like this.


posted by Khan Smith at 4:05 PM
0 comments
![]()
![]()