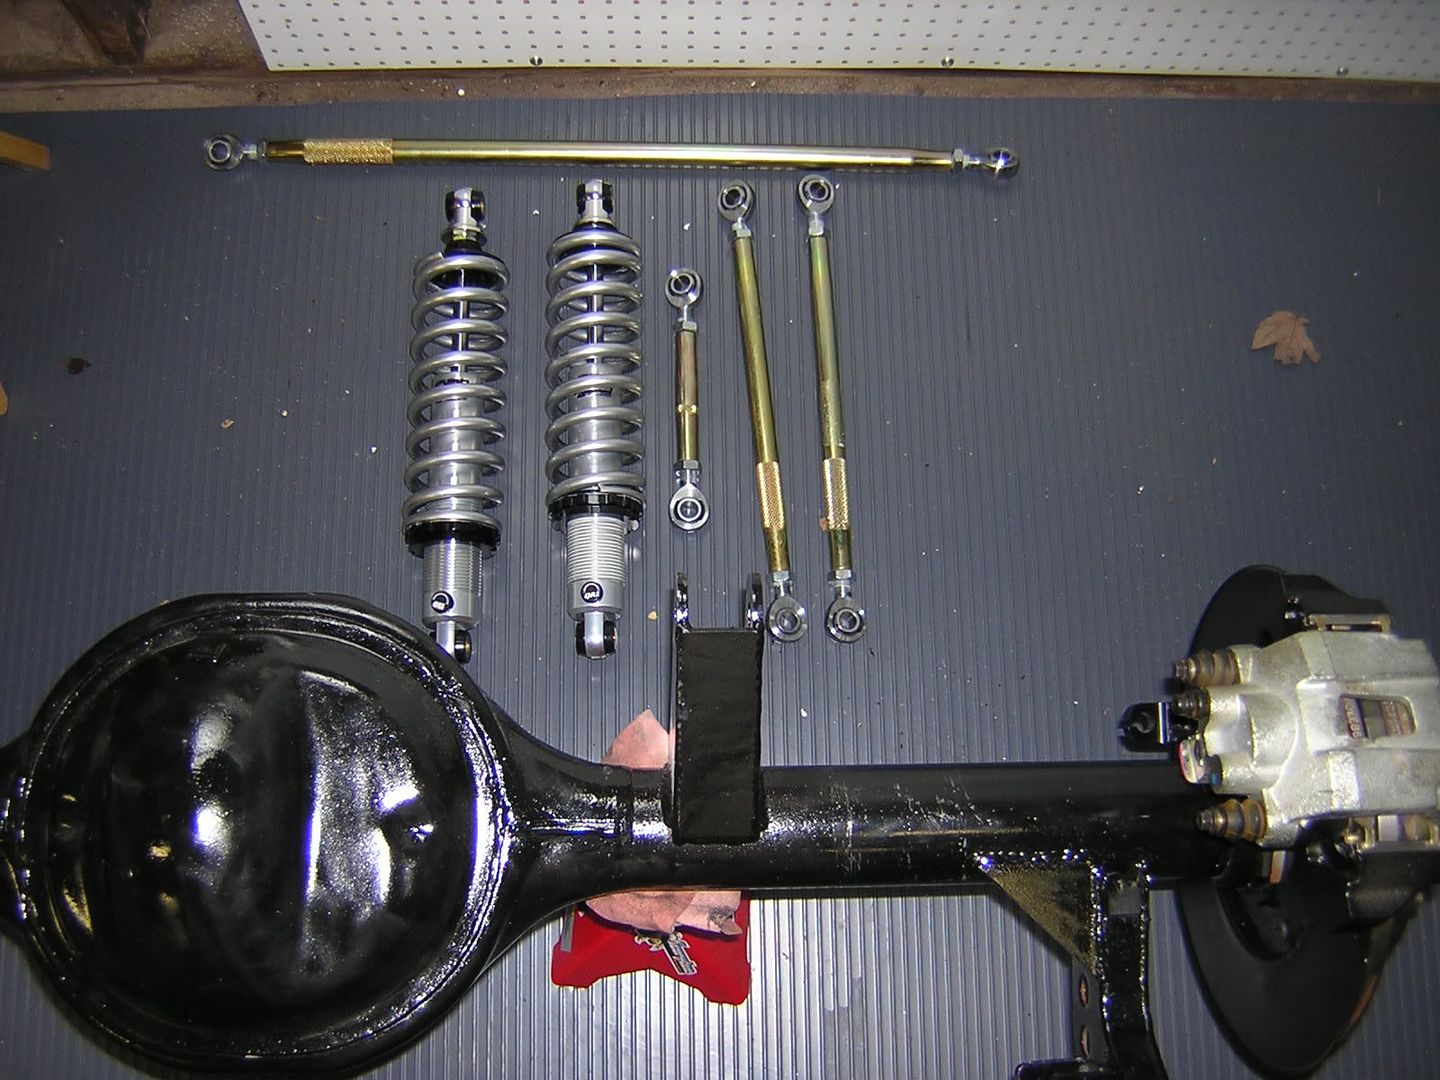
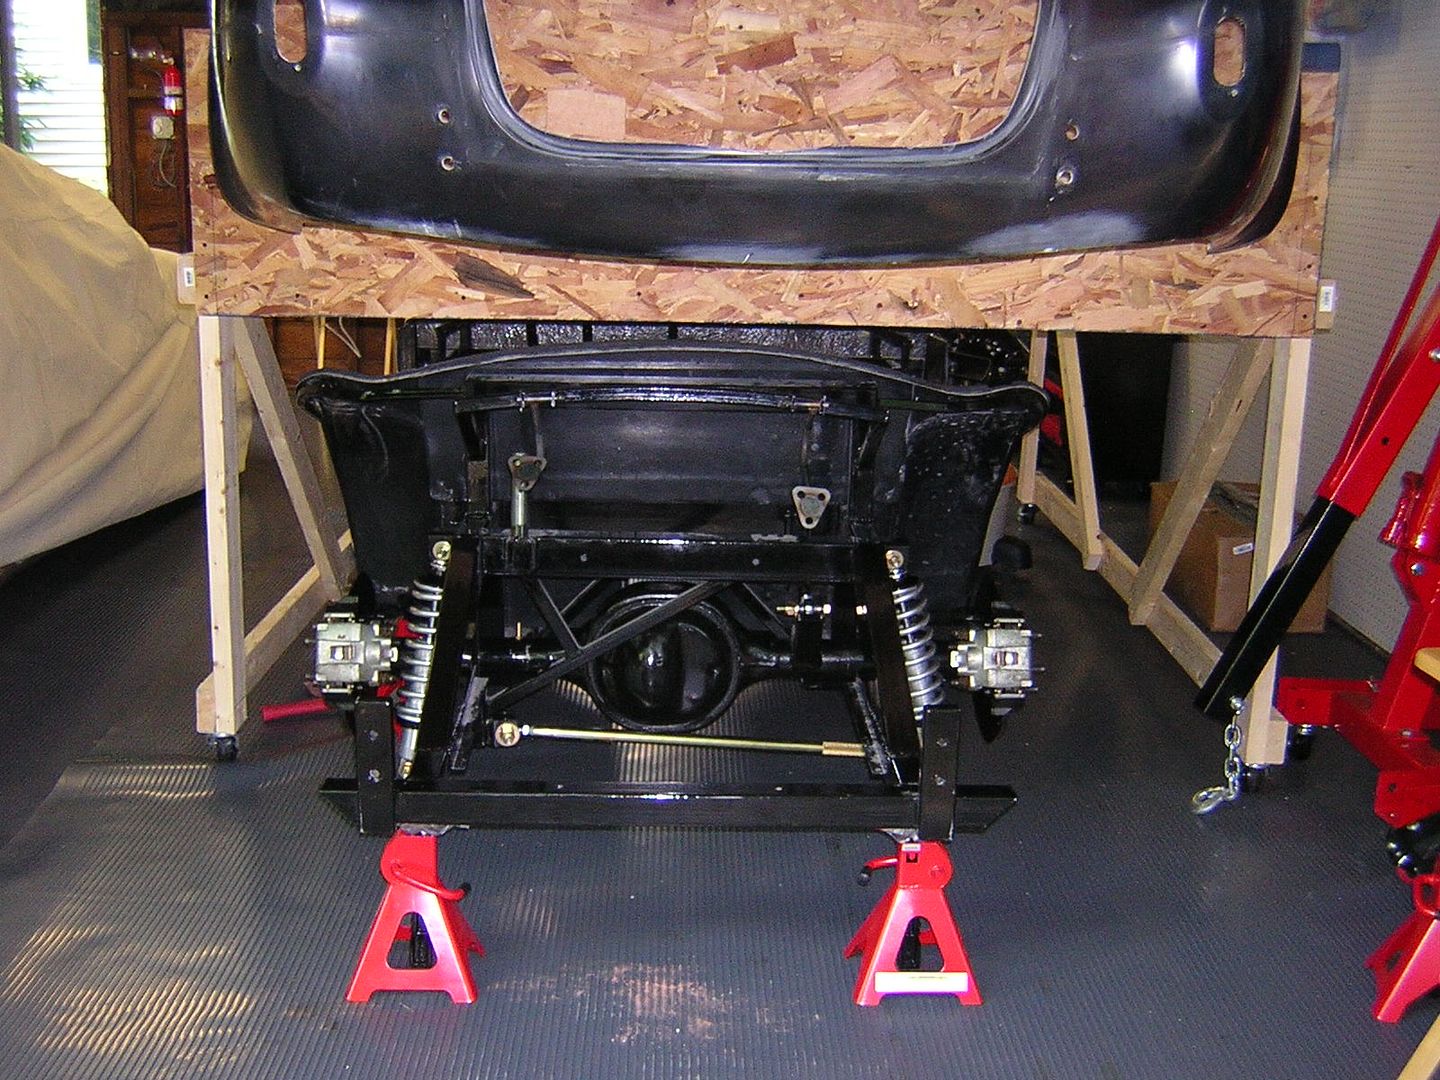
3 link rear end installation:
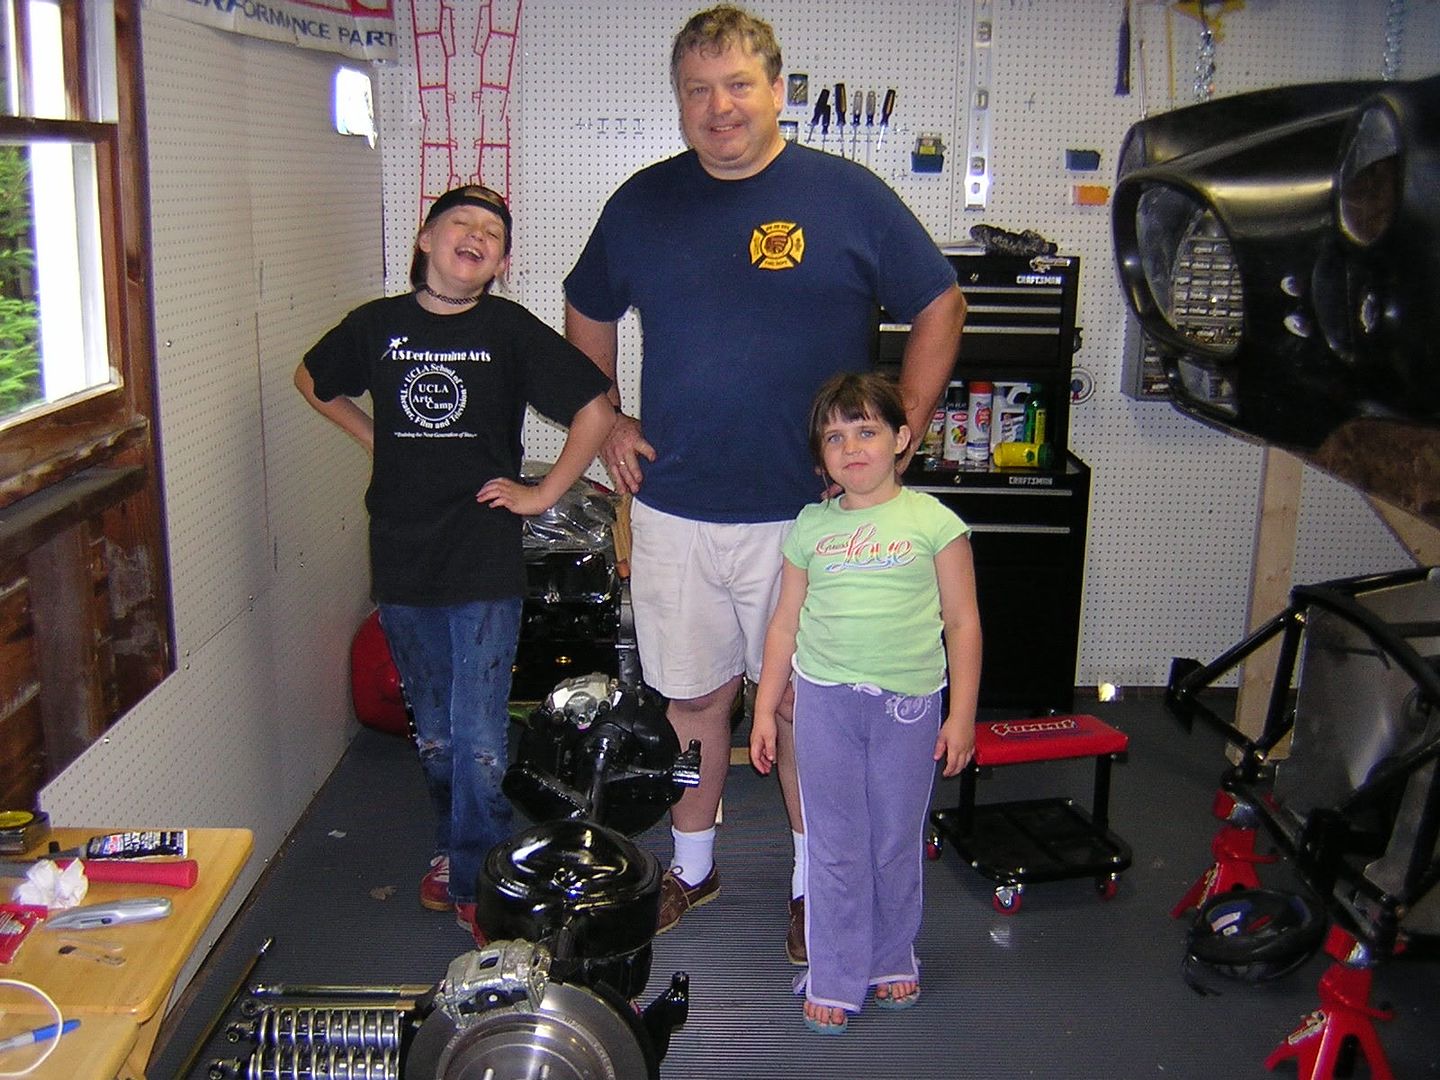
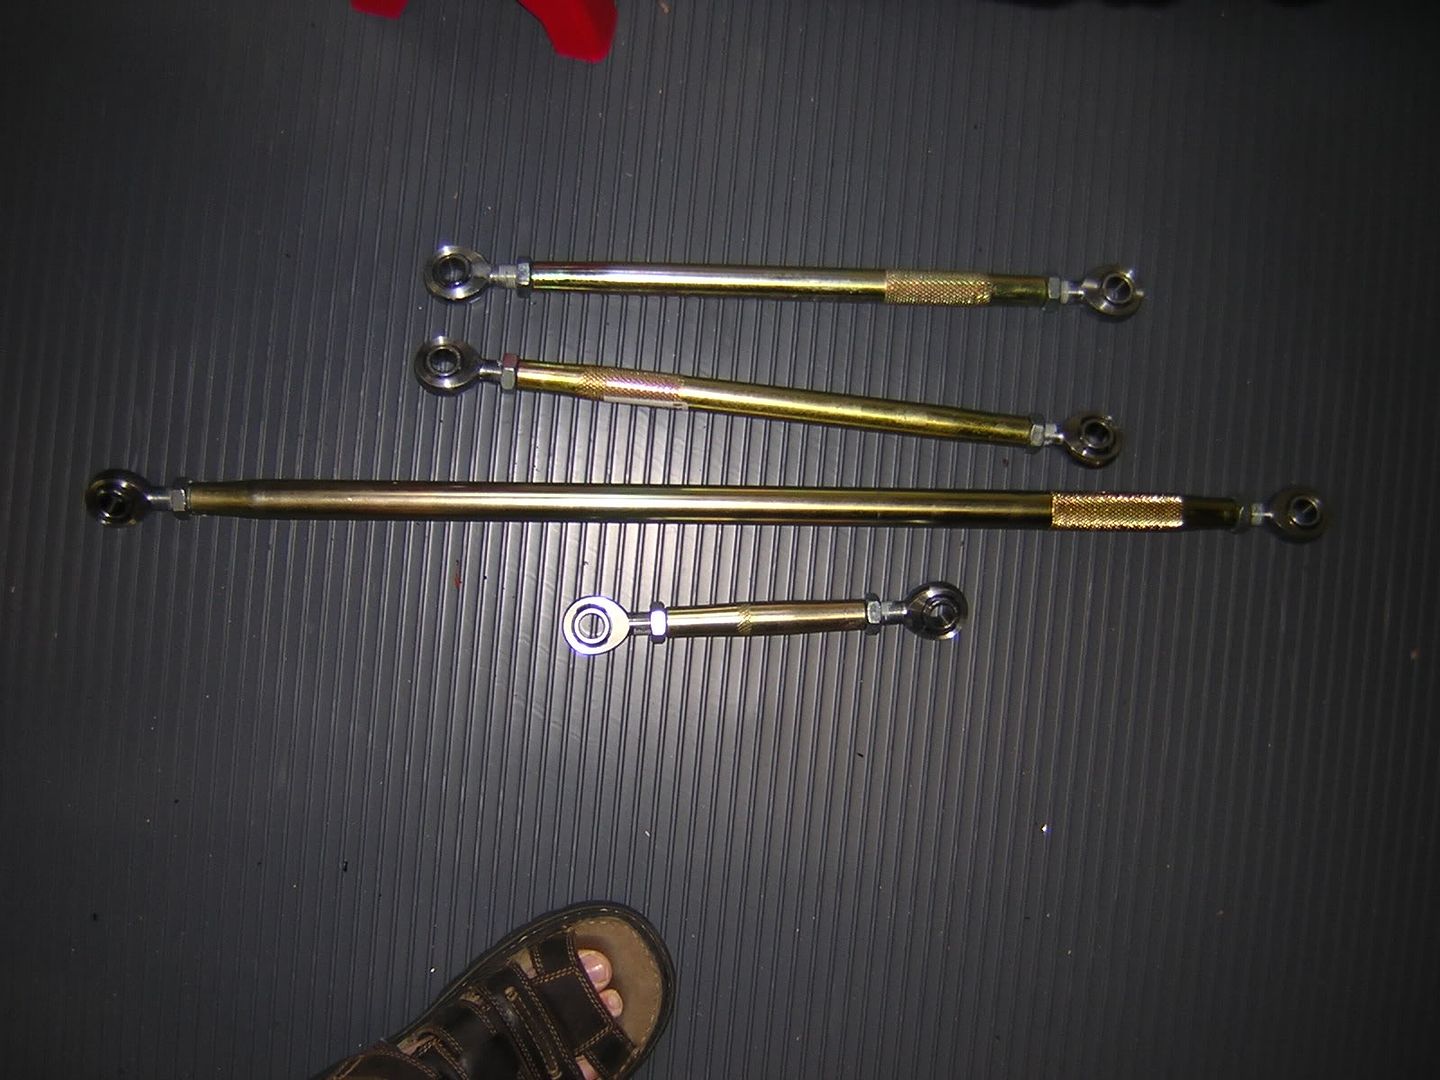
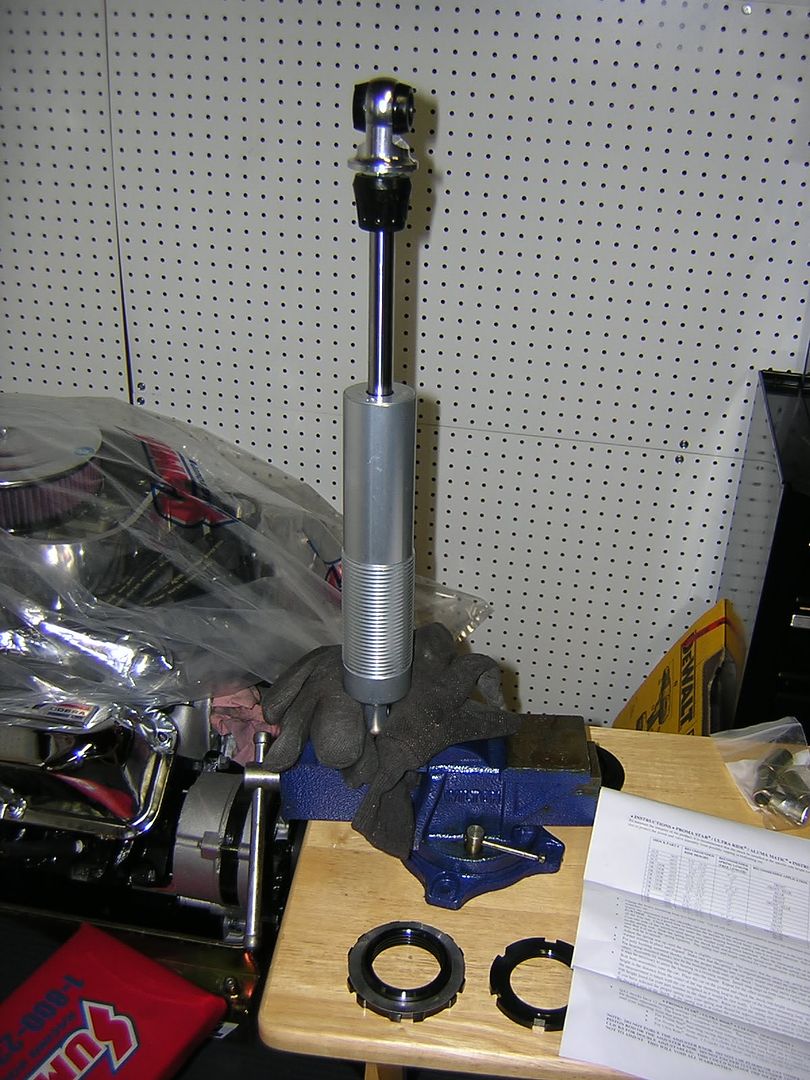
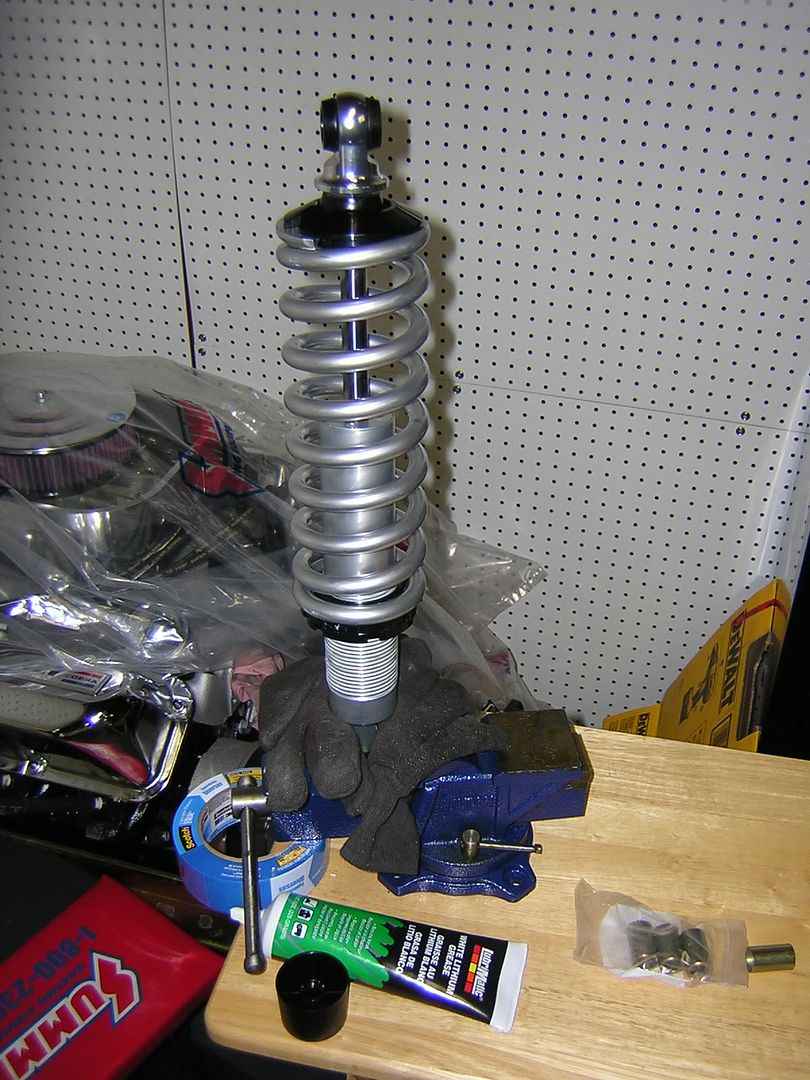
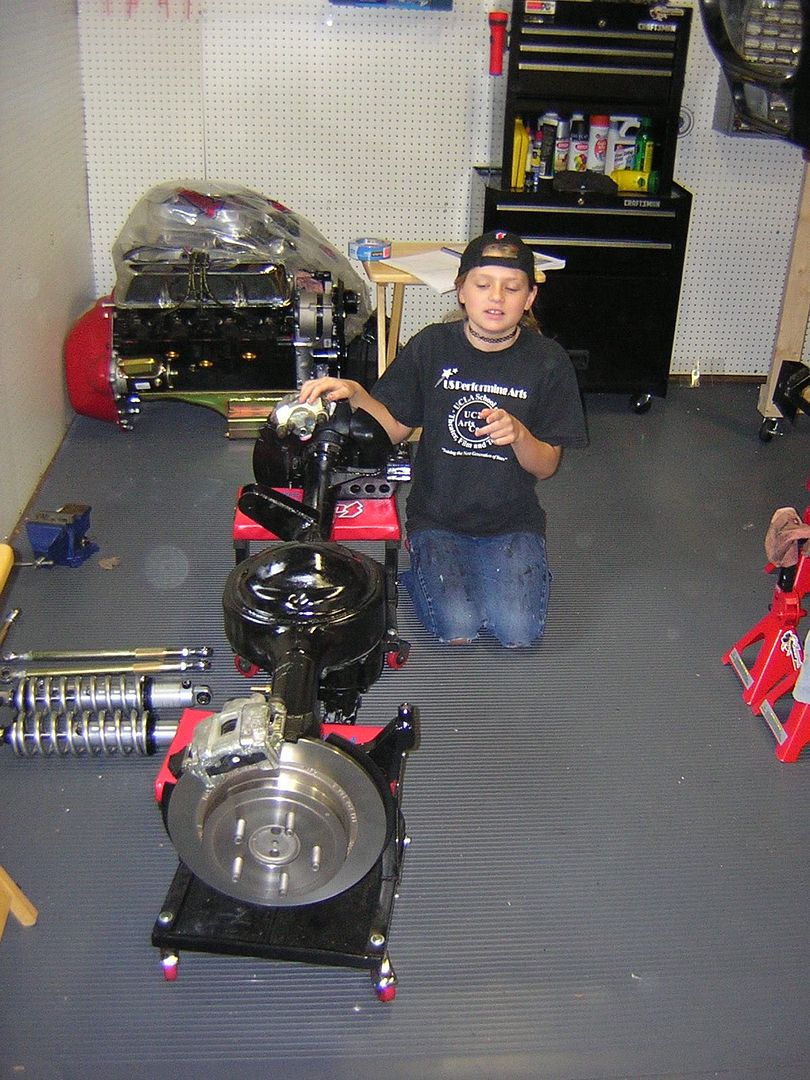
My goal this weekend was to install the rear end assembly into the 3 link formation in the frame. It would take the whole team to make this happen. I have a picture of the team up in the left ( in order: Claire, Glen and Grace). The first component to build was the “links” that make up the 3 link rear end. We have trailing arms, large panhard bar and the “3rd” link. Once assembled, I had to address the suspension. In this case, I had to bench assemble the coil over race shocks. This entails installing some adjustable rings on the body of the shock, slipping over the spring and then placing the retainer cap at the top of the shock. These are really nice as not only can you adjust ride height, you have an adjustment knob to address ride stiffness.
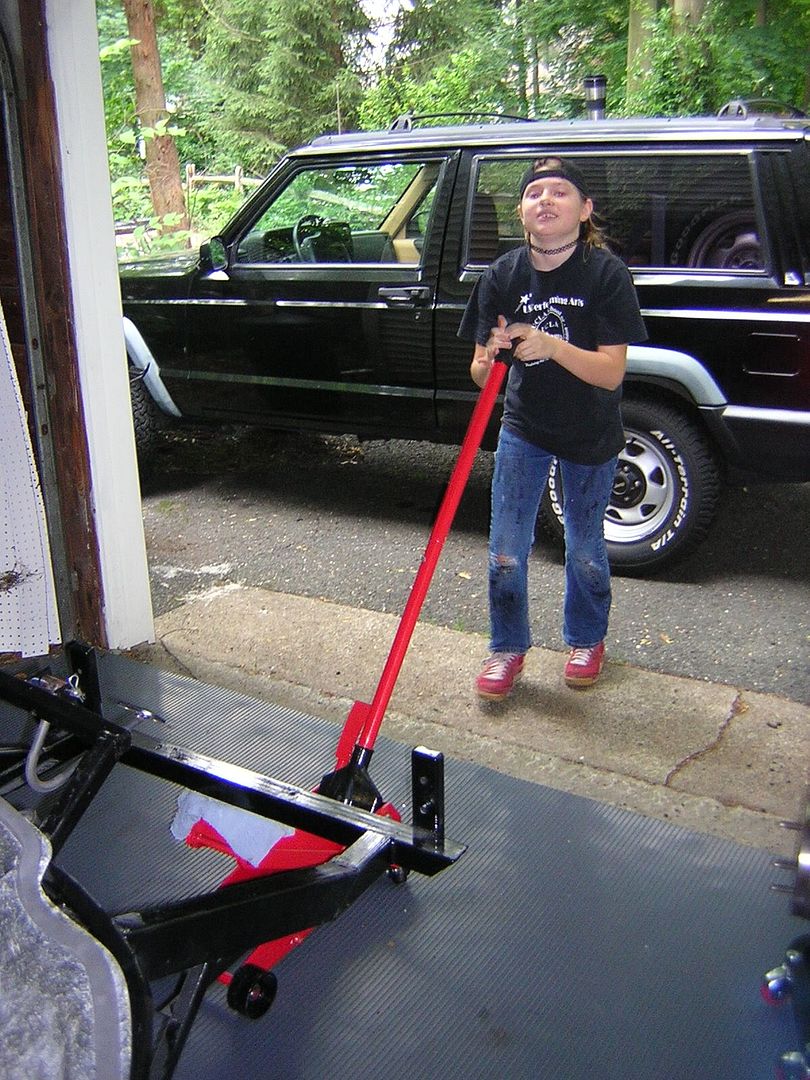
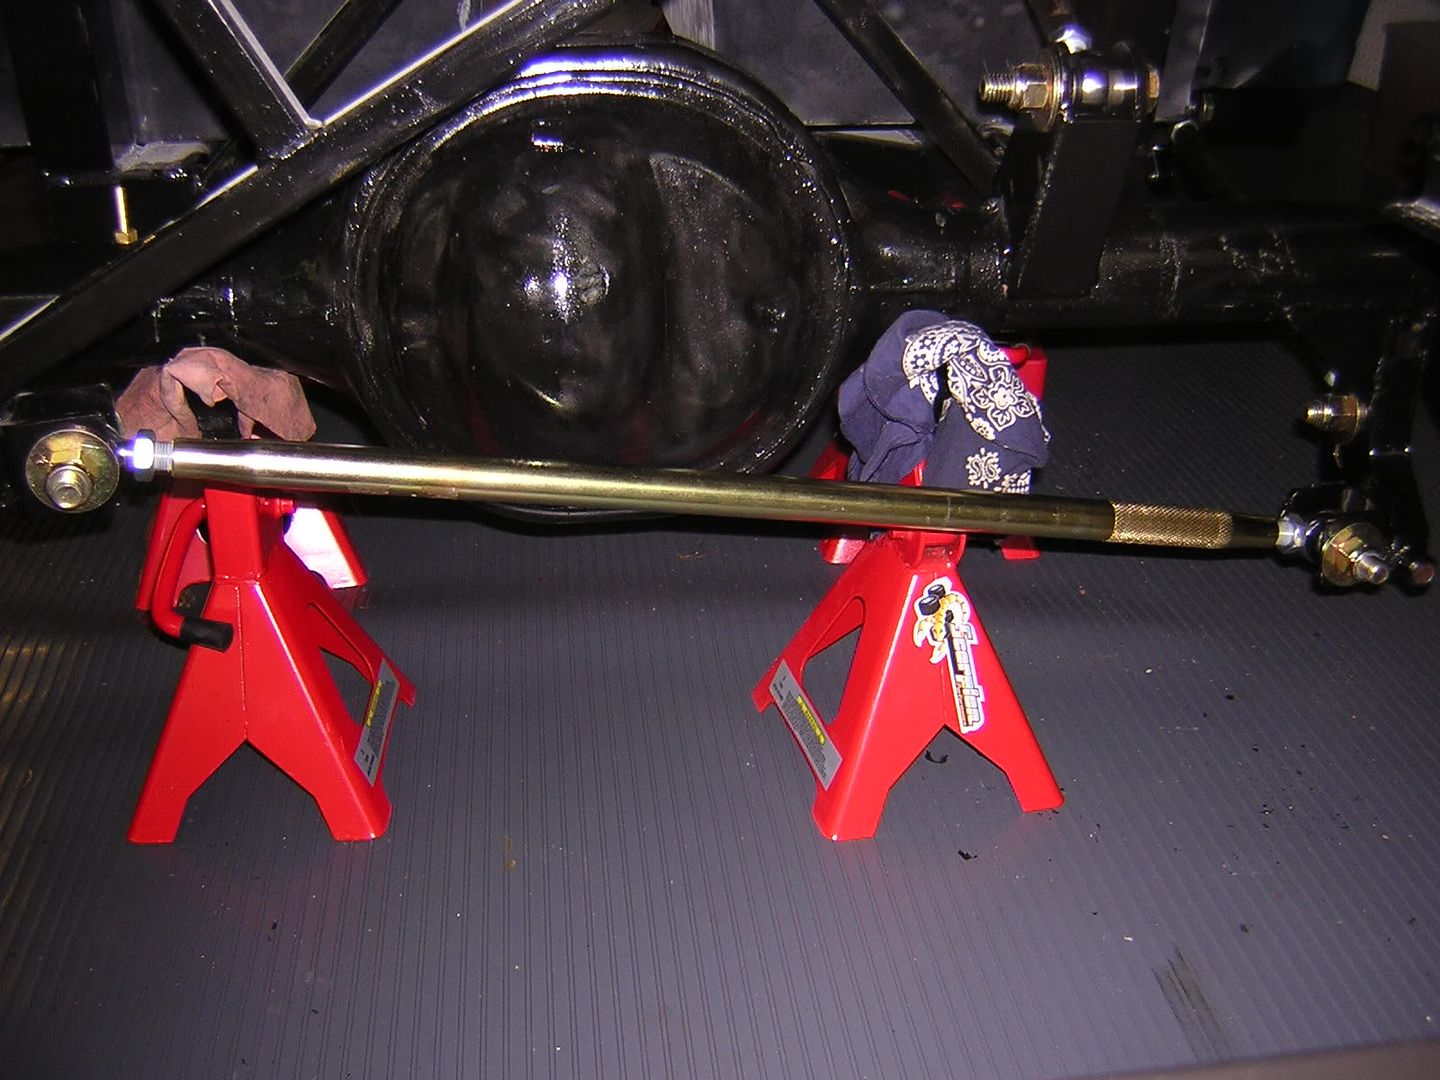
Claire (who never seems to have her eyes open for pictures) and I now had to move our subassemblies to the rear of the car. We used our creeper seats to move the rear end to the rear of the car. The rear needed to be raised high enough to get the rear end into position. Once into position, our first installation was the two trailing arms that connect the bottom of the axle tubes to the frame from each side of the rear end. Next up was installing “the 3rd link” which is only 5 inches long. It connects from the top of the rear end assembly to the upper frame. Now we were able to install the 26 inch long pan hard bar that crosses from the rear frame to the opposite side of the rear end. What’s cool about these links is that each one is adjustable to allow tweaking to the assembly for maximum dial in. Now I just have to figure out how to tweak it right!
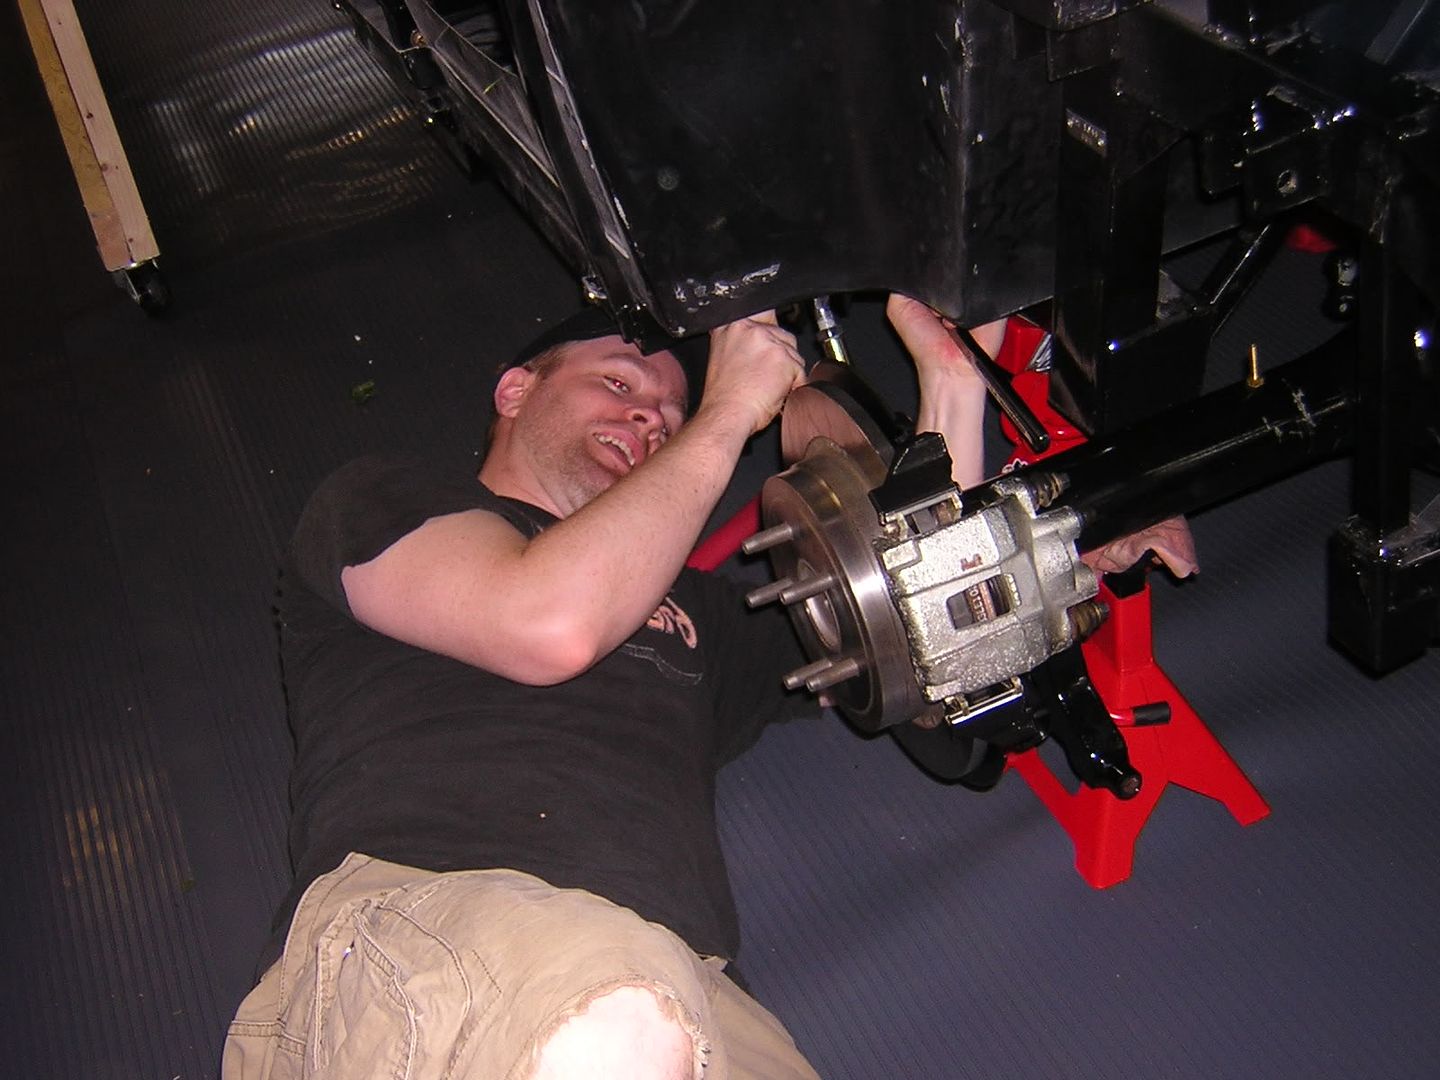
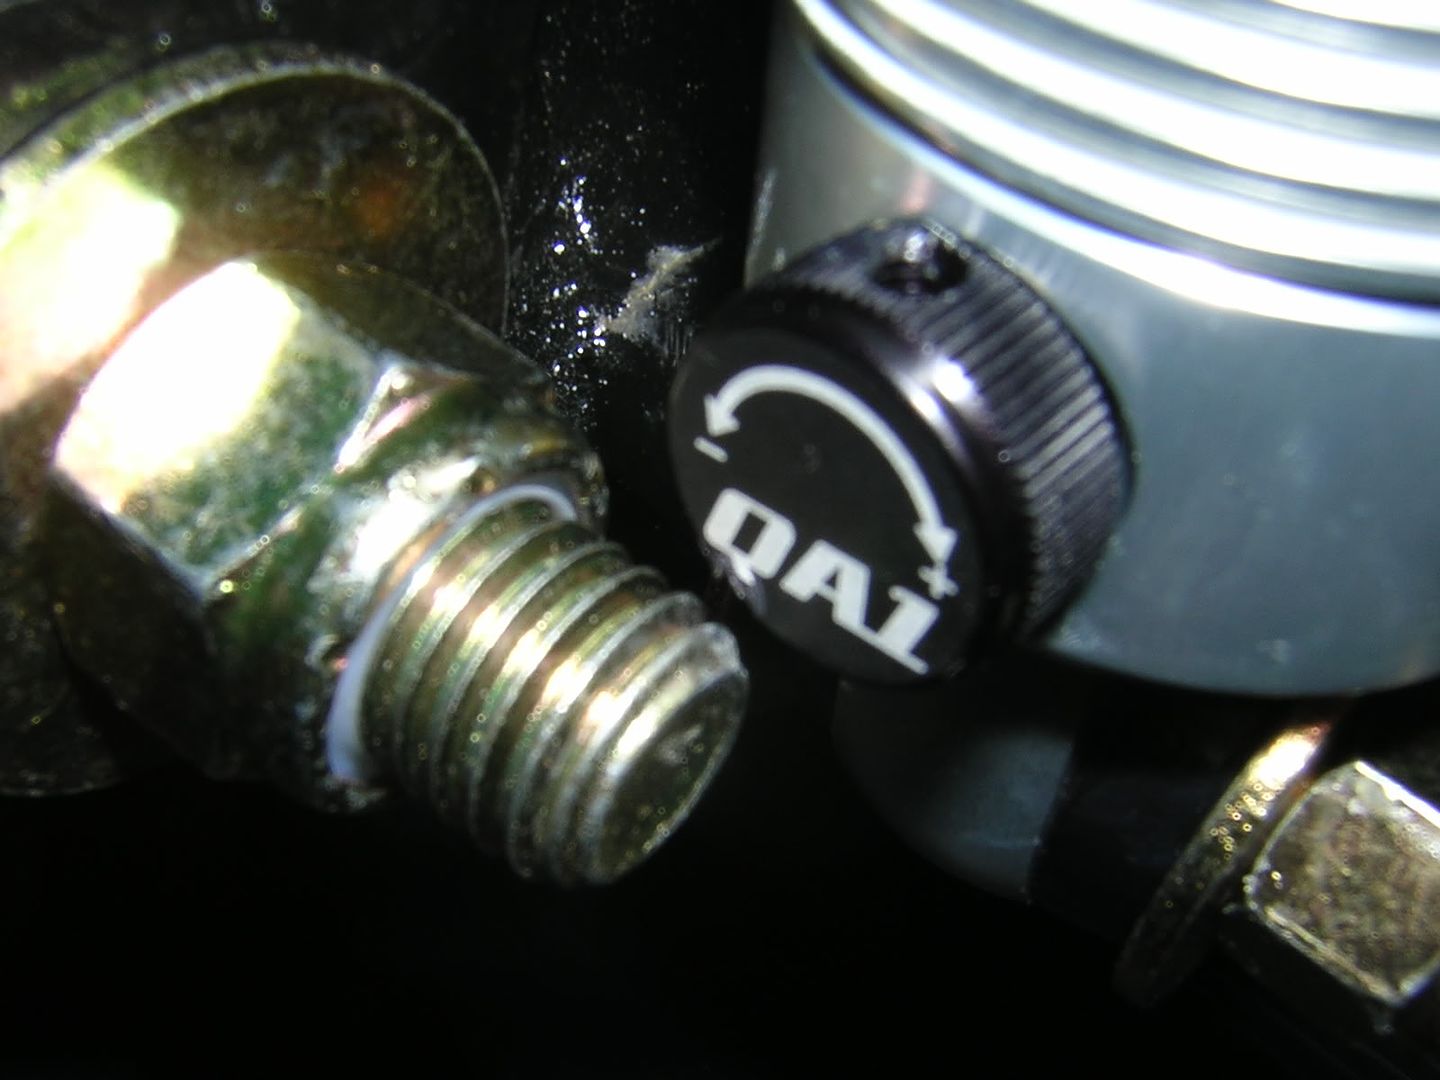
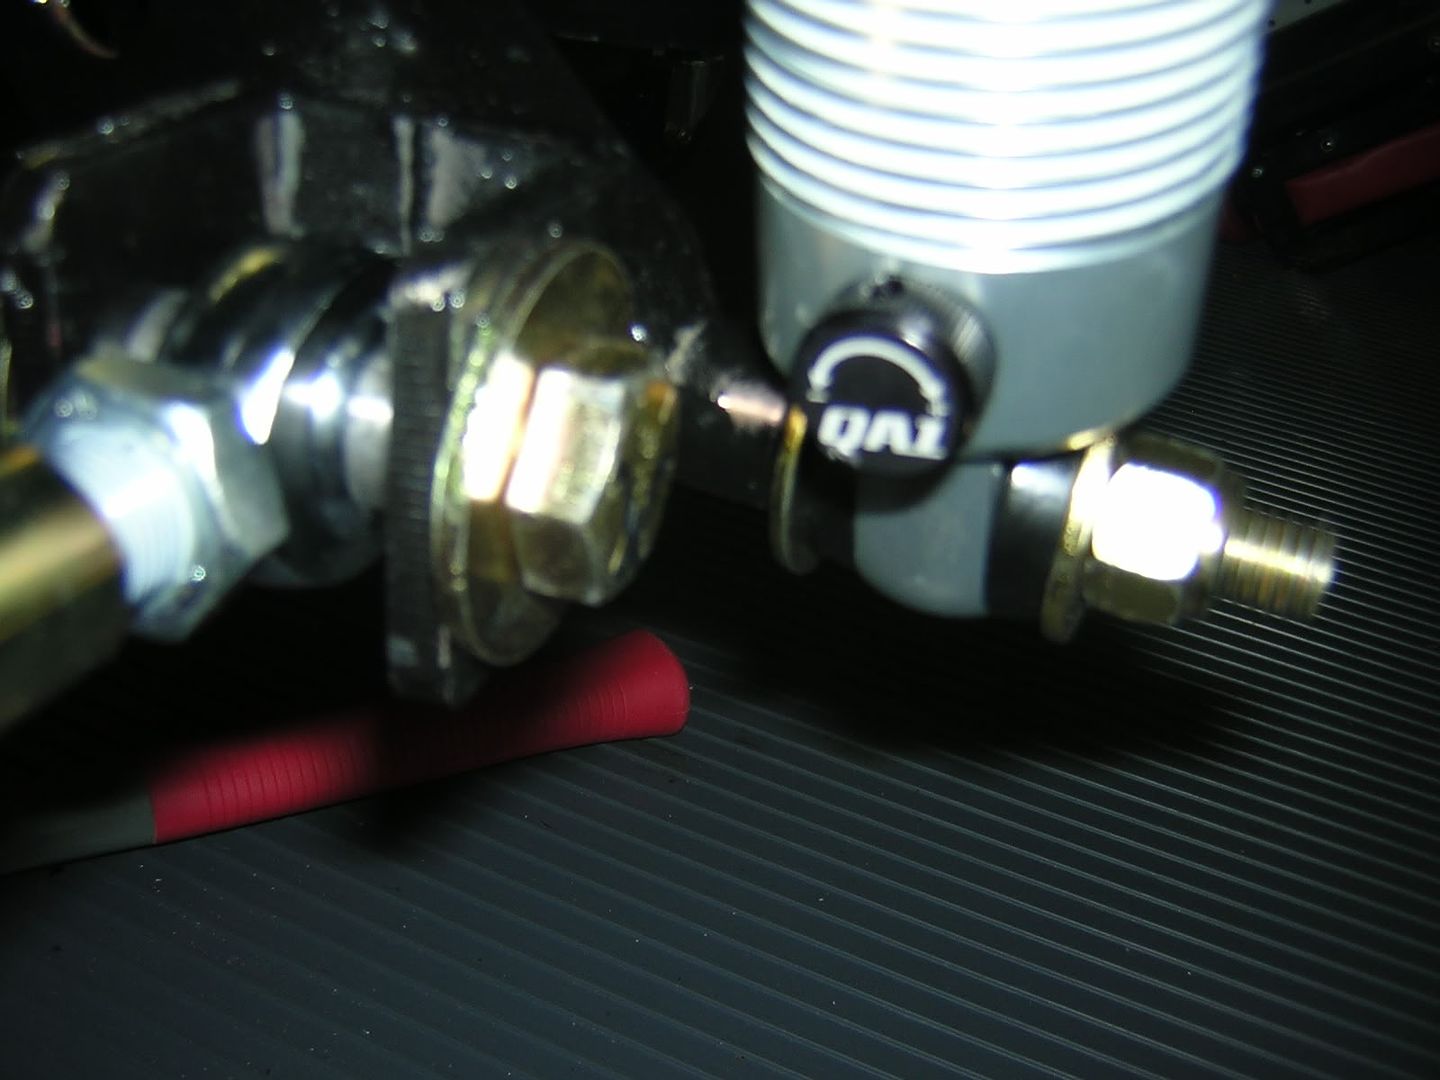
The rear end and the links are all attached at this point. Claire and I now needed to install the coil over shocks that we assembled earlier. The manual recommends installing the shocks with the adjustment knob facing inside of the car to allow for easy access with the tires on. We found out that this was true, however, we had to reinstall a trailing arm as the bolt was interfering with the knob. Our motto is do it right, or not at all. So we flipped the bolt around so that the bolt head was next to the knob which provided the necessary clearance. Once both shocks were in, we admired our rear end of the cobra.
Next up…..the front suspension.
posted by Khan Smith at 8:57 AM
![]()
![]()

0 Comments:
Post a Comment
<< Home