Final Cockpit Install?? Who knows
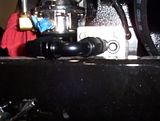
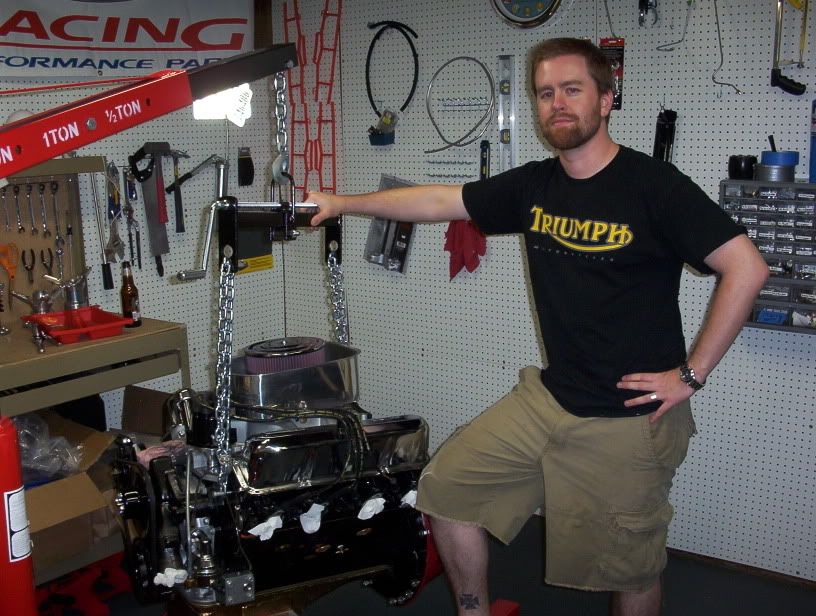
I was preparing to complete my final cockpit install this weekend. Before I did this, I realized that this would be the only time for me to have easy access to the engine...and god forbid I need to take it out again. I was reviewing some of the next projects, like plumbing to the remote oil filter when I saw a problem; the oil filter blockoff on the side of the engine block where the AN fitting for the hose was really close to the frame.....so close that I can't screw in the 45 degree fitting....not without lifting the engine that is. A few posts back, Eva and I had put in the engine....for what I thought would be for good. As a result, I took apart my engine crane, hauled it down stairs for the next project. Let me tell you , this is not a light tool. I could see no other way so I hauled it back upstairs, reassembled and hooked it to the engine. Mind you , I only need to lift this engine up a slight 2-3 inches to get this fitting in place. Once the crane was together, I got the engine up, fitting in place and back down into the mounts in under an hour. It was the crane that took most of the time. Knock on wood, that will be the last time the engine comes out.
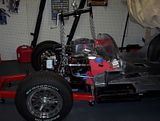
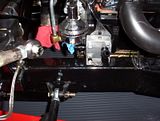
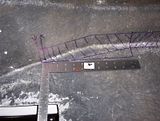
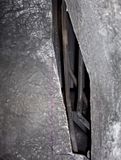
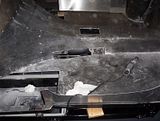
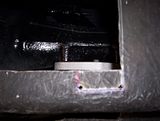
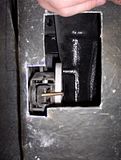
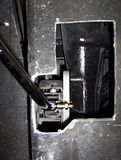
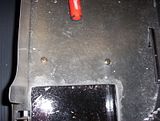
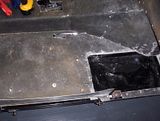
Now on with the cockpit tub. In the previous post, I found an issue with the toploader linkage and the trans tunnel. I confirmed with Hurricane Motorsports that I indeed cut out some reliefs to clear the linkage. I did this fairly easitly with my dremel and jigsaw. I also found that the gear shift will be severely left on the tunnel. I think I will have to heat up the shift handle an make two bends; one to get it toward center and one to readjust to right shift angle. I also installed the parking brake at this time. The manual says to do it at a later stage but I just can't see how to do that with the tub fastened into place. Thank god I did that! It was a pain in the butt. I also rivited the tub around the foot boxes and installed four cockpit mounting bolts and torqued them down. I also drilled 8 holes for the seats to mount. Remember the posts with the fuel lines, brake lines and battery cables? Check out the pics and you will see that the moutning tabs are RIGHT next to those items. I accidently nicked the batter cables in two places but didn't cut through the casing. I added extra electrical tape just for fun.... For next steps, I am going to caulk the foot boxes, install the upper frame and plumb up the remote oil filter. Pictures below.



0 Comments:
Post a Comment
<< Home